
Introduction
In our Torture Chamber of Screams guide, we’ll explain and take you through a step-by-step of how to progress and beat the final boss to clear this particular Tier 2 dungeon. Tier 2 dungeons in Throne and Liberty provide incredible rewards to aid the next level of progression. However, the typical Tier 2 dungeon is far more difficult and requires high-end gear (+9 Epic Grade) to complete.
Trash Clearing, Mini-bosses and Pre-Final Boss Objectives
Just like in every other Dungeon in Throne and Liberty, there is a number of objectives, basic mobs and a couple of mini-bosses to kill if you want to reach the main boss. This applies to both Tier 1 and Tier 2 dungeons also. However, in this guide, we’ll be focusing on how to defeat the final boss – the hardest part by far. As a result, make sure to check back for the complete breakdown of the Torture Chamber of Screams guide here in the near future. Finally, keep in mind these objectives while pushing through the Torture Chamber:
- Clear out any unavoidable trash mobs to ensure you don’t over-pull mobs.
- Check your current objective(s) on the right-hand side of the screen and complete them accordingly.
- Most mini-bosses have minimal if any mechanics, just be sure to stay healthy, dodge attacks and deal damage.
- Pick up any Resurrection Gate where possible.
- Work with your party to ensure each player knows their roles and the mechanics of the fight(s).
PLEASE NOTE: The guide below is the COMPLETE guide of the dungeon – all mechanics included. However, some of the mechanics are stripped away in the “base” version of the dungeon. These mechanics are added back in the “Challenge” mode at certain Tiers of difficulty. As a result, the base version of the dungeon is much easier than you might expect after seeing all the mechanics below.
Final Boss – Kaliglas
IMPORTANT NOTE: For the final boss fight of this dungeon, it is HIGHLY RECOMMENDED that the tank has at least Level 4 Stalwart Bastion. Also, each player is highly recommended to have at least 200~ Skill Damage Resistance. It is extremely important due to a recurring mechanic; which we’ll explain below.
Block Attacks
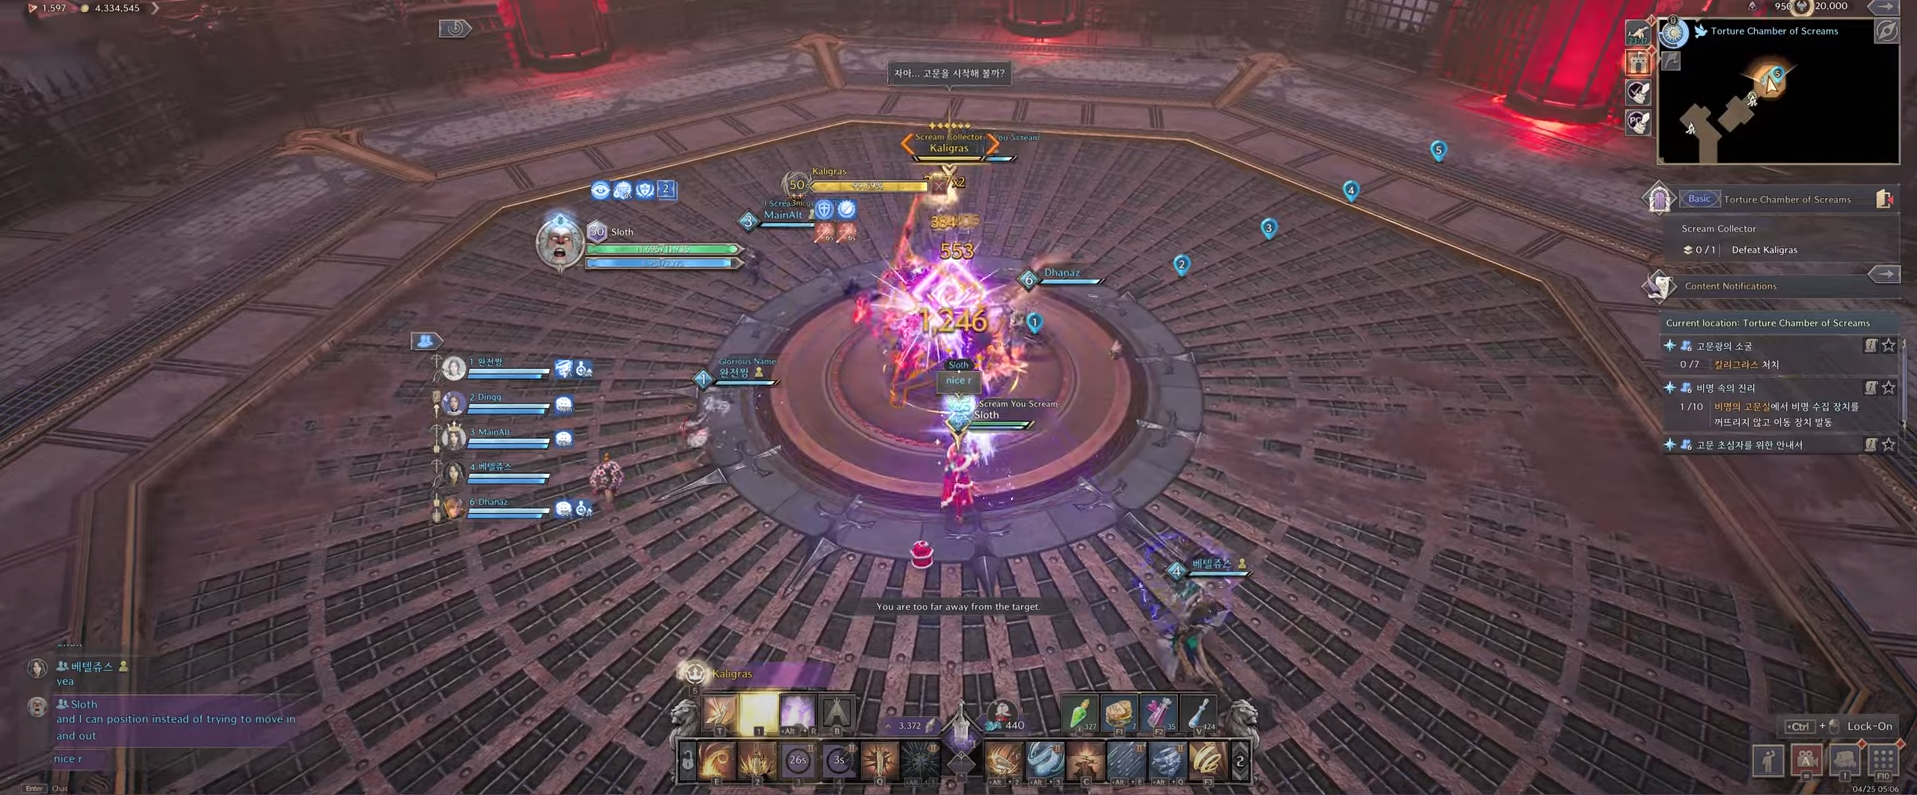
There is two forms of attacks that every player in the dungeon should be aware of and ready to block. The first is a generic attack indicated by a purple circle that hits in AoE. The second is actually indicated by a diamond-shaped purple indicator. As a result of the indicator being different, you’ll need to use your dodge block (hold a movement key + press block). Most of Kaligras’s block-able attacks happen at the beginning of the fight or a specific phase later on.
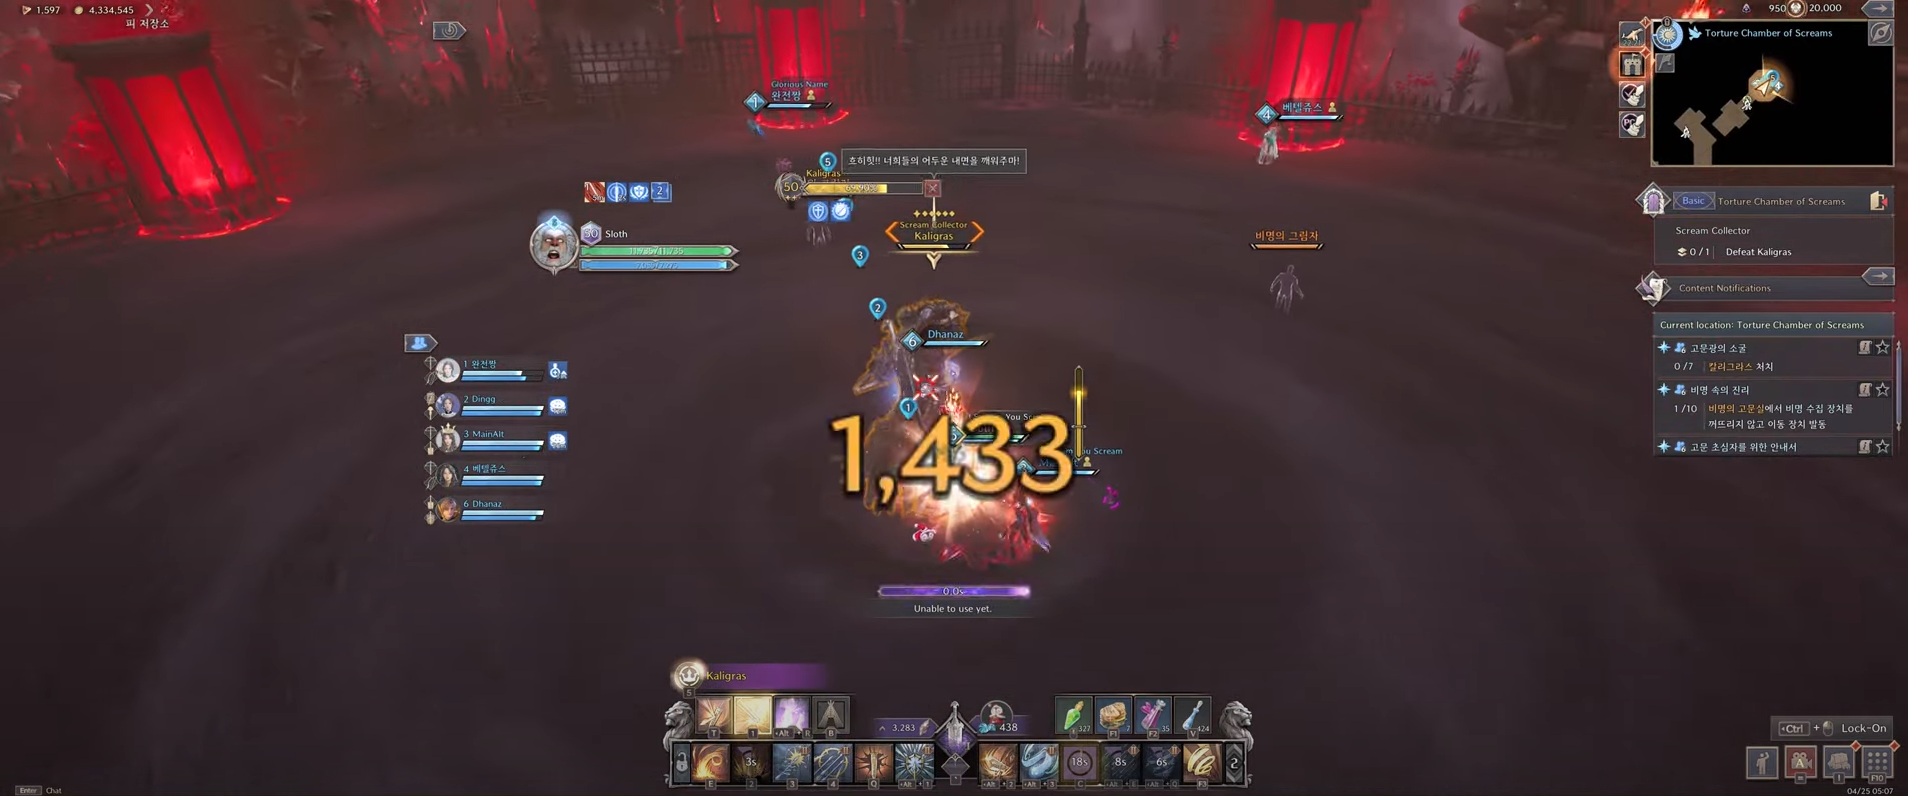
Phase 1
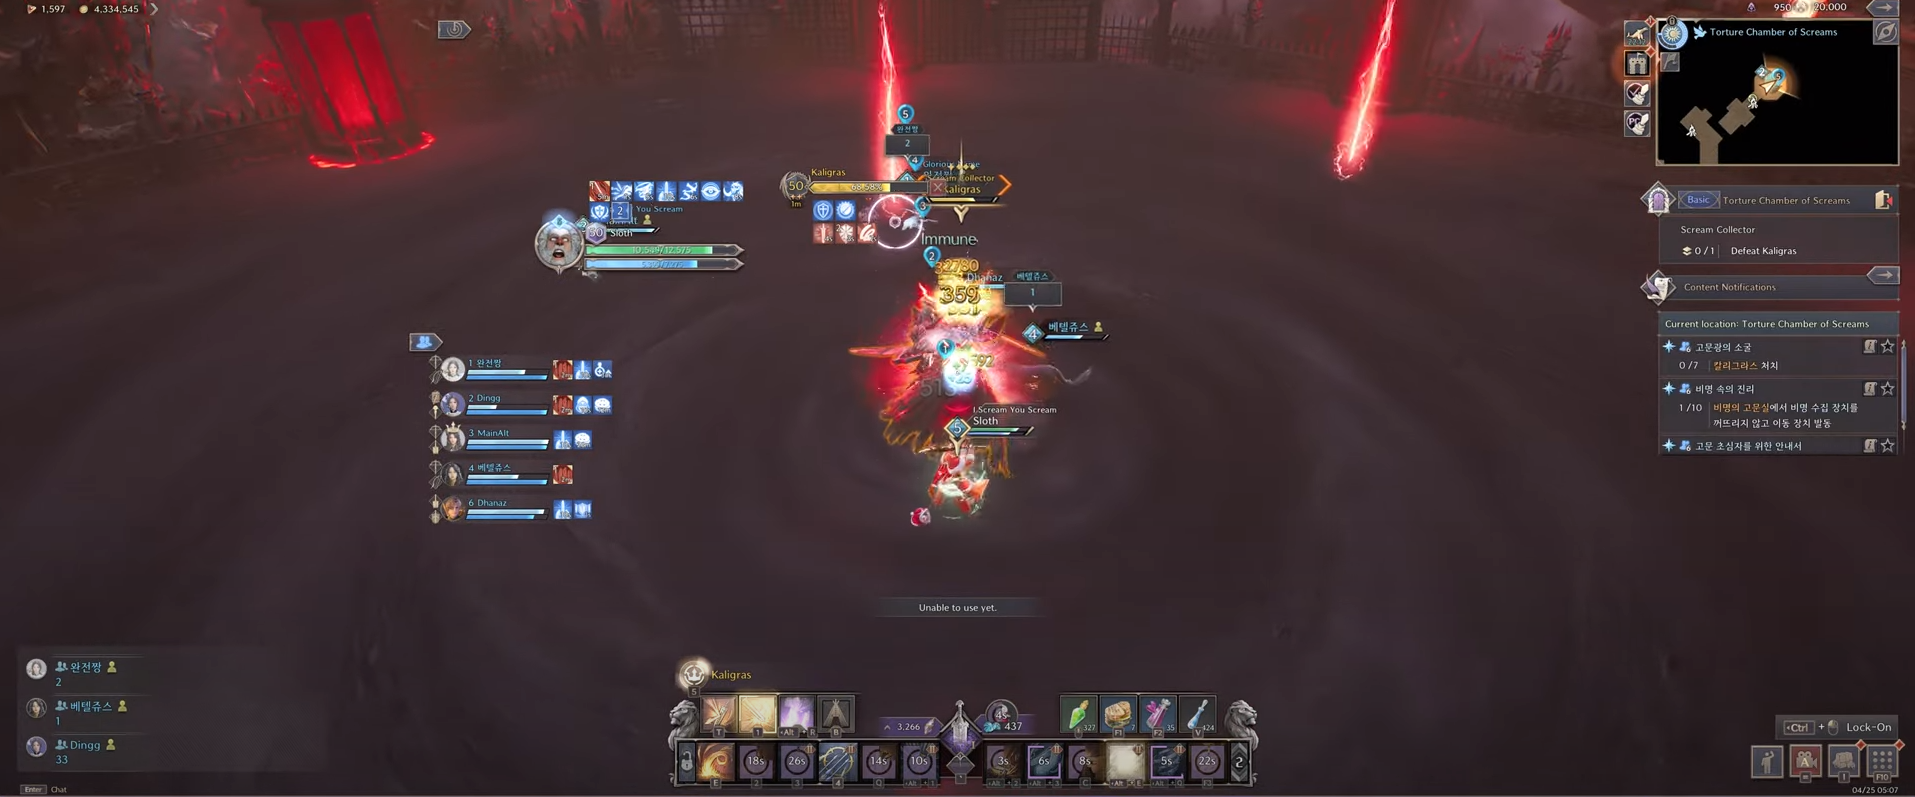
Starting off the boss fight, Kaligras launches a block-able attack. As a result, dodge using your movement block to avoid large amounts of damage. Occasionally, Kaligras fires several rain of arrows on-top of player locations – try to avoid standing in these. Soon after some basic attacks & the rain of arrows, Kaligras marks three players with a red marker. These three players have blood shockwaves fired at them, dealing a decent chunk of damage. However, getting hit by multiple can easily kill players. As a result, have the marked players spread out to avoid causing party-wide damage.
Afterwards, Kaligras places a shredding red circle on every party member in the arena. This part of the boss fight is where both the tank’s Stalwart Bastion and the baseline 200 Skill Damage Resistance comes into play. The red swirling circles deal incredibly fast ticks of damage per second. The only way to survive this is through a well-timed Stalwart Bastion, Fountain of Life from a Wand and/or 200~ Skill Damage Resistance.
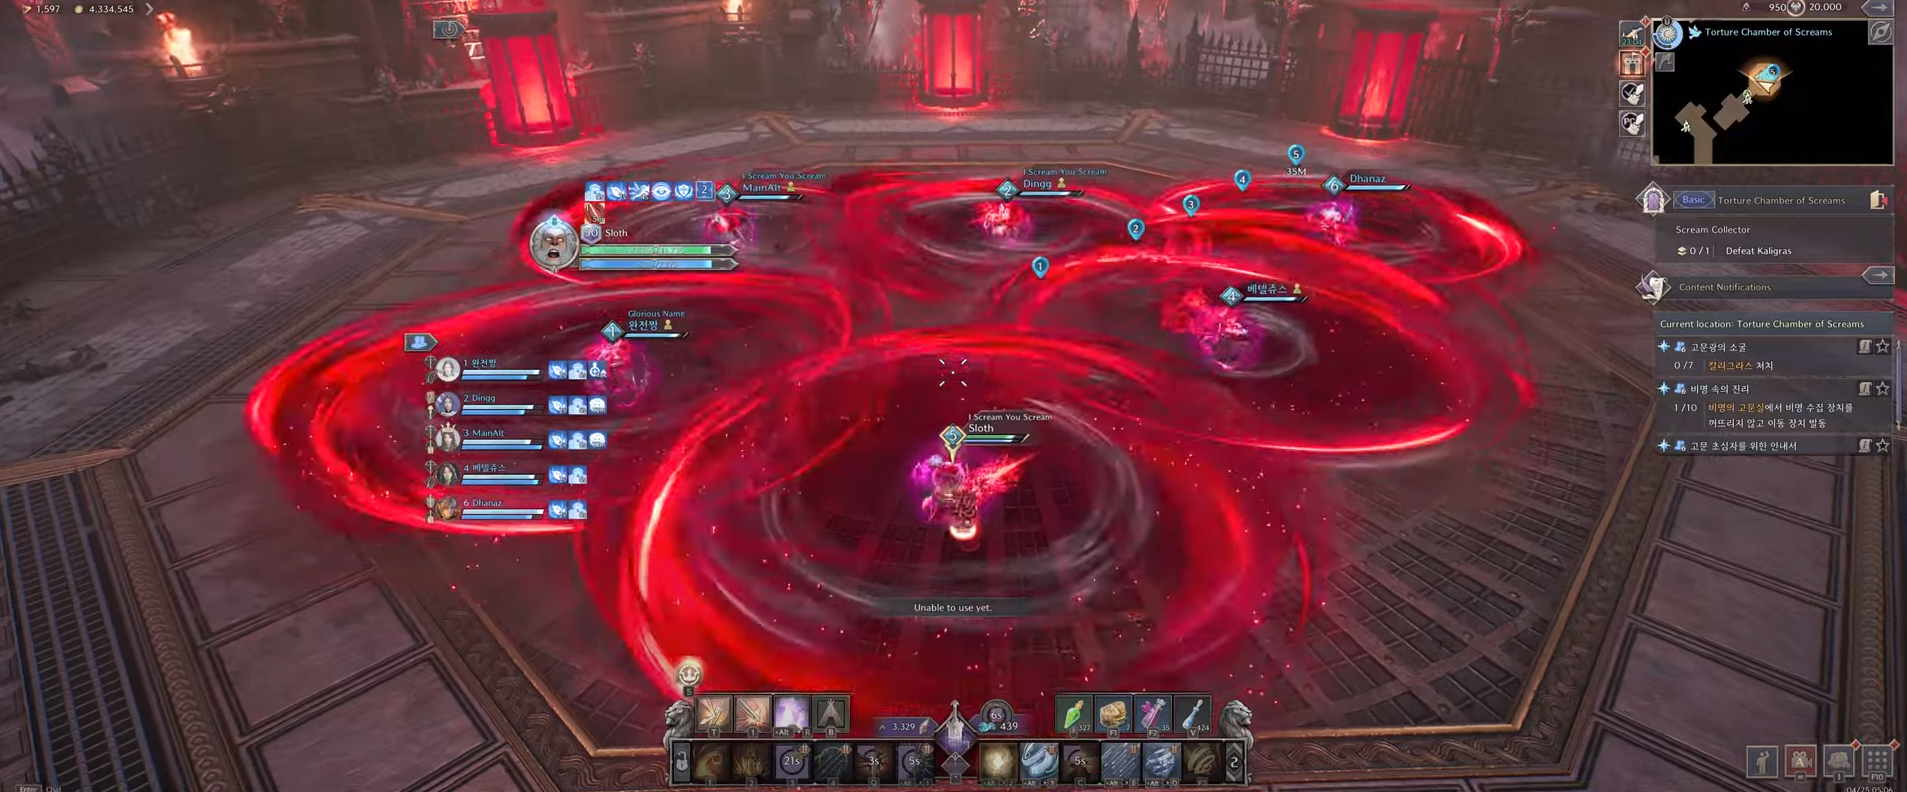
Blood Vials
There is a total of 5 vials of blood that fill up from the Bosses attacks & mechanics. The vials have the following set of rules:
- If every vial is empty – the party is immediately wiped.
- If every vial is full – the party is immediately wiped.
- Blood vials fill based on boss attacks and failing to block attacks.
- The red swirl mechanic always generates 3 vials of blood – this is important as you always want at least 3 vials full.
It is very important to keep an eye on these vials and drain them at certain points throughout the fight. Ideally, having 2-3 full at all times is the best outcome. This is due to needing a certain amount of vials available to fill up and not reach the 5 vial cap, but also prevent 5 fully empty vials from happening too.

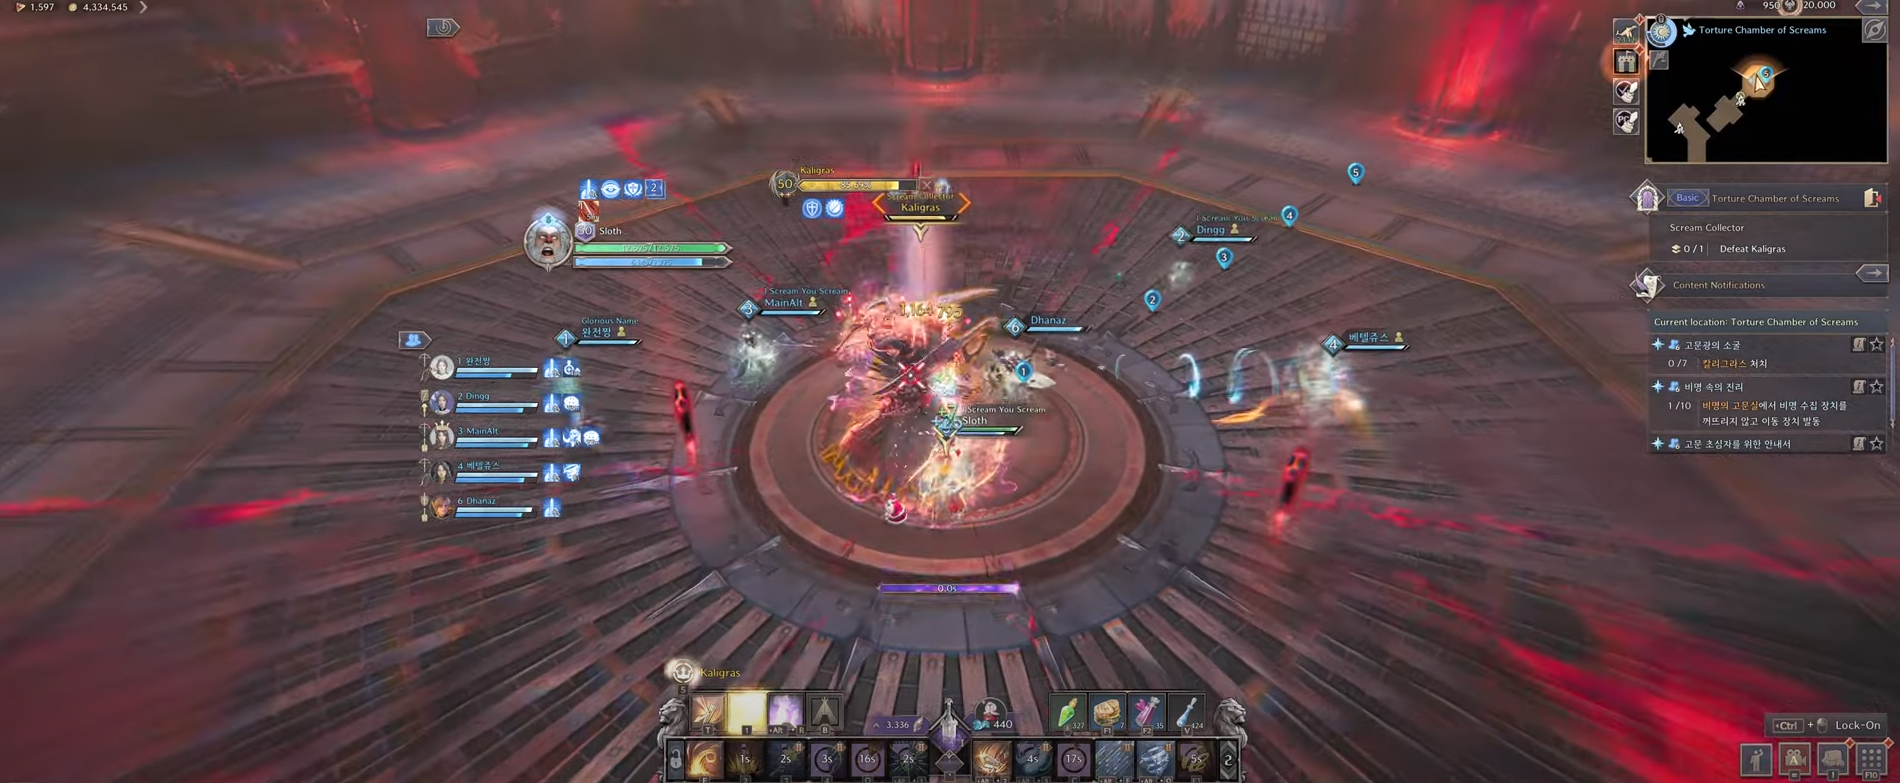
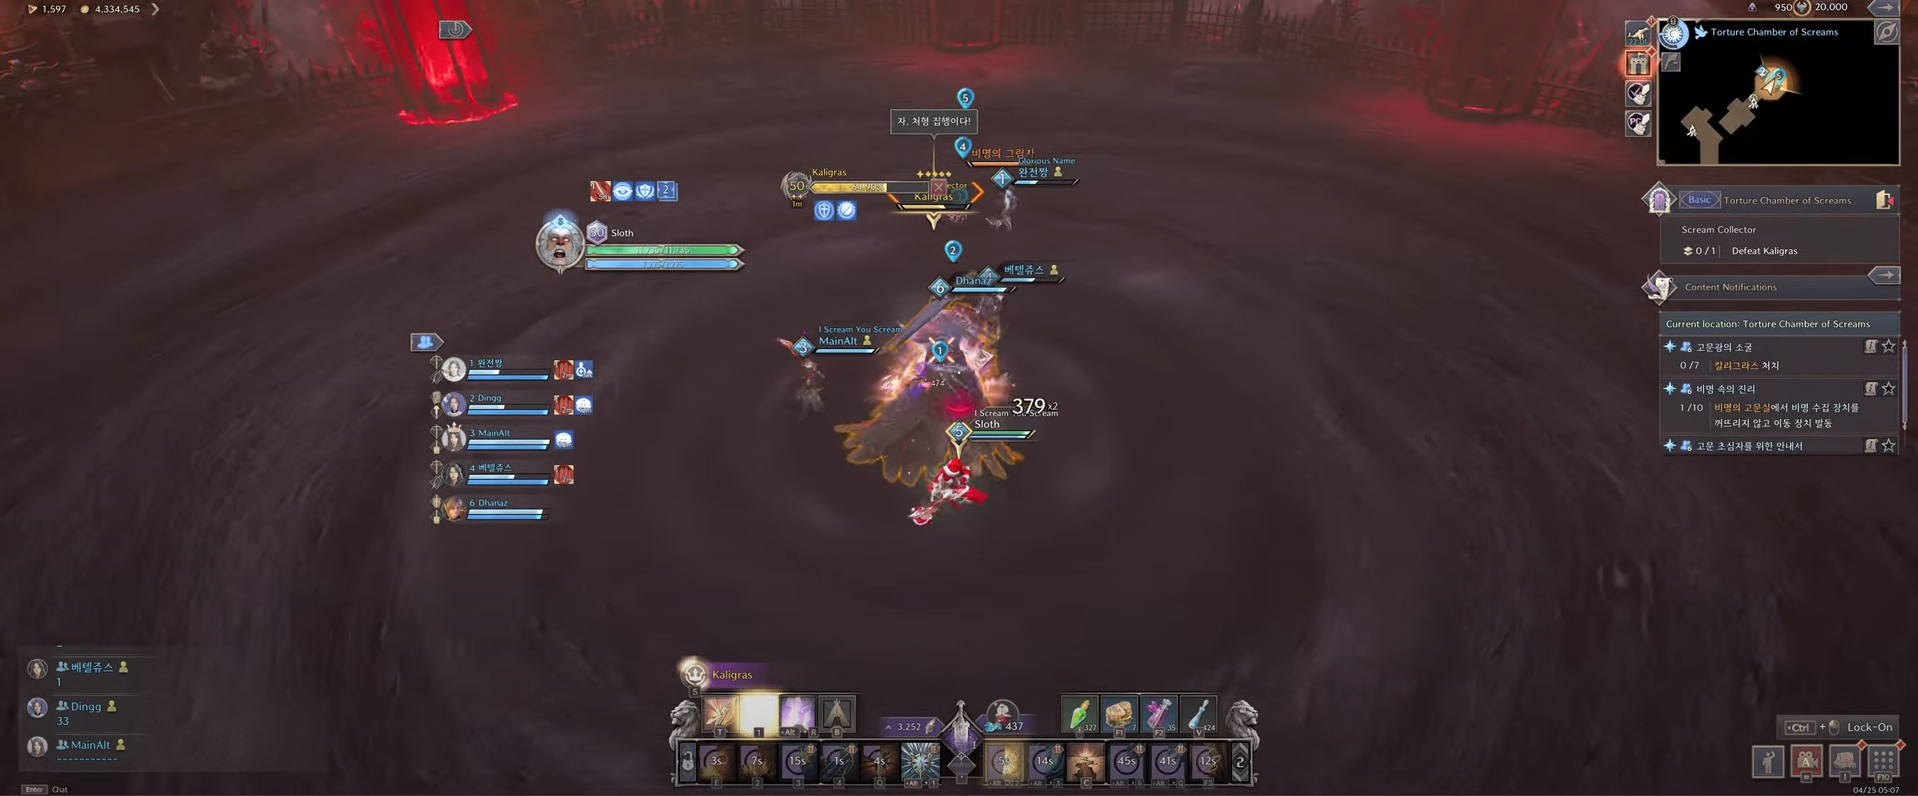
Executioner Charge
Shortly after the red swirls mechanic, one player is chosen to be teleported and bound on the opposite side of the arena. Then, Kaligras begins a full-on charge at the bound player. To successfully prevent this player from being instantly killed, the party needs to gather in-front of the player in a line. Multiple block indicators (3) appear on the boss. As the boss approaches the party, everyone has to time their block to prevent the damage and ensure the bound players safety. However, it is important to have every player move away from the previously bound players location. Kaligras still uses their execute attack in that direction and can still kill anyone who stands there.
Shortly after, once you and your party have got behind the boss, Kaligras fires a beam at the closest player. As a result of the attack choosing the closest target – allow your tank to be the closest guaranteed. This attack also fills up a Blood Vial.
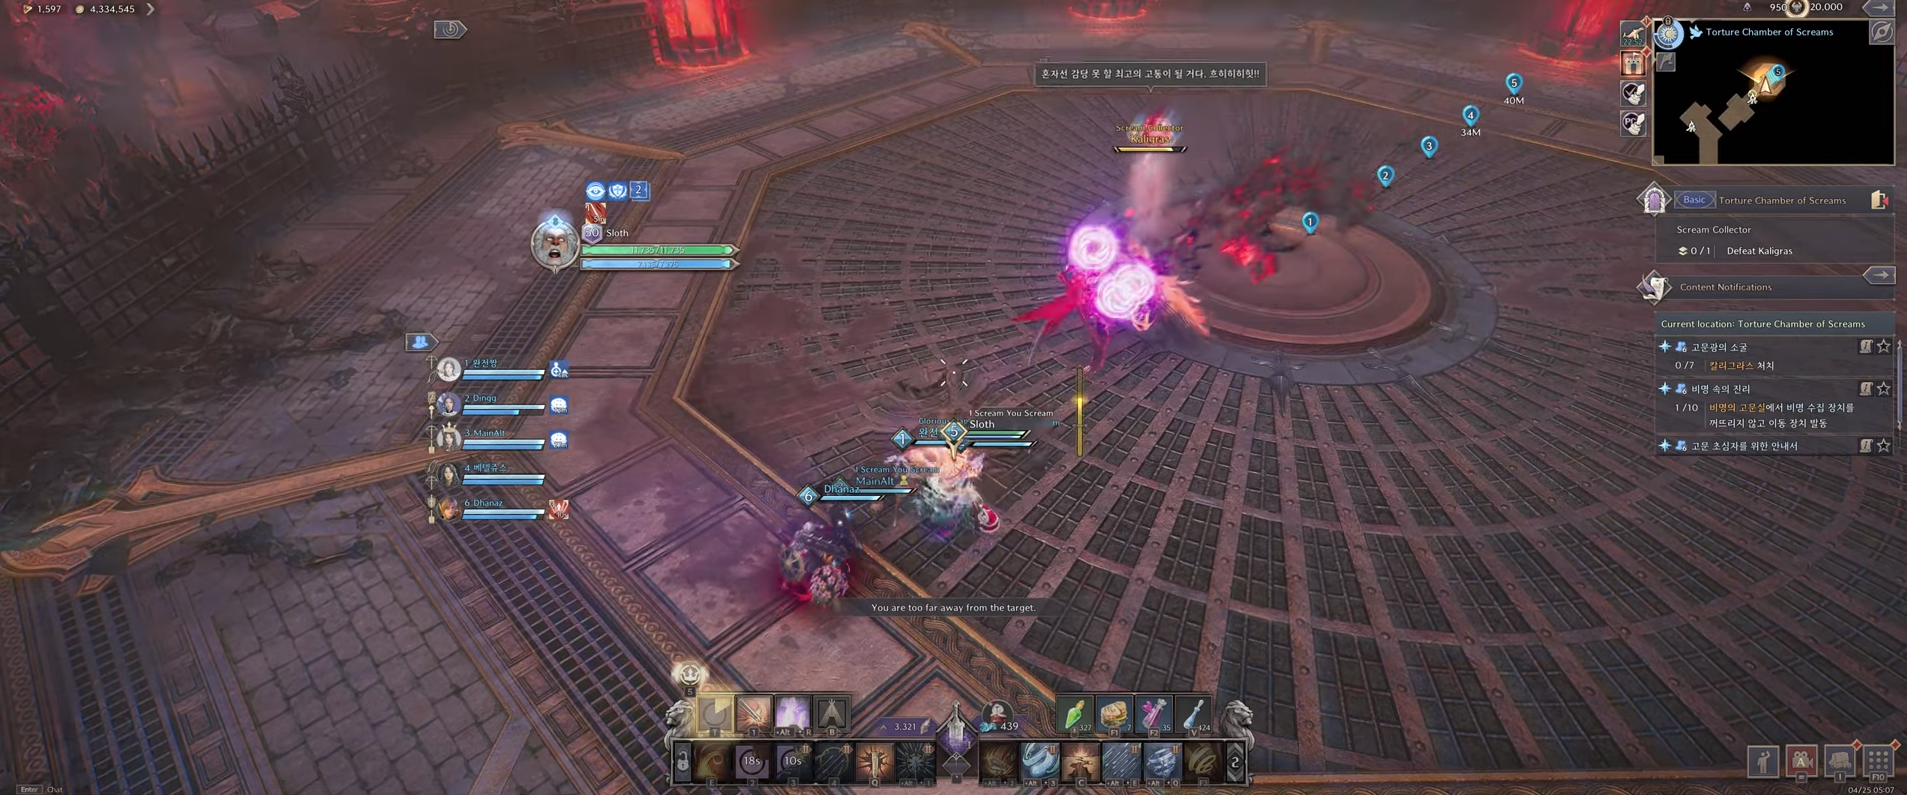
Zombie Phase
Up next, Kaligras teleports to the middle of the room and turns the floor into a smoke field. Soon after, at least three players become a target of zombies that Kaligras spawns in. Some targeted players are marked with a closed or open eye above their head. Their zombie also has an open eye icon above their head. As a result, if you’re marked, head to one of the vials and drain it to reveal the zombies “number”. This number indicates how close or far away you have to be from the boss for the mechanic.
As seen in the picture above, it is helpful to create a numbered line of pins to help the party identify their position. If a zombie as the numeral for 5 above its head, then you take it to the furthest position from the boss. In the case of this example, 5 would be close to the Blood Vials. It is important to be in the right position with your zombie. Failing to be in the right position causes a reaper to spawn that immediately kills you. If you succeed in positioning the zombies correctly, you become frozen for a short period of time. Once you’re free, DPS the boss again.
Mechanic Reminders & Vial Duty
There is a few block-able attacks that happen throughout this phase too. As always, be sure to block as much as you can to prevent the vials from overfilling. A few things to remember with this phase:
- Blocking at least 3 attacks throughout the fight gives you the eye markers for the Zombie Phase.
- Only the players marked with the zombies can and should open the vials during this phase.
- The party must not open more than 3 vials during this phase. If you open 4 during the dungeon, you are party wiped.
- 1 vial minimum still needs to be active to prevent a wipe.
After the majority of this phase is over, one player remains marked at all times. This player is responsible for keeping an eye on the vials to ensure there is not too many that’re full. For example, if you have 2 vials still active after the Zombie Phase, the next red swirl mechanic is going to fill all 5 and wipe the party. As a result, the player with the mark is going to drain at least 1 vial to prevent a wipe.
Finally, the phase concludes and resets back to the first phase of the fight. As a result, rinse and repeat until you defeat the boss.
Tier 2 Dungeon Rewards
Tier 2 Dungeons provide the next step of progression rewards for players. As a result, each chest looted costs 450 Dimension Tokens compared to the 300 a Tier 1 dungeon chest costs. The power of Tier 2 materials, weapons and armor, however, is a huge step up from Tier 1.
Challenge Difficulty
Challenge mode is a Mythic+ styled system in Throne and Liberty. Each week, two dungeons are selected to become Challenge mode dungeons. Tied into these two dungeons is a set of “affixes” that change some of the rules in the dungeon. For example, an affix can make it so totems spawn and stun players periodically.
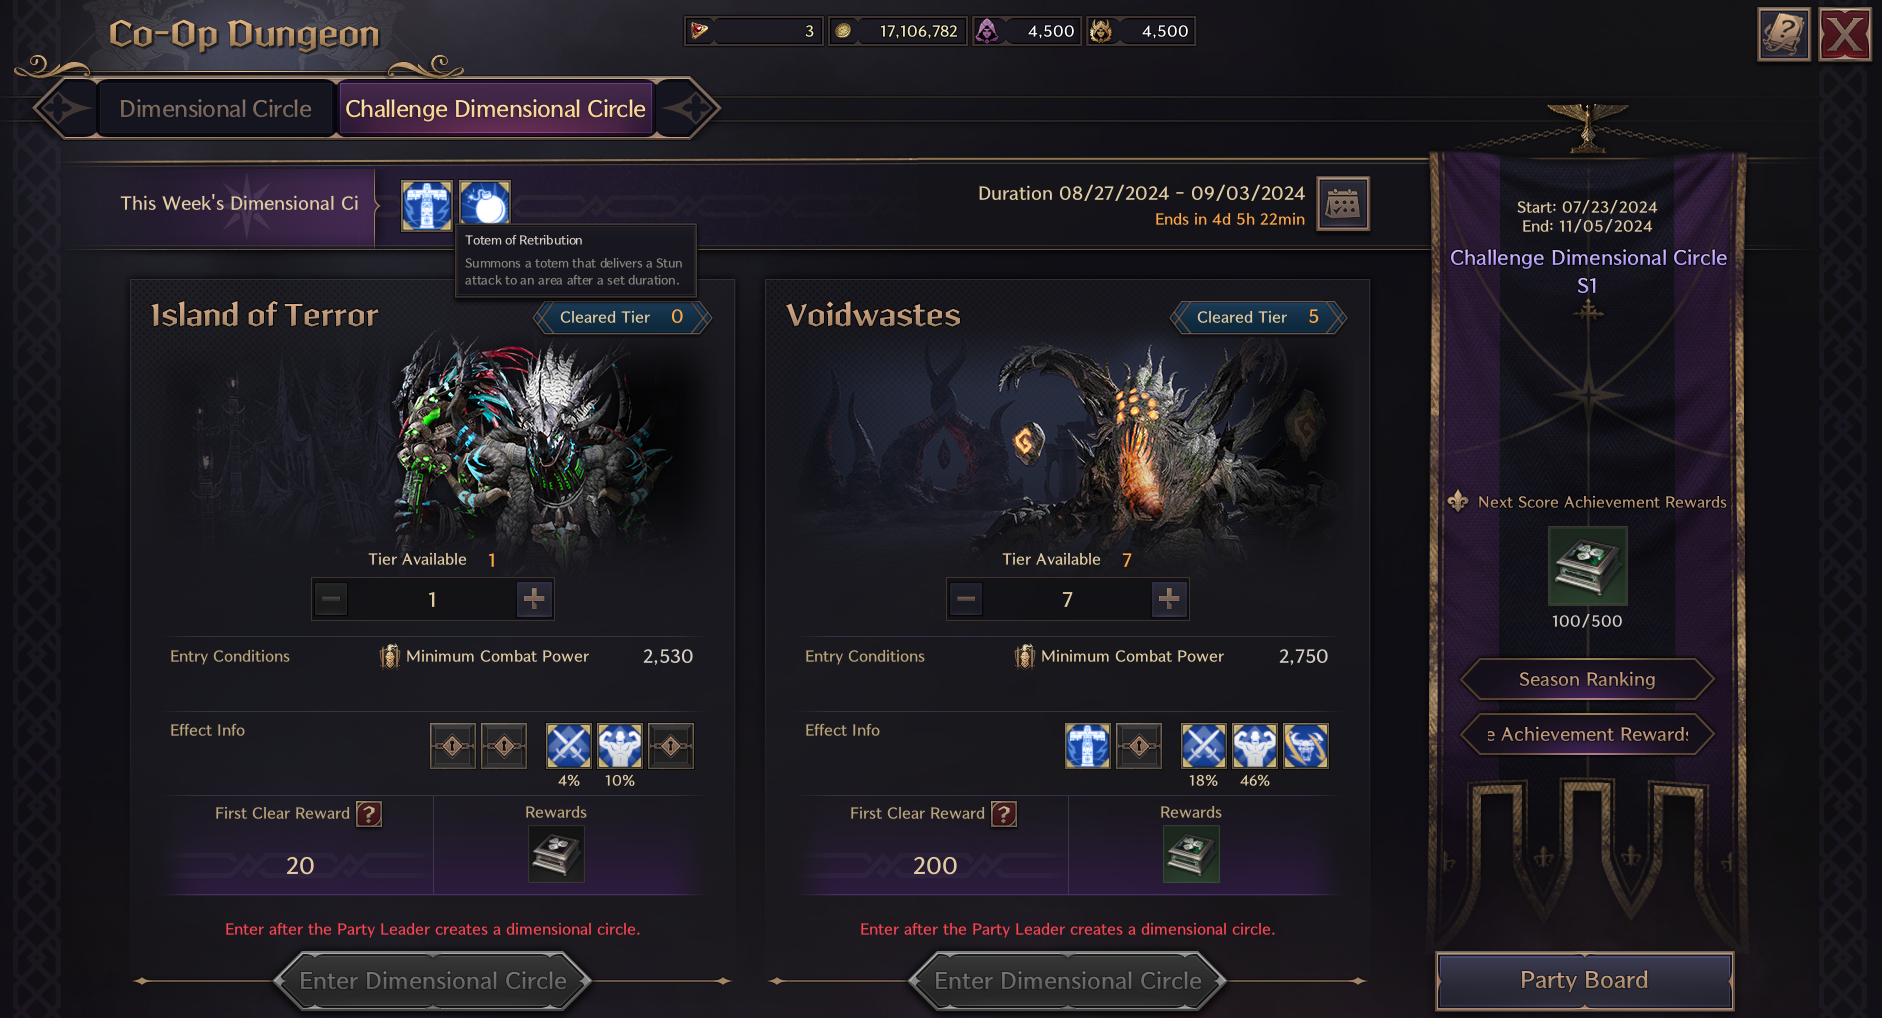
As soon above, depending on the difficulty tier you select, additional mechanics for the dungeon are added (seen in the “Effect Info” section). The Tier breakpoints for each new mechanic is Tier 5, 9 and 13. Below is a list of the mechanics that get introduced:
- The raining blood arrows mechanic is introduced in later tiers.
- A collectable blood orb from one of the vials during the Zombie mechanic.
- Additional attacks that can be perfect blocked.
Torture Chamber of Screams Guide Conclusion
This sections concludes the Torture Chamber of Screams guide for Throne and Liberty. For more information and content assistance, please check out our official Home page.