
Introduction
The purpose of this New World Leveling Guide is to provide you with an efficient way to reach level 65. Please note, that in order to reach level 65 you must own the Rise of the Angry Earth Expansion. If you do not, you will be capped at level 60.
In New World Aeternum, there are many different ways to level up. You can use quests, faction missions, corrupted portals, expeditions, and more to reach max level. This guide will provide you with tips on leveling, what to focus on, and what to avoid during the leveling process.
General Leveling Tips
- Archetypes are simply a starting point for New World. You are not locked into your choice, and can switch weapons and armor anytime you want. You can also level every weapon and trade skill to max. Don’t stress too much about Archetypes. Make your decision off of the trade skills versus the weapons. Weapons are easy to obtain and you can easily switch them early. Recommended Archetypes are Solider and Occultist for the trade skills they provide because they are the hardest / most expensive to level. However, none of the trade skills are difficult to get to level 50.
- Questing is your main source of experience. Make sure you grab all the side quests as you progress the main story. Typically the side quests are in the general vicinity as the main story, which makes it very efficient to complete them in “cycles” as you go.
- Complete all of the quests on the beach before heading into the settlement so you can continue the main story line.
- Pick up every lore page you see. These give a decent amount of experience when picked up for the first time.
- Town Boards XP yield is not good (questing is “faster” and more effective experience gain). These are still a trade/gold resource for XP, so picking them along the way can still prove to be valuable. Do not go out of your way to complete them for XP however, as they are not worth it.
- Early leveling is very easy. Run light armor if you can to maximize your damage output in order to kill mobs more efficiently. If you are playing melee you may want to consider switching to medium armor in the 30 to 40 level range, and potentially heavy armor in the 50+ range so you can do bigger AoE pulls of mobs.
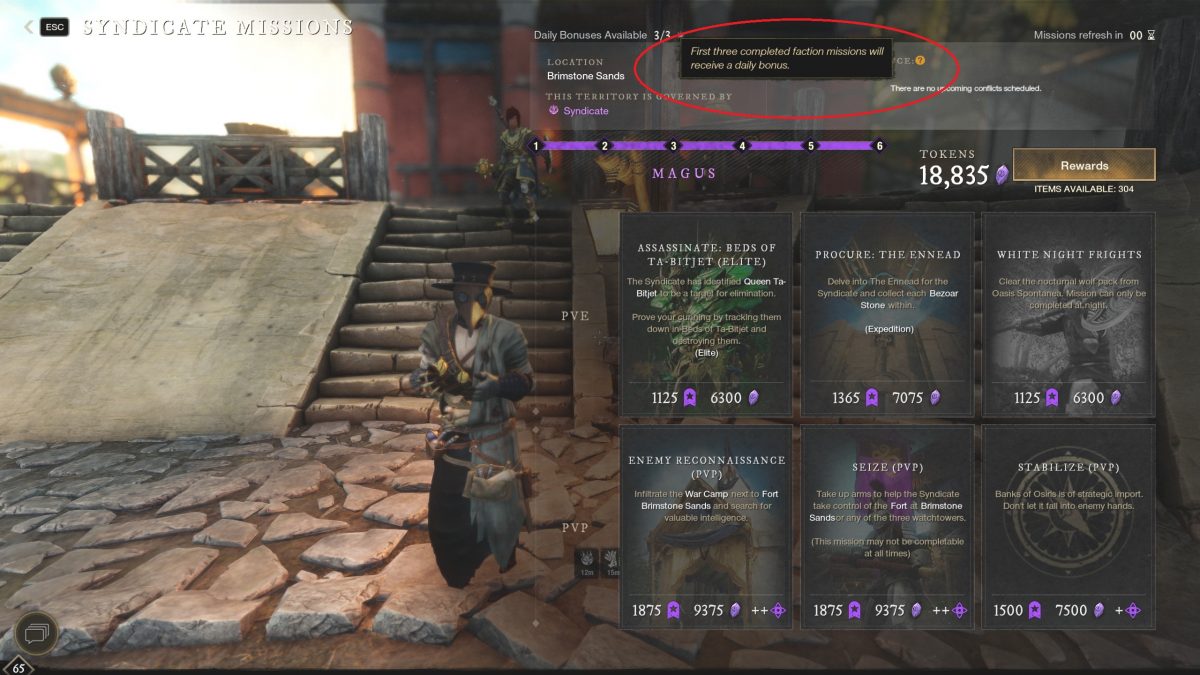
- Make sure you do your 3 faction quests each day. You will receive 5x the rewards for the first 3 faction missions you complete every day. This will boost your experience gain by quite a lot. It’s recommended that you do the highest level PvP missions that you have access to in order to maximize the experience gain and other benefits.
- Ensure you check your faction quests prior to going out to complete your main story and side quests. If there are any faction missions in that general area make sure to accept them so you can complete them along the way as well.
- There are usually factions missions available for each expedition. Make sure you check the settlement of the zone the expedition is in prior to running the dungeon.
- The main story quest will reward you with your Azoth staff. This is a vital part of the game and leveling in general. Make sure you get this.
Travelling
- Traveling on roads will give you a 15% movement speed bonus. Keep this in mind when traveling around while questing.
- Make sure you set an Inn at a settlement. This is incredibly valuable early on as it will be your only source of open world fast travel until you can purchase a home. You will be able to fast travel via shrines back to town, but you can travel back to the inn from anywhere on the map.
- Pick up all the fast travel shrines that you are near during your questing.
- If you encounter a jumping puzzle look for the white stains on the ground. This is the direction you need to go.
- Get your mount as soon as possible. You will need to be level 20 before you can obtain one. This will greatly increase the speed at which you can complete quests.
Leveling Rewards
Here is a list of unlockable rewards that you will earn as you level up:
- 10 – Ability to duel other players; First bag slot; Camping (Tier 1)
- 15 – Camp tier upgrade (Tier II); Third consumable slot; ability to buy 1st home
- 20 – Ring Slot; Unlock main story quest to obtain the Azoth Staff; unlock the ability to queue for 3v3 PvP arenas; Unlock Mount Quest
- 25 – Fourth consumable slot; Season Reward Track; 2x Gear Sets
- 30 – Second bag slot; Unlock main story quest to to obtain Azoth Staff upgrade; Camping Upgrade (Tier III)
- 35 – Unlocks ability to purchase 2nd house
- 40 – Earring slot; Unlock main story quest to obtain Azoth Staff upgrade; Camp Upgrade (Tier IV)
- 45 – Third bag slot
- 50 – Can participate in Invasions’ Unlock main story quest to to obtain Azoth Staff upgrade
- 55 – Unlocks ability to purchase 3rd house; Camp upgrade (Tier V)
- 60 – Can participate in Outpost Rush; Unlock main story quest to to obtain Azoth Staff upgrade; Unlocks Season Journey
- 65 – Unlocks Artifacts
The Tutorial
When you spawn into Aeternum for the first time you will be in a quick tutorial. During the tutorial you’ll familiarize yourself with the combat, movement, key binds, and your weapons. You’ll gain a couple weapon levels, as well as hit level 2 during the tutorial.
Make sure you enter into your attributes and weapon mastery menu to select new weapon abilities and increase your attributes.
Skipping MSQ (Main Story Quest) Expeditions
You have the option to skip the MSQ expedition quests. This is useful if you’re playing solo, or have trouble finding a group for a particular expedition. Solo quests that don’t require you to enter into the expedition are an option for players. So, while you are leveling, keep an eye on what your quest objectives are. However, if possible run the expeditions as they will award you with more experience than the solo quests.
Levels 2-17
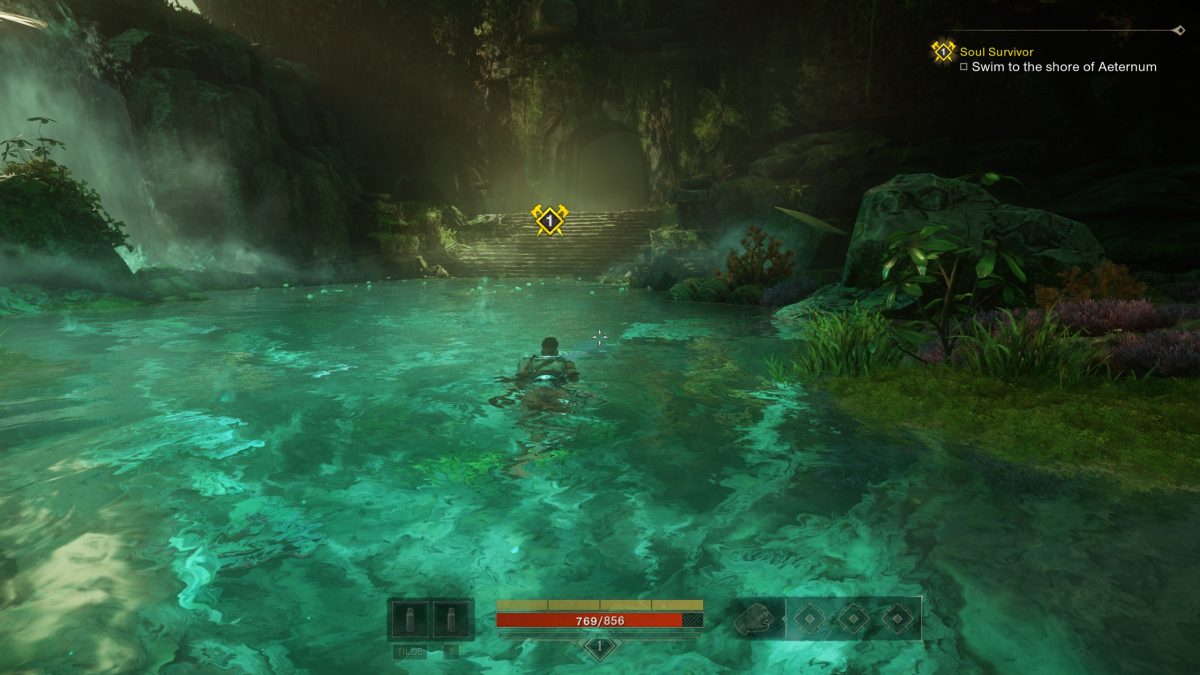
Do not run straight into a settlement when you spawn on the beach. If you do this you will have to run back to the beach and complete the quests before you can accept any quests in the settlement. Do NOT skip the beach quests.
Once on the beach, you’ll want to run immediately to the main story quest giver at the watchtower. He will be marked on your map, so you can press the default key of “M” to see where he is.
It is recommended at this point that you stick to the main story quests on the beach if you are trying to level efficiently. You do not want to stop along the way to gather excess items or kill excess mobs.
However, you want to stop and pick up additional flint and wood so you can make tools at the campfire prior to heading into the settlement. You will need 1 flint and 1 wood to craft the items, but having a few more isn’t going to hurt. Crafting and equipping these tools early will help save you a little time later on.
Another useful thing to pick up as you’re completing the quests on the beach is herbs. These are used to create weak health potions and will be useful as you progress through some early levels. You can also collect Bulrush Cob along the water’s edge if you come across it. It’s also used to craft weak health potions.
As you progress through the main storyline on the beach it will tell you exactly where to go and what to do. These are very easy and straightforward quests that will eventually lead you to the nearest settlement.
New World Leveling Guide Early Tips
Once in the settlement you will want to turn in and pick up any available quests and continue questing for maximum experience gain.
Bear in mind that any gathering quests you have can be done on your way to do other quests. Oftentimes there will be markers on your map for things like “gather wood.” You do not have to go to that specific location to gather the material. Gather it on your way to other quests so you don’t wander too far from your quest paths.
During this part of the questing there are a couple quests you may encounter that can take some time to solve. (depending on your starting location – there are 2 possible main quest locations and each have their own questline during the very early parts of the game) Here’s a few tips for those quests:
For the quest titled “The Mystery of Minister Lochnir” you will need to make your way into some Ruins. In order to get in you need to go up the North side stairs and around the wall. There you can walk over the fallen pillars into the middle of the area. Once inside you will need to dodge the lasers and make your way to the quest marker.
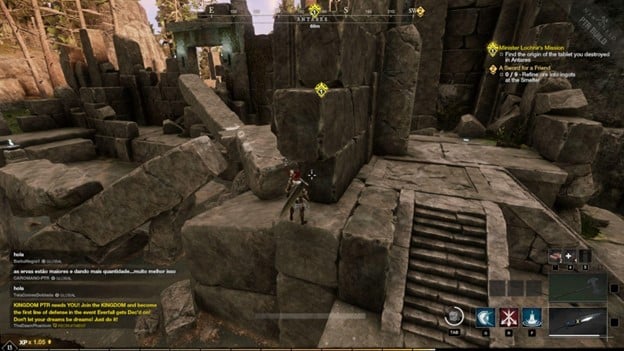
You can see where to jump by finding the white markers on the stone. This applies to all jumping puzzles.
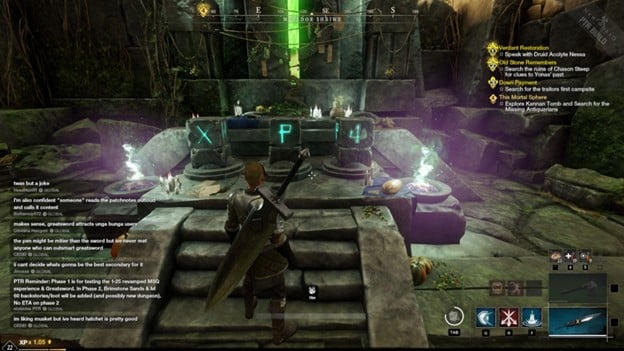
For the quest “Verdant Restoration” you will need to place the stones in the following order from left to right: “X” “P” “T” symbol.
Level 17
Once you reach level 17 you will be able to join a faction. The initial faction quests are located in Everfall. It’s recommended that you finish any quests you are working on and then head to Everfall to join a faction prior to continuing the main story.
There are three different faction enclaves in Everfall. The syndicate enclave is in the north, marauder enclave is in the west, and the covenant enclave is in the southeastern corner of the zone. You will need to choose which faction you wish to be a part of and then go to that enclave to begin the quest. These will be marked on your map once you reach level 17.
Joining a faction as soon as you can is recommended so that you can begin running your 3 daily faction missions for the additional experience they will provide. You can pick up faction missions your faction representative located in any settlement. This will give you a nice experience boost each day. After you join a faction you will also have the opportunity to flag for PvP. Doing so will give you a 10% experience boost while flagged.
Level 18-23
After joining a faction you can then head back to the main story quest and side quests until you reach level 23. Level 23 is a crucial level because you will unlock the ability to gain access to the Amrine Excavation. You will be able to run the repeatable quest, Bones for Barkimedes and gain a good amount of experience from the expedition itself.
When you reach level 20, make sure you head to northern Everfall to get your mount (must own Rise of the Angry Earth to get a mount). This will greatly reduce your travel time, making your leveling much more efficient.
From here the most efficient way to reach max level is to simply continue questing. You will want to make sure you pick up all the side quests as you continue to progress the main story. It’s worth noting that you will gain access to 3v3 PvP arenas at level 20. You can do these to gain some experience and PvP track experience. However, it’s not very efficient simply for leveling.
To level quickly you should continue to do your questing loop until level 60. Remember you can skip the expeditions by choosing the solo option quests if you so choose.
There are some additional level milestones you should be aware of.
Level 33
You will gain access to Startstone Barrows, and can utilize this expedition for gear drops and experience. There is also a nice repeatable quest called More Bones for Barkimedes that you can do to gain some decent experience as well.
Level 43
At level 43 you will gain access to the Depths expedition, and can utilize this expedition for gear drops and experience. There is also a repeatable quest called Meat for Nekumanesh that you can utilize for some decent experience gains.
Level 55
When you hit level 55, you will gain access to the Dynasty Shipyard Expedition, and can utilize this expedition for gear drops and experience. There is also a repeatable quest called Justice for the Dynasty that you can utilize for some decent experience gains.
New World Leveling Guide – 60 and Beyond
Upon hitting level 60 you will want to start quests in Shattered Mountain and Brimstone Sands as soon as possible if you do not have the Expansion, Rise of the Angry Earth. These 2 zones will get you some decent gear for your level to help you progress.
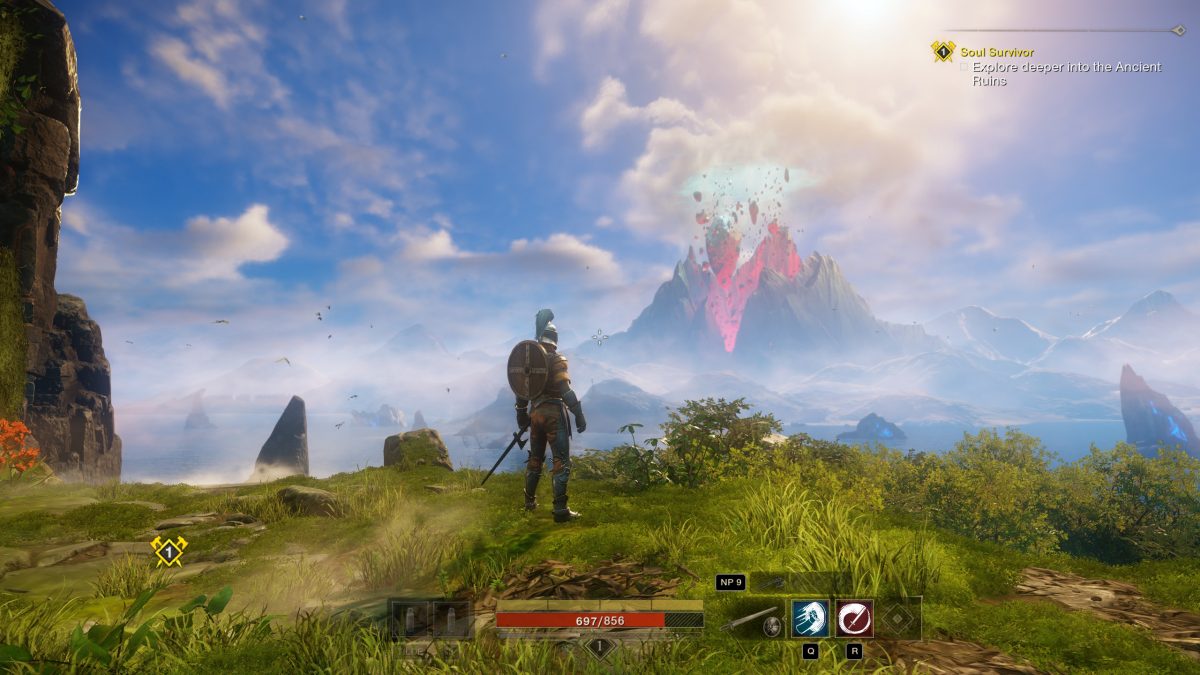
However, if you do own the Expansion you will want to make your way to the Elysian Wilds zone and complete the questline there. Doing so will get you up to max level of 65 or very close to it. These quests will also increase your gear score to roughly 640-650 which will allow you to begin doing some of the end game content. You can out our ‘How to get to 725 gear score‘ guide for additional progression post level 65.
It’s important to note that either way you will want to clear the quest in Brimstone Sands that rewards you with your Heartrune slot.
For more New World Aeternum guides check out our comprehensive New World Aeternum guide library!