Introduction
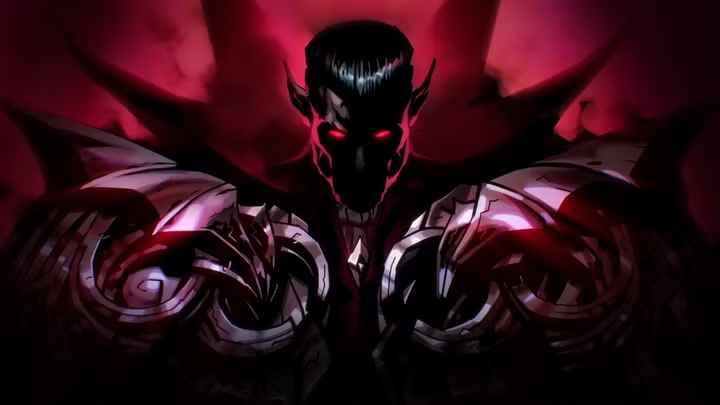
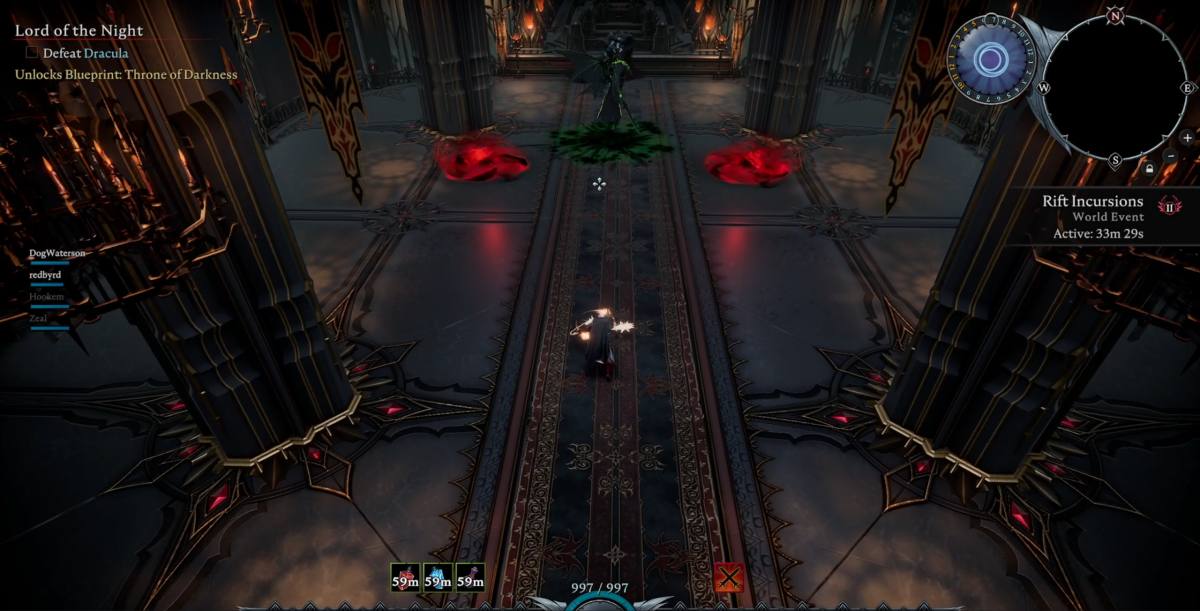
Dracula is the final V Boss in V Rising. You will need to defeat Dracula, the level 90 V Boss, in order to unlock the remaining items in the game, and complete all the quests. This is an incredibly hard fight that takes patience and preparation. This V Rising Dracula Guide will cover everything you need to know in order to defeat Dracula and become the new vampire king!
How to Enter Dracula’s Castle
In order to enter Dracula’s Castle you need to acquire the Blood Key. You can unlock the recipe for the Blood Key by defeating Lord Styx the Night Champion. He is located in North Dunley Farmlands. The point of interest is called Dracula’s Demise. Once you have the recipe you can then make your way to an Artisan’s table to craft the Blood Key. In order to craft it you’ll need to obtain the following:
- Onyx Tear x 3
- Primal Blood Essence x 3
- Greater Stygian Shards x 150
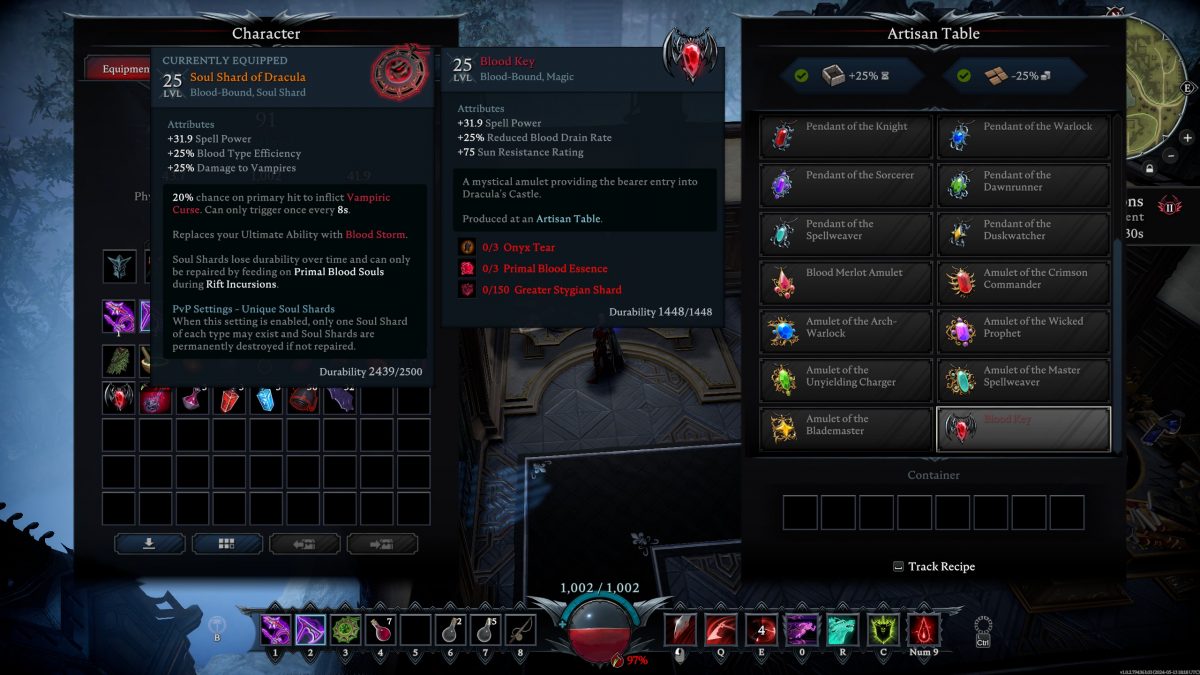
The Blood Key is actually an amulet that you can wear if you so choose. However, it gives you 75 sun resistance which you do not need during the Dracula fight. So, it’s recommended that you wear a different amulet during the encounter (more on gear below).
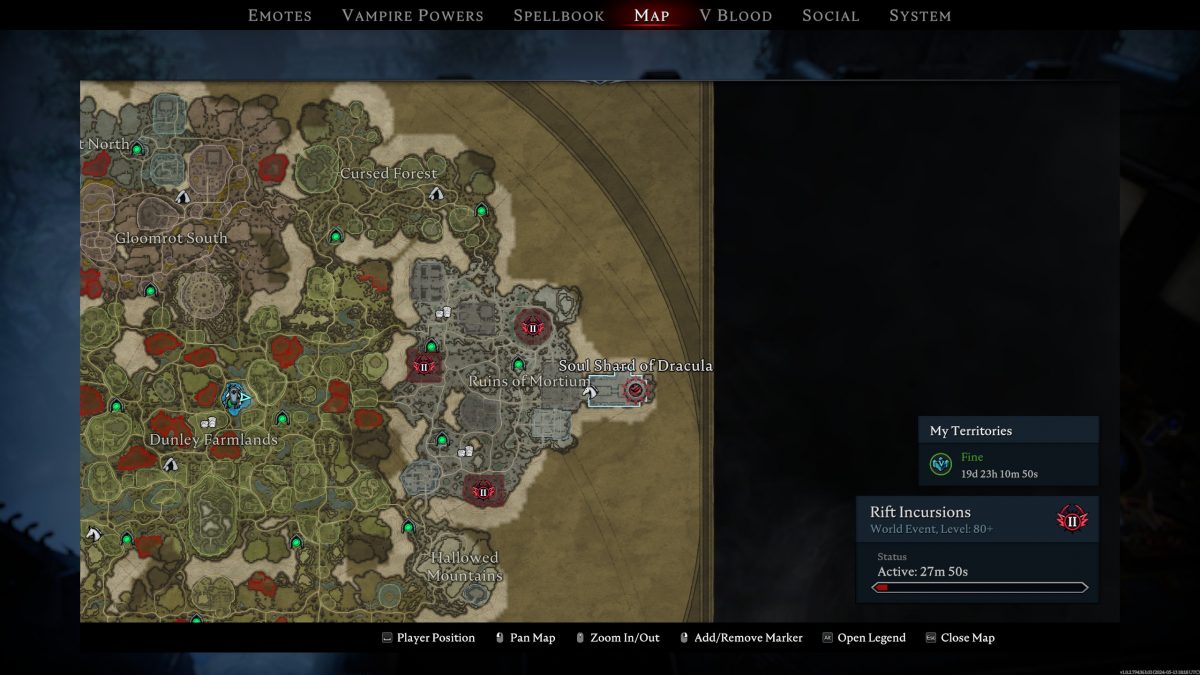
Once you have the amulet and are geared up and ready to begin the encounter you can head to Dracula’s Castle. The castle is located in the very eastern part of the Ruins of Mortium zone. In order to enter the castle you simply need to have the Blood Key in your inventory. You do not have to equip it in order to enter.
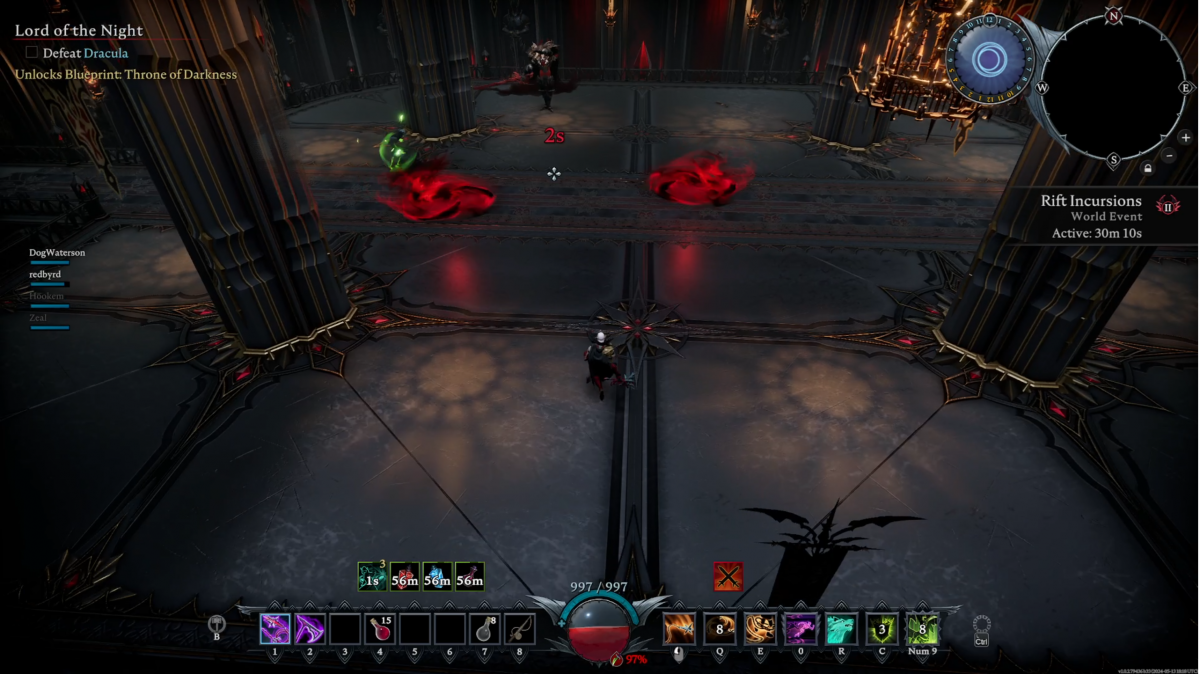
Once inside simply make your way to the portal at the end of the hallway. Interact with the portal to begin the fight. When you’re in the arena you’ll need to jump down and approach Dracula in order for him to step off of his throne.
V Rising Dracula Guide
There are 2 phases to the Dracula Fight. Please note this guide does not reference the Brutal version of the fight. However, there are also additional mechanics that you will face if you decide to take on Dracula with a friend or a group. Those will be explained in the sections below.
Also worth noting, is that if you die you are transported back to the portal so you do not have to run all the back to the castle again. Also when you respawn your blood pool is replenished to what it was prior to entering the fight. This means taking one blood bottle, or coming into the fight with full blood is enough to attempt the fight several times.
Phase 1
After Dracula jumps from his throne there is a short delay before you can deal damage. If you time this correctly you can get a little free damage at the start of the fight. Also be aware of the 4 columns in the arena. You can use these to your advantage to block many of the mechanics in this phase. The mechanics you need to be aware of during this fight include the following:
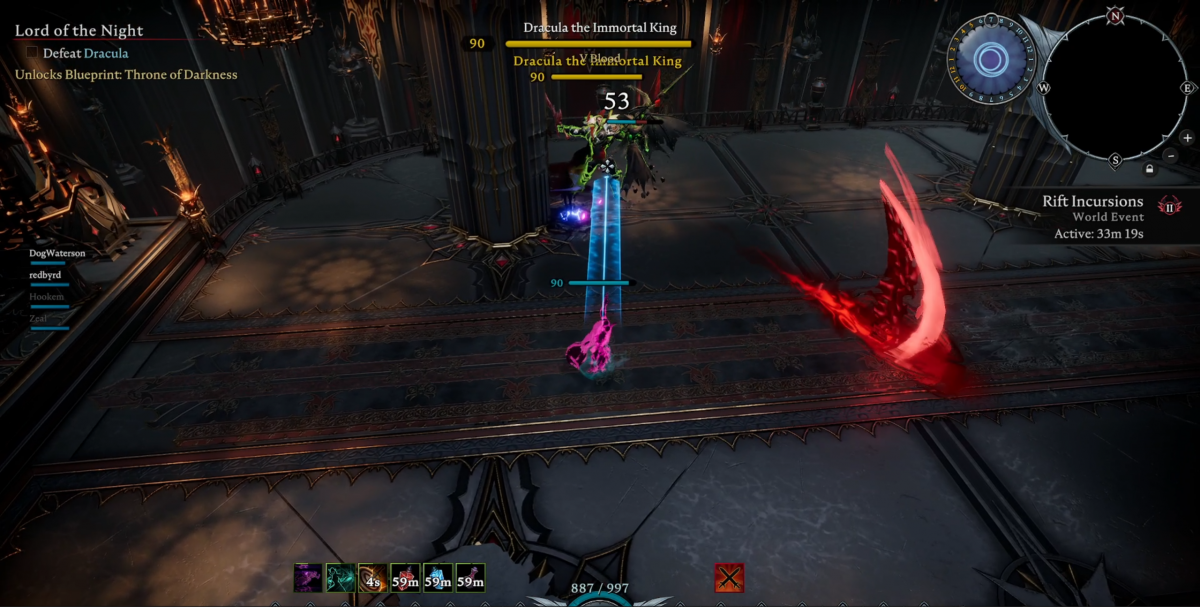
- Blood Waves – Dracula will drag his sword on the ground and sling it up towards you. This will send out a wave of blood towards your location. If solo, getting hit by this deals damage. You can move out of the way, dash out of the way, or use a block ability to avoid damage. If you’re in a group you will take damage and also receive a Vampiric Curse (See Vampiric Curse Below)
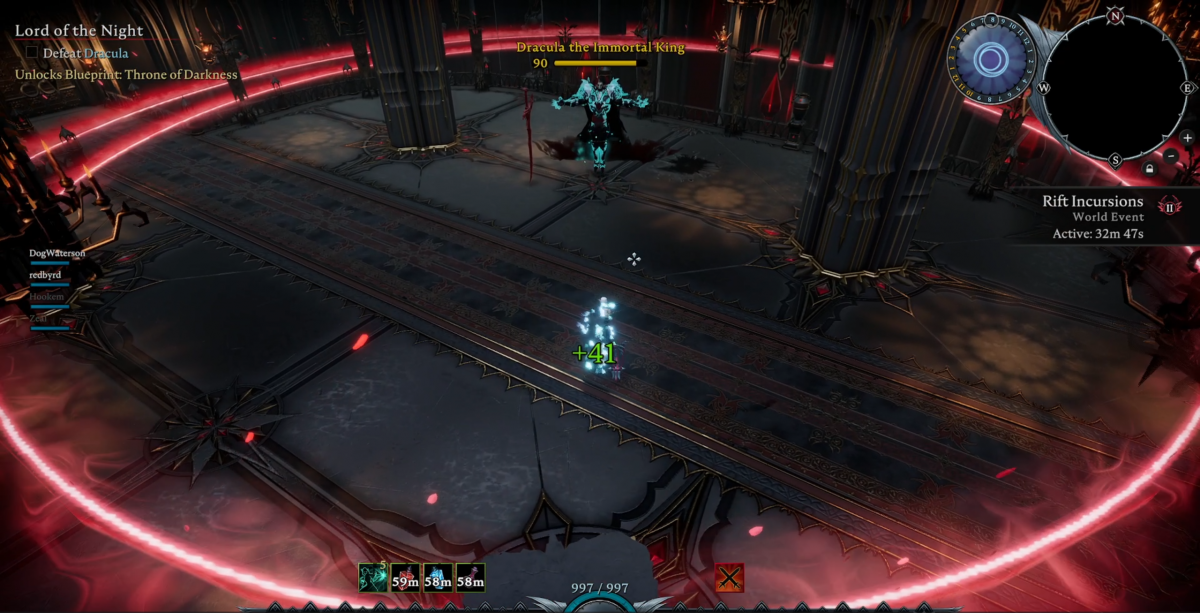
- Vampire Vortex – The boss casts a large circle that covers most of the arena. You can avoid this ability entirely if you’re outside of the circle. However, you will likely be caught inside. When he performs this ability he will also shoot out blood balls in a slow moving circle around him. You will need to block or maneuver around the blood balls to avoid taking damage. The circle will slowly move inward into the boss. Once it gets fairly close to the boss you will see it change colors. When this happens you need to dash out of the circle in order to avoid taking damage. If caught in the circle too early you will be pulled into the vortex and take damage as well. Make sure you time this appropriately.
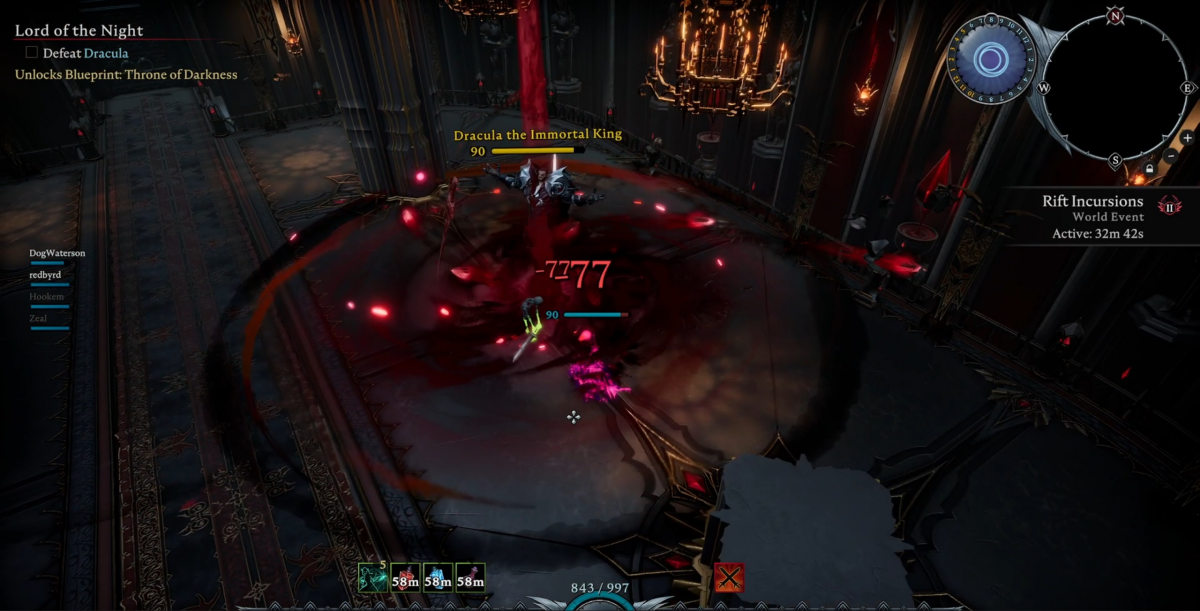
- Wolf Form – Dracula will transform into a wolf and run towards you. Once he reaches you he will luge toward you and then turn back into his vampire form. Once he turns back he will quickly slash his sword at you dealing damage. To avoid this mechanic just wait for the wolf to get close to you and then dash under him when he lunges. This will move you away from him and avoid the slash at the end. If you’re playing in a group he will spawn wolf ads as well (more on that below).
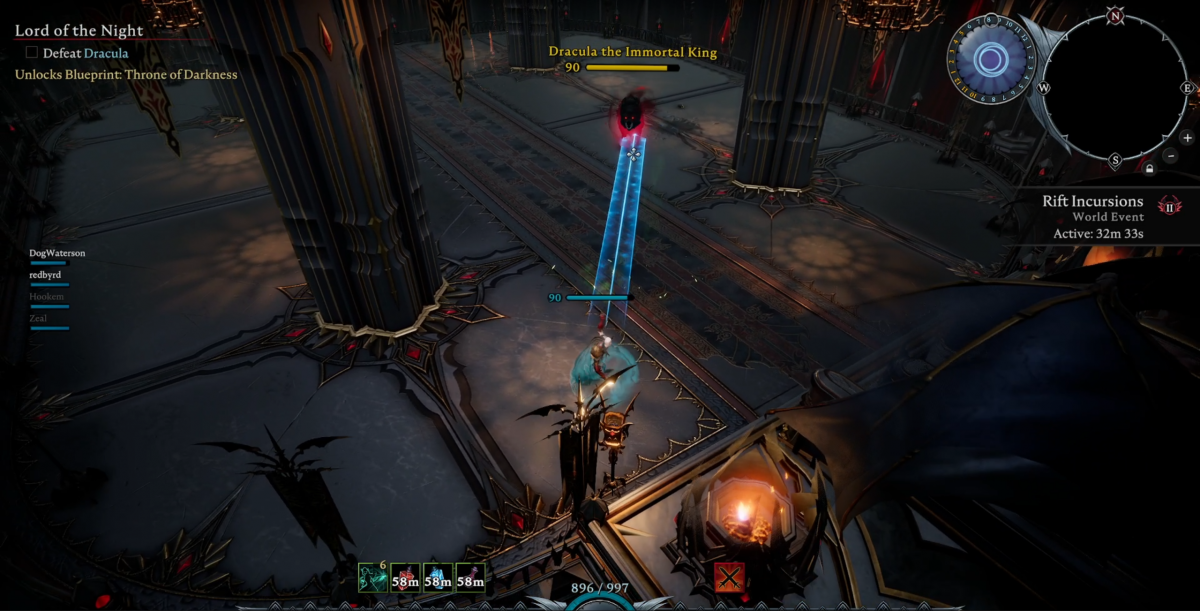
- Blades – Dracula will shoot out 2 blades that cross paths towards you. This ability works much like the ability you can use with axes. You can avoid this ability back backing up out of range, utilize a blocking ability, or moving forward into the open space. Getting hit by these deals a good amount of damage.
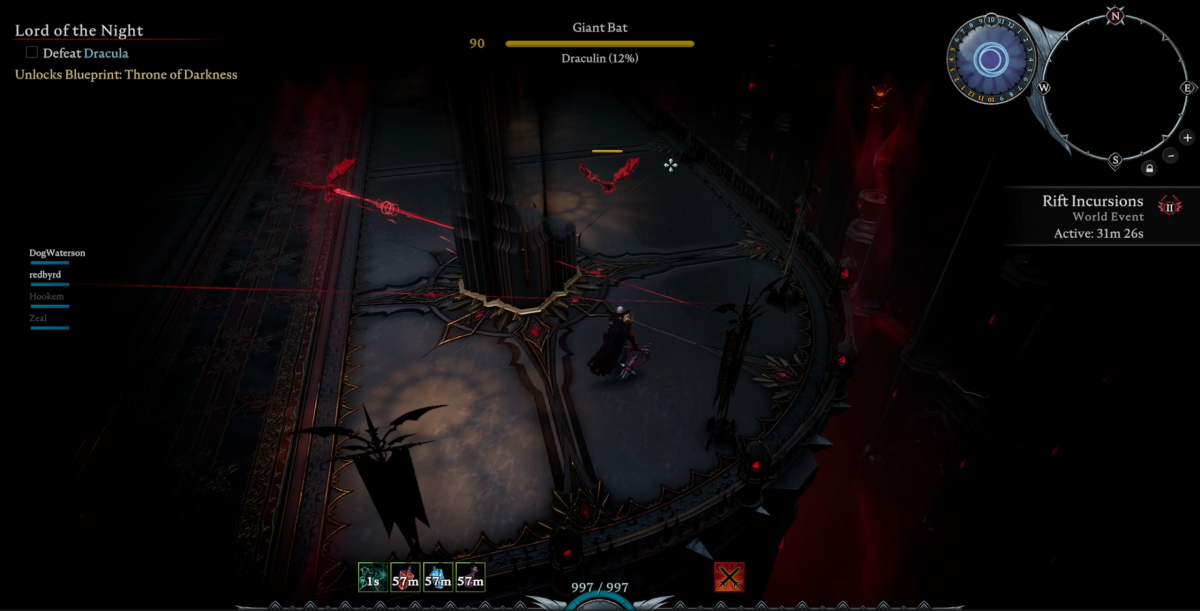
- Bats – Periodically Dracula will summon a couple bats in to the arena. Once they spot you you will see a red line appear. That red line is where the bat is going to path to. After the red line appears just move out of the path of the line to avoid taking damage. If a bat hits you, you will be damaged. If in a group you can also receive Vampiric curse by getting hit by a bat.
- Blood Drain – During this ability Dracula will dim the arena and a lot of bats will appear. When this happens make sure you save your dodge. Just like the “Bats” ability just mentioned, you will need to dodge out of the pathing of the bats to avoid damage. However, at the end of this ability Dracula will teleport to your location and pick you up. If you get hit by this he will drain your blood pool by a significant amount, and you will take a good amount of damage. Again, save your dodge. Resist the urge to dodge out of the bat pathing. Only use your dodge when you see Dracula appear to quickly dodge out of his range.
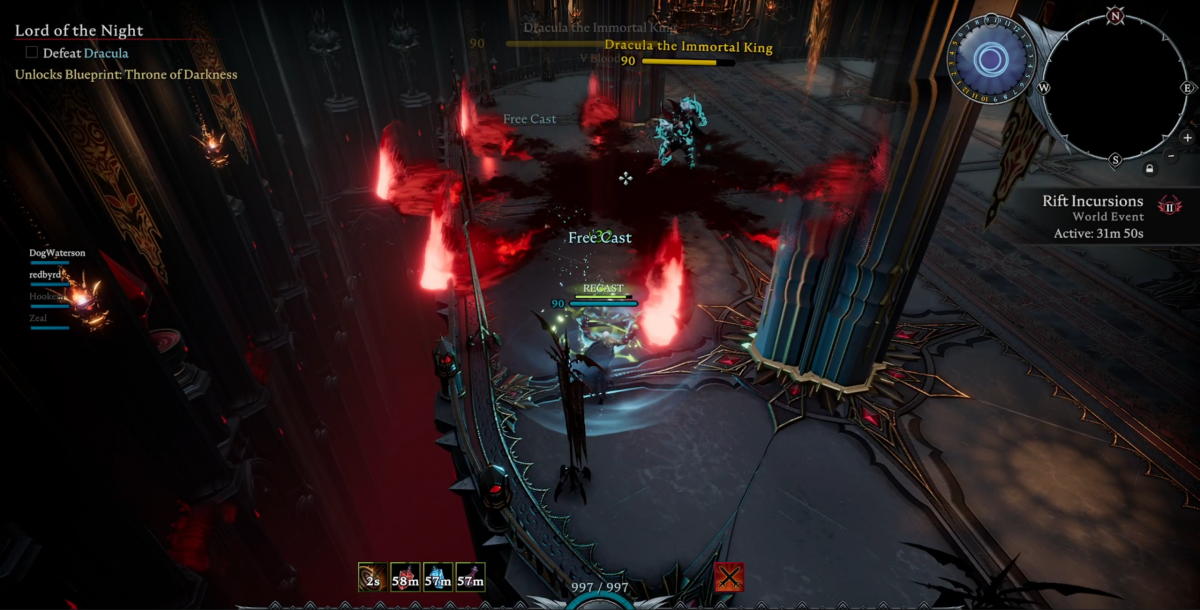
- AoE Smash – Dracula will smash the ground causing flames of blood to permeate outward in a star shape. You can utilize the columns to block the damage, use a blocking ability, dodge, or sidestep out of the way of the ability. Getting hit deals a decent a amount of damage.
- Dash and Chop – Periodically Dracula will Dash sideways and then towards you location. Once he reaches you he will chop his sword down dealing a good amount of damage. Be ready for this because he covers a good amount of ground, and the attack is fairly quick. You can dodge or sidestep out of the way of the ability.
- Lunge and Stab – Dracula will sometimes lunge toward you and stab his sword into you dealing damage. You can dodge or sidestep the attack.
During phase 1 there isn’t any pattern to the attacks. Any of the attacks can be performed at any time. However, there are clear animations for each attack and sound queues for several as well. Make sure you utilize the columns to your advantage for line of sight. Don’t get too greedy for damage or you will be punished for it. Be patient and deal damage in your windows of opportunity once he has completed his attack animations.
Once you have Dracula down to roughly 60% he will then hover in the air. After a few seconds all of the columns around you will explode. They will not deal damage to you, so don’t worry about taking cover. This is a great time to pop a potion or take a moment to gather yourself for phase 2.
Group Mechanics
The below mechanics are only applied when you’re in a group.
- Vampiric Curse – This is a debuff that’s applied only if you’re fighting Dracula with another player or a group. When you’re hit by certain abilities you will receive a curse. The curse will show as an icon above your ability bar with a countdown timer. This lets you know how long you have until you take damage from the curse. At the end of the timer the curse will explode and deal damage to you and anyone nearby. You can avoid the damage if you time your dodge perfectly, or you can utilize a cleansing ability in order to remove the curse prior to explosion.
- Multiple Wolves – When Dracula goes into wolf form he also summons 2 additional wolves to fight by his side. You need to kill the additional wolves or they will eventually overrun the arena. There is no limit to how many wolves he can spawn into the arena at a given time.
Phase 2
Phase 2 of the fight gets quite a bit more hectic. There are no columns to kite around or to utilize for line of sight, and the mechanics are ramped up a good bit. You’ll find yourself managing multiple mechanics at once, so you’ll need to be paying attention the entire fight. The mechanics you need to be aware of are the following:
- Blood Waves – This is the same ability from phase 1 with a twist. Dracula will drag his sword on the ground and sling it up towards you. This will send out a wave of blood towards your location. Once the waves end there will be 2 blood pools appear for a moment. Running into or standing in the pools will deal damage.
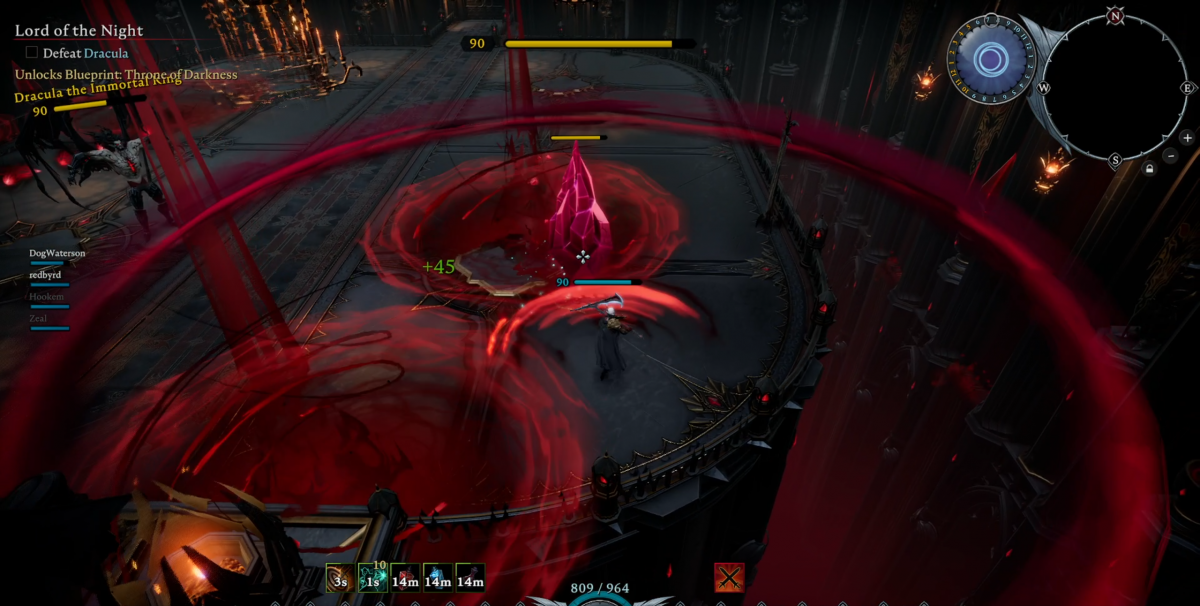
- Blood Crystals – Dracula will summon Blood Crystals into the arena. When this happens there will be a large crystal with a large red circle around it. If you are hit by the red circle you will take damage. Standing in the circle will continuously deal damage. Therefore, you’ll want to utilize your dash to dash through the circle and into the safe area. Once inside you need to deal damage to the crystal to destroy it.
- It’s incredibly important that you manage the crystals during the fight. He will continue to summon them, and if you do not destroy them the arena will be covered. This will give you very little room to maneuver, and make it almost impossible to dodge some of the other mechanics.
- Clone – Periodically Dracula will clone himself and fly to your target location. Once he reaches you he will smash down on you with his sword. This is a fairly quick ability so be ready to dodge out of the way. If you get near the clone he will attack you as well. You can kill the clone if you need to, or keep you distance. He will disappear after a short duration.
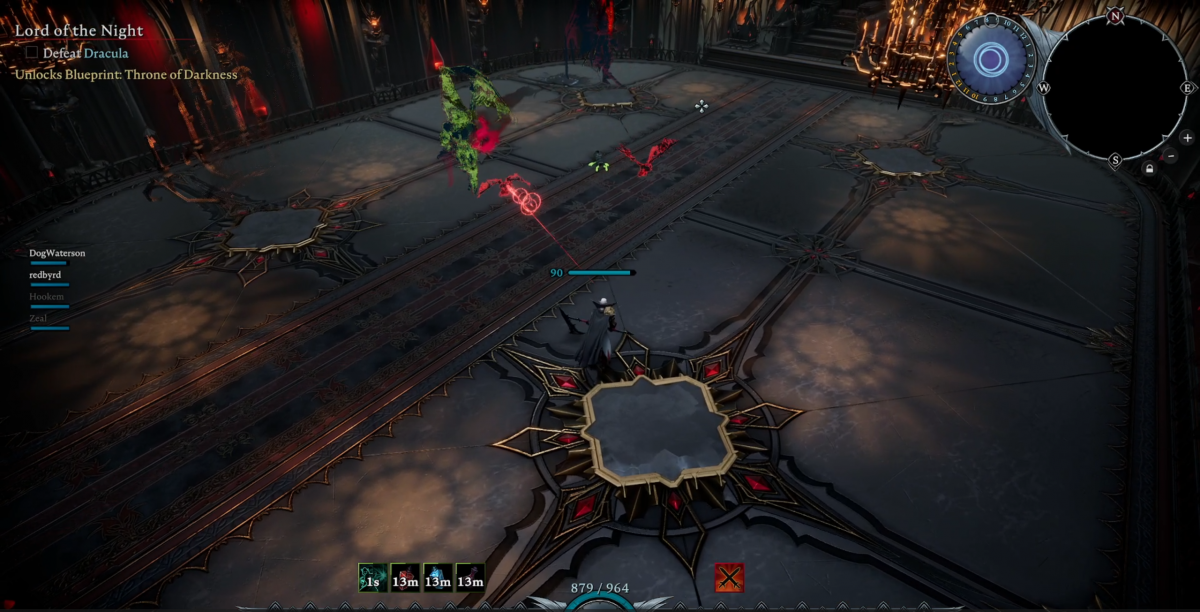
- Blood Wall – Dracula will launch several orbs of blood towards your location. As they move toward you they will cross one another’s paths and they will slightly target onto you. You can avoid these by dashing, moving through the gaps, or using a block ability.
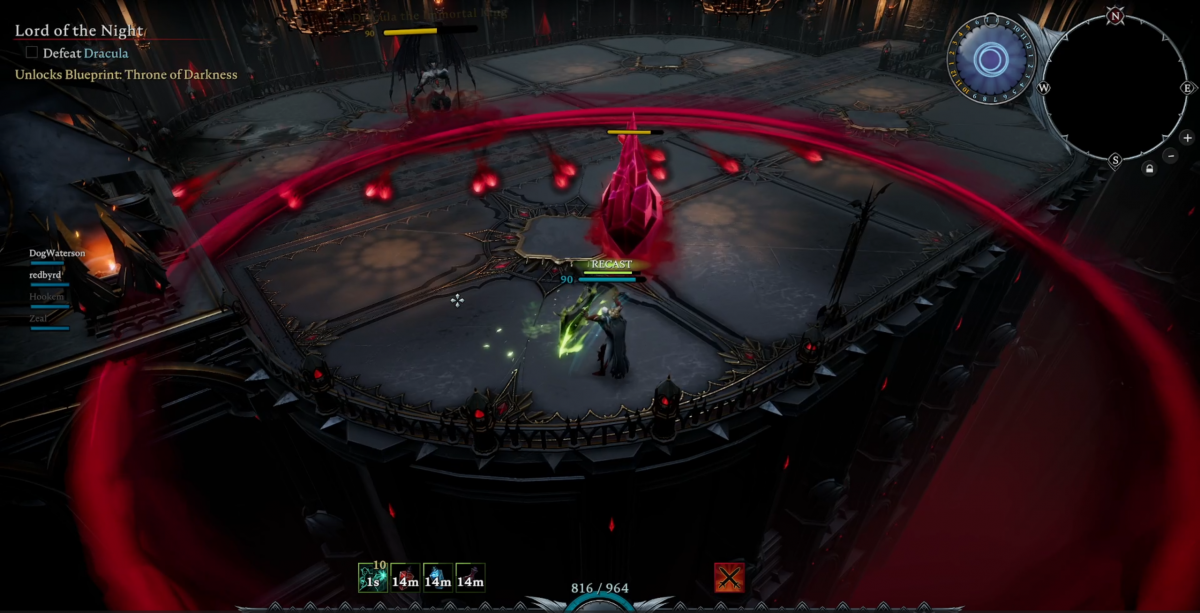
- Bats – This is the same as phase 1, however, it will be in addition to other mechanics happening as well.
- Blood Drain – This is the same as phase 1, however, it will be in addition to other mechanics happening as well.
- Falling Swords – Dracula will summon swords from the sky. These swords will drop down onto your location. You will the circle appear a second before the sword drops. This gives you time to manuever out of the way. The best way to avoid this ability is to walk along the edge of the arena and don’t stop. If you’re caught inside a blood crystal when this happens just try to keep moving around the edge of the crystal to avoid taking damage from the swords.
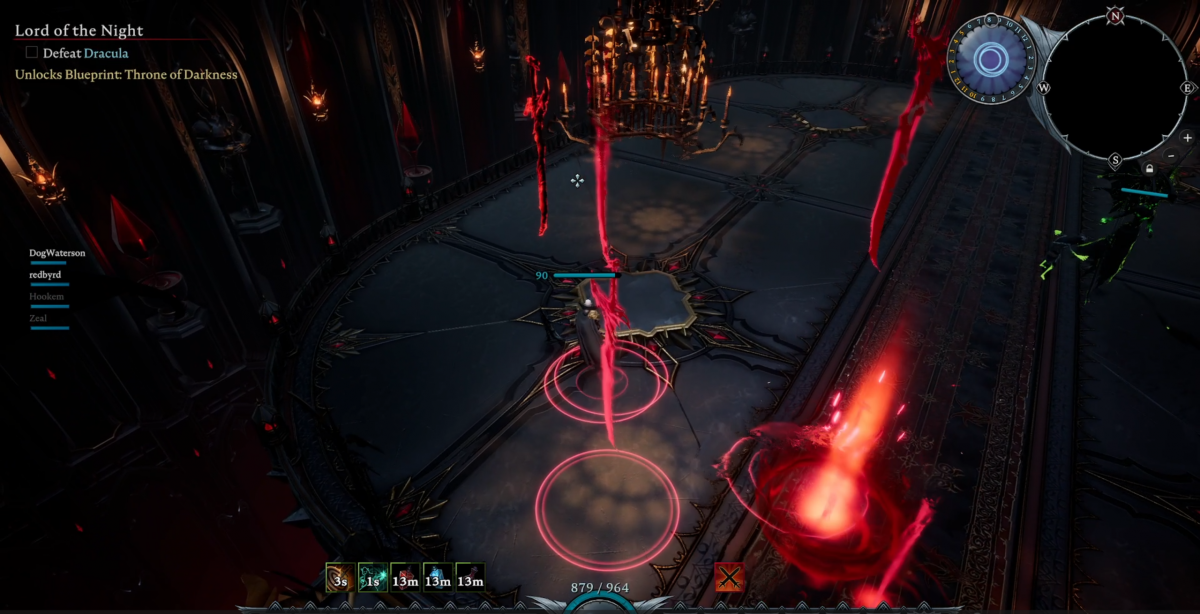
- AoE Smash & Pools – This is the same as phase 1. However, at the end of the ability all of the blood flames will leave a pool of blood on the ground that persists for a few seconds. Make sure you avoid the pools to avoid taking damage.
- Summoning Circle – Dracula will teleport to the center of the arena. When this happens he will summon blood balls that lock onto you. He will also summon a fiery blood X that will damage you if you touch it. This X cuts the area in 4 parts, forcing you to dodge the blood balls in a smaller area.
- The best way to avoid taking damage here is to move to the edge of the area as far away from the boss as possible. This will give you time to avoid the blood balls. Walk as far as you can to your left or right without hitting the fire barrier, and weave toward the boss through the gap in the blood balls and head the opposite direction.
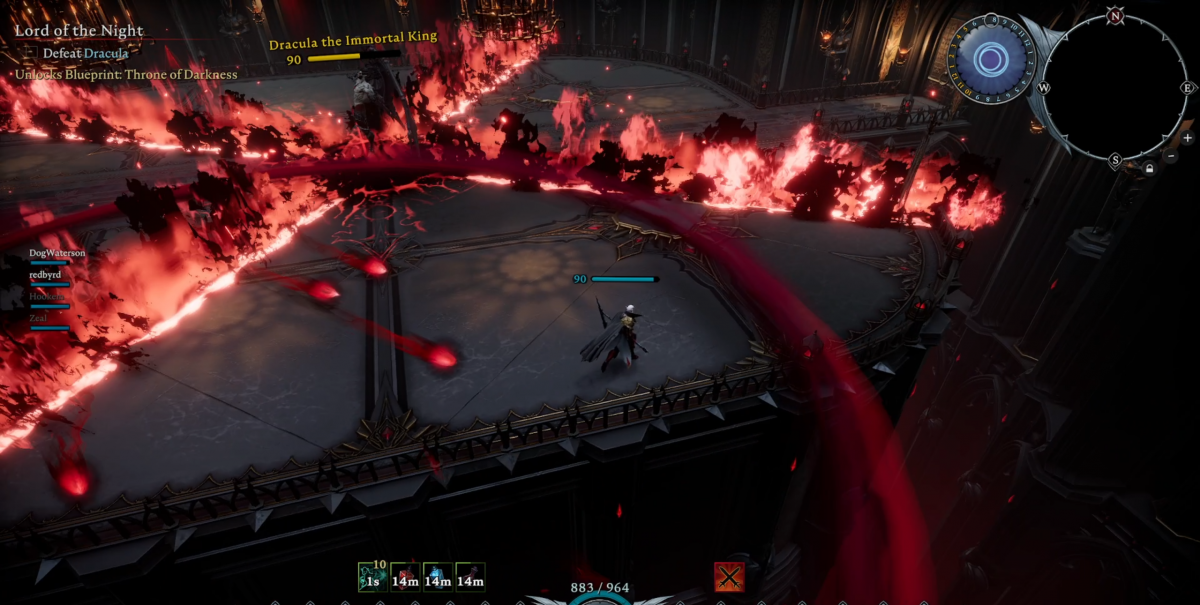
Phase 2 can get incredibly hectic. There can be many mechanics happening all at once. However, you have to make sure you can see the boss at all times so you can avoid the mechanic that’s coming next. Also, make sure you’re managing the blood crystals so the arena doesn’t get overwhelmed.
A great way to approach this fight is by keeping your distance and being patient. You will have windows of opportunity to hit the boss. Don’t get greedy with your damage, and chip away at him slowly when the opportunities arise.
Gear
There are many different approaches you can take with your gear and abilities to defeat Dracula. However, below are some recommendations that you can utilize if you’re looking for a build to defeat the boss.
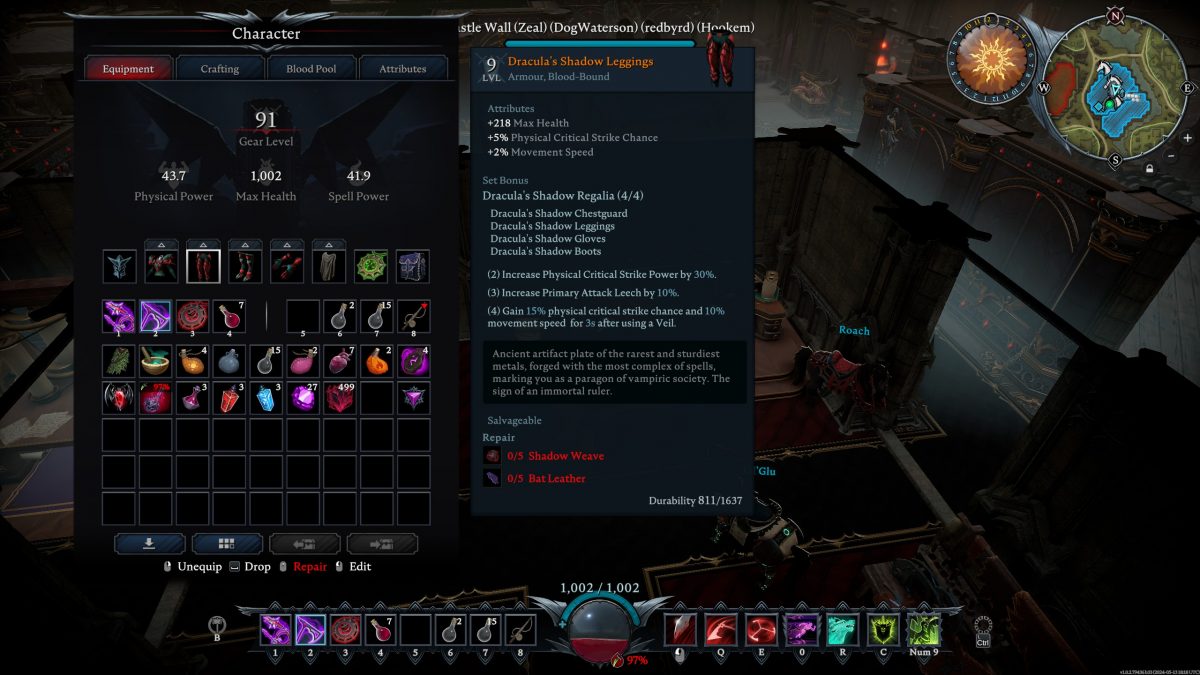
- Dracula’s Shadow Armor
- Phantom’s Veil Cloak
- Whip
- Reaper
- Soul Shard of Solarus
- 100% Scholar Blood
The movement speed from the Dracula’s Shadow armor is very helpful in avoiding some of the mechanics of this fight. It will allow you to move quickly out of the way if your dash is on cooldown.
Utilize a whip for the first phase will give you an additional movement ability, the aerial whip twirl. This ability is also nice if you need to take out bats in a clump. The mid range nature of the whip also allows you to get some hits on Dracula fairly easily between abilities.
For phase 2, switch to the reaper. The howling reaper ability is excellent for clearing the blood crystals and getting additional damage on the boss. Unlike phase 1, there are several instances in phase 2 where the boss is standing still. A well times howling reaper can be incredibly effective during this phase.
The Soul Shard of Solarus gives you a chance to spawn a death knight, and replaces your ultimate with Fallen Angel. This is incredibly useful to keep the boss occupied. While the boss is fighting the angel you can also deal damage freely if the opportunity arises.
Abilities
Abilities that can help tremendously in this fight are the following:
- Veil of Chaos
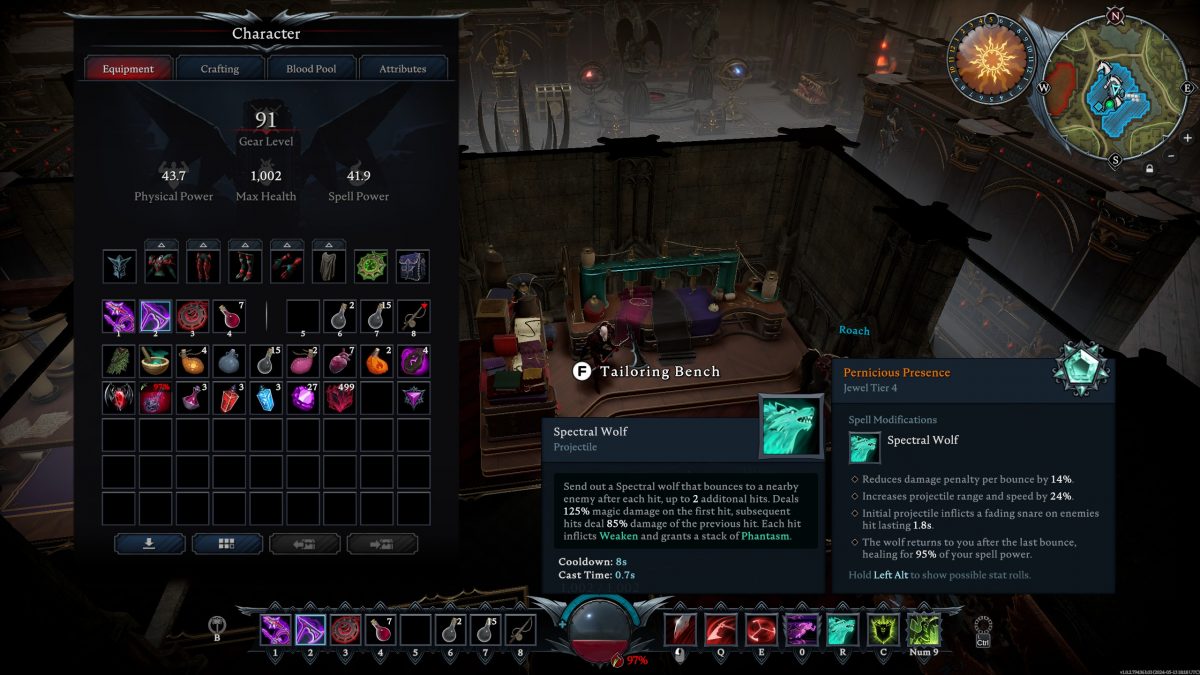
- Spectral Wolf
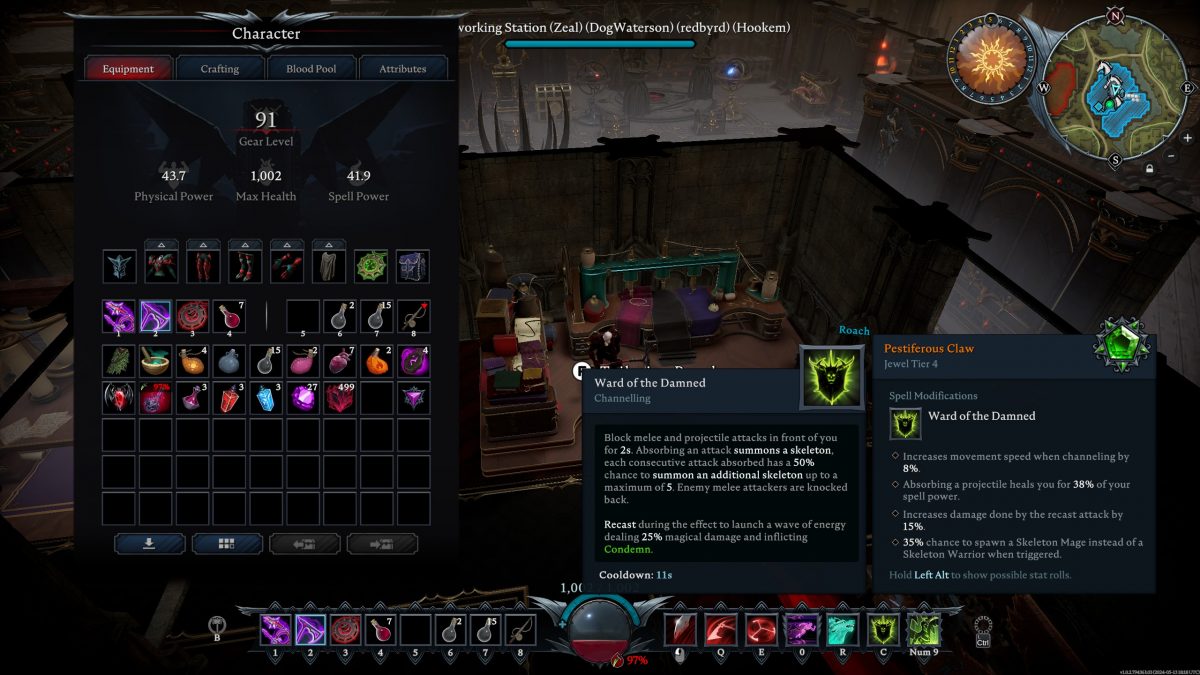
- Ward of the Damned
Spectral Wolf and Ward of the Damned are incredibly useful because you can utilize jewels to modify the abilities to heal you. With these 2 abilities and the correct jewels your self sustain can be very good. The jewels you’ll want to shoot for are below:
Video Guide
That does it for the V Rising Dracula Guide. For more V rising guides check out our complete V Rising Guide Library!

