
Introduction
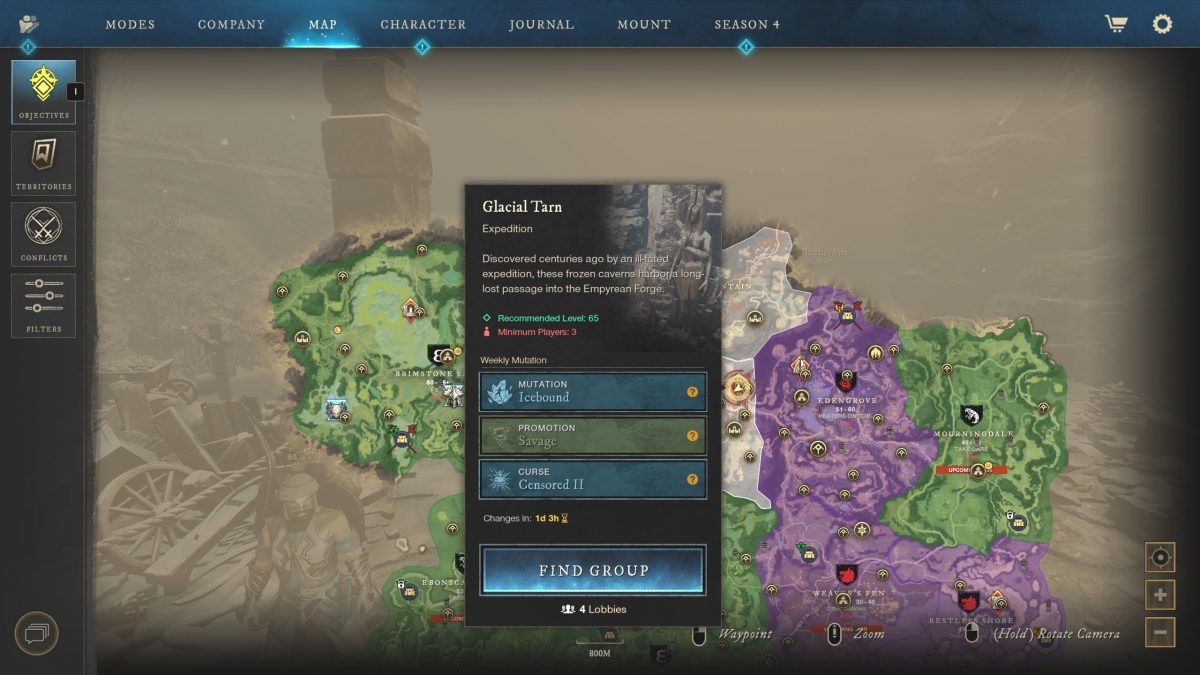
The Glacial Tarn is a level 65 Expedition set in the Great Cleave. Explore a cavernous frozen complex hidden beyond the Empyrean Forge in pursuit of the Varangian Knight Ser Loth.
The core mechanic of this Expedition is known as Empyrean Flame, a buff that players can receive by interacting with Empyrean Furnaces scattered throughout the Expedition.
- This buff allows players to remove Ice Armor from enemies.
- The buff will eventually fade if players do not reactivate it by interacting with the Furnace again.
- Players will have to manage keeping themselves buffed while also fighting enemies.
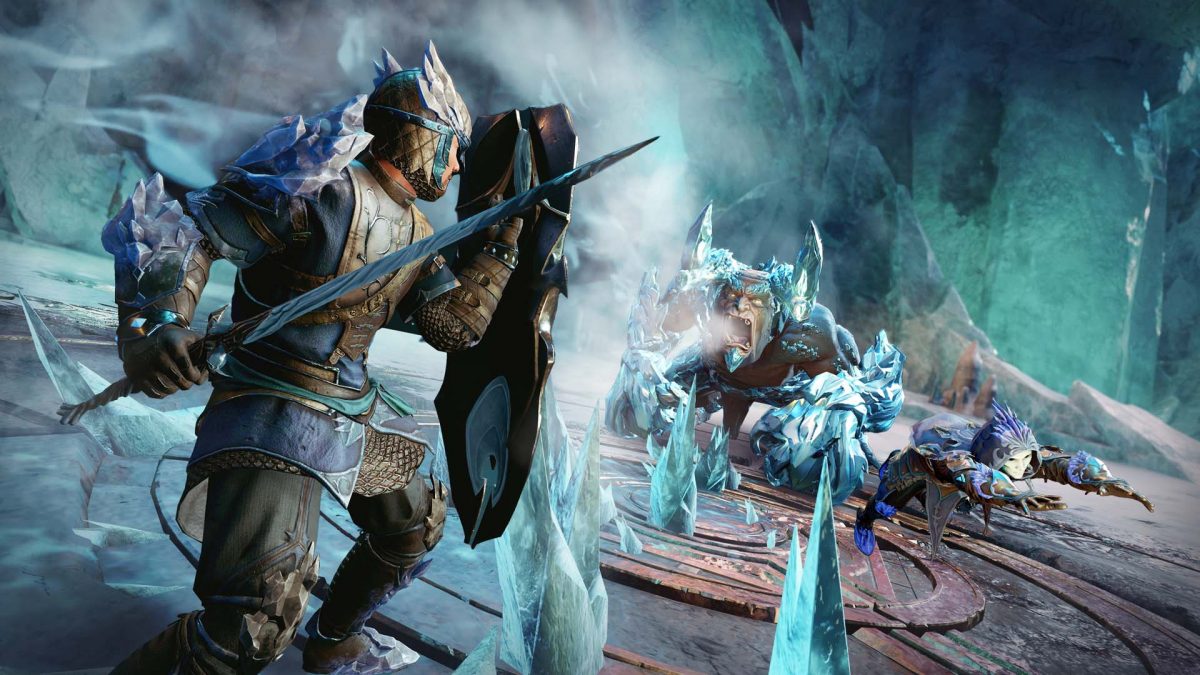
Ice imbued Varangians and Ancients are strong to all damage types until their armor stacks have been removed. Hit them while buffed from the Empyrean Flame to shatter their armor.

Glacial Tarn Drops
Listed below are all of the named items you can acquire from this expedition and its mutated versions.
Weapons
| Weapon | Where it Drops | Difficulty |
|---|---|---|
| Deep Freeze (Artifact) | Ice Troll | Mutation 1+ |
| Stress Fracture | Expedition Wide | Normal + |
| Quick & Painless | Expedition Wide | Normal + |
| Aurora’s Blessing | Expedition Wide | Normal + |
| Snowplow | Expedition Wide | Normal + |
| Ice Breaker | Expedition Wide | Normal + |
| The Mountaineer | Expedition Wide | Normal + |
| Frostburn | Expedition Wide | Normal + |
| Prick of Death | Expedition Wide | Normal + |
| Yeti’s Claw | Expedition Wide | Normal + |
| Short Alphorn | Expedition Wide | Normal + |
| Avalanche | Expedition Wide | Normal + |
| Cold Cuts | Expedition Wide | Normal + |
| Hail to the King | Expedition Wide | Normal + |
| The Cold, Hard Truth | Expedition Wide | Normal + |
| North Star | Expedition Wide | Normal + |
| Verglas Sword of the Ranger | Winterwalk Reaver; Windblast Defender | Mutation 3 |
| Verglas Hatchet of the Soldier | Winterwalk Reaver; Windblast Defender | Mutation 3 |
| Verglas War Hammer of the Ranger | Winterwalk Reaver; Windblast Defender | Mutation 3 |
| Verglas Great Axe of the Soldier | Winterwalk Reaver; Windblast Defender | Mutation 3 |
| Verglas Bow of the Ranger | Winterwalk Reaver; Windblast Defender | Mutation 3 |
| Verglas Musket of the Ranger | Winterwalk Reaver; Windblast Defender | Mutation 3 |
| Verglas Fire Staff of the Soldier | Winterwalk Reaver; Windblast Defender | Mutation 3 |
| Verglas Life Staff of the Sage | Winterwalk Reaver; Windblast Defender | Mutation 3 |
| Verglas Rapier of the Scholar | Winterwalk Reaver; Windblast Defender | Mutation 3 |
| Verglas Spear of the Soldier | Winterwalk Reaver; Windblast Defender | Mutation 3 |
| Verglas Ice Gauntlet of the Scholar | Winterwalk Reaver; Windblast Defender | Mutation 3 |
| Verglas Void Gauntlet of the Sage | Winterwalk Reaver; Windblast Defender | Mutation 3 |
| Verglas Blunderbuss of the Soldier | Winterwalk Reaver; Windblast Defender | Mutation 3 |
| Verglas Greatsword of the Ranger | Winterwalk Reaver; Windblast Defender | Mutation 3 |
| Verglas Flail of the Soldier | Winterwalk Reaver; Windblast Defender | Mutation 3 |
Armor
There are several different armor sets that drop from the Glacial Tarn. All of the armor sets drop with 2 set perks (same 2 perks for each piece within the set) and a randomly rolled 3rd perk. Below are the armor sets you can acquire from the expedition:
| Armor Set | Weight | Where it Drops | Difficulty |
|---|---|---|---|
| Artic Valkyrian Set | Medium | Expedition Wide | Normal + |
| Tarnished Excavator Set | Medium | Winterwalk Reaver; Windblast Defender | Mutation 1+ |
| Frigid Dawn Set | Heavy | Expedition Wide | Mutation 1+ |
| Black Ice Set | Heavy | Winterwalk Reaver; Windblast Defender | Mutation 1+ |
| Cold Hearted Set | Light | Winterwalk Reaver; Windblast Defender | Mutation 1+ |
Shields
| Shield | Where it Drops | Difficulty |
|---|---|---|
| Ye Ol’ Icebox | Expedition Wide | Normal + |
| Verglas Buckler | Winterwalk Reaver; Windblast Defender | Mutation 3 |
| Verglas Kite Shield | Winterwalk Reaver; Windblast Defender | Mutation 3 |
| Verglas Tower Shield | Winterwalk Reaver; Windblast Defender | Mutation 3 |
Jewelry
| Jewelry | Where it Drops | Difficulty |
|---|---|---|
| Heart of Cold | Expedition Wide | Normal + |
| Hailley’s Comet | Expedition Wide | Normal + |
| Forlorn Hope | Expedition Wide | Normal + |
| Verglas Amulet | Winterwalk Reaver; Windblast Defender | Mutation 2+ |
| Verglas Earring | Winterwalk Reaver; Windblast Defender | Mutation 2+ |
| Verglas Ring | Winterwalk Reaver; Windblast Defender | Mutation 2+ |
Mount Item
| Mount Item | Where it Drops | Difficulty |
|---|---|---|
| Powerful Empowered Talisman | Expedition Wide | Mutation 1+ |
| Glacial Heart | Ser Loth | Normal+ |
| Dry Ice | Expedition Wide | Normal+ |
Location & General Information
The Glacial Tarn is a level 65 Expedition located in northern part of Great Cleave. This is an end-game expedition that will be in the weekly mutation rotation of expeditions. You can enter via the expedition entrance or by using the group finder function.
Once inside you will encounter both Varangian or humans and ancient type enemies. So, it’s recommended that you take both human coatings and ward potions, as well as, ancient coatings and ward potions for mutation 3 expeditions.
Repeatable Quest
There is a repeatable quest you can obtain for this expedition. You can get the repeatable right outside of the expedition entrance by speaking to the NPC named AO WEI. Upon completing the quest you will receive 5 dark matter and a few coin.

Glacial Tarn Walkthrough & Boss Mechanics
In order to begin the expedition your group needs to jump down the shaft. Careful here because you will take damage prior to the first pull. As you make your way to the first pull there are spikes that fall from the ceiling. Be aware of these as they will knock you down. The first pulls, along with the first named mob are all ancient type enemies. Clear the trash mobs, and you’ll find the first named enemy, Protector of the Ancient Spring. Break his stamina bar and your group can clear him easily.
After he’s defeated you will see two platforms to your left and right, and an ice wall in front of you. The group should run onto the fire platforms. This will give you a buff that will allow you to break the wall. and continue through the blowing ice curtain. Running through the blowing ice will remove your buff, however, you can dodge through it to keep the buff active until the timer runs out.
Upper Bridge
Continue down the hallway clearing the trash mobs and head down the stairs to your right once you reach the next ice wall. Here you’ll encounter another named mob, and another furnace. This mob is named Frostburnt Protector. He has an ice shield on him. You will need to stand on the furnace again to gain the fire buff in order to damage the mob. Be aware of the ranged mobs in the area as you fight the named.
Once dead go back up the stairs and to the right through the ice wall. Here you’ll fight Gelus. There’s also an Ori node in the room with Gelus. From here go back outside and to the right through the next ice wall. Clear the trash mobs through the hallway. There’s another furnace at the end of the hall so you can grab the fire buff there.
Once to the bridge you will encounter another named mob, Ancient Spring Attendant. There’s also a sphere covered in ice. You must break the ice by attacking it. Once the named is killed you can activate the sphere to open the bridge.
Once accross the bridge you will encounter some enemies with ice armor. You can simply run past the enemies into the boss room.
Ice Troll
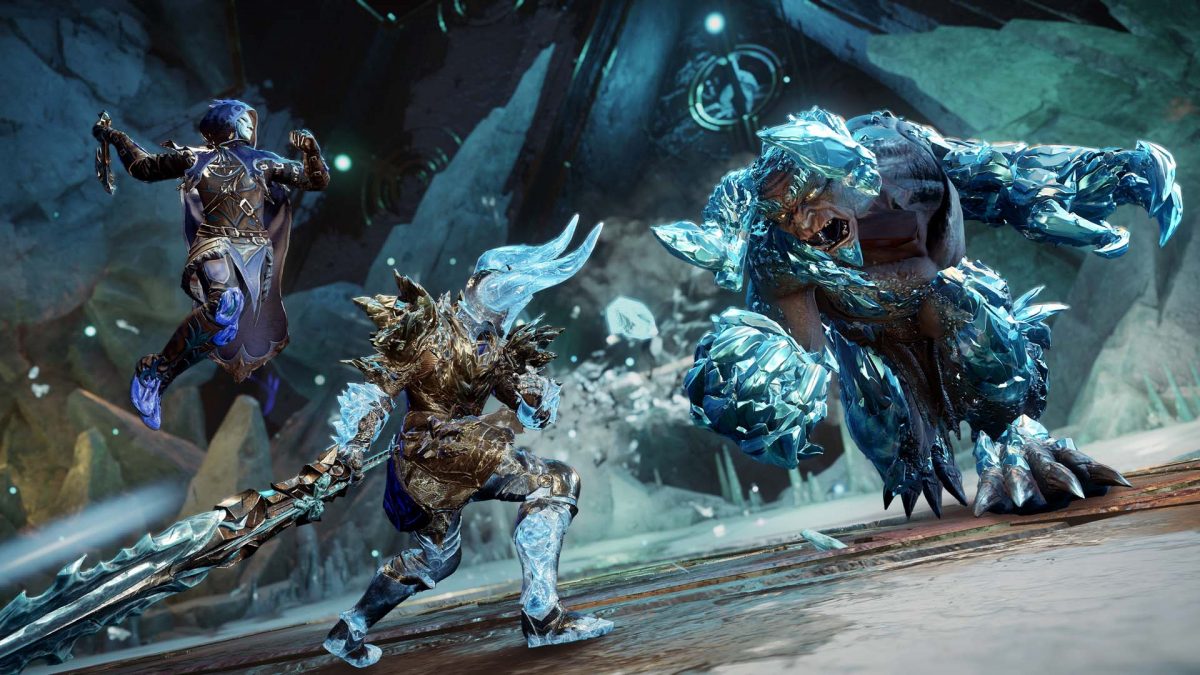
The Ice Troll is the first boss encounter of the expedition. Just like the other enemies up until this point, he is and Ancient. There area several mechanics to be aware of with this boss.
- Roar – The Ice Troll will get down on all fours and roar. This ability is a cone in front of the boss. You can see the cone shape on the ground prior to the ability casting. When he roars ice spikes will pop up from the ground. Simply move out of the cone to avoid damage.
- Ice Spikes – The boss will drop ice spikes from the ceiling all over the arena. You can see where each spike is going to drop by the circles on the ground. The spikes deal a good amount of damage.
- Ice Storm – He will summon a large ice storm around him. Players inside of the storm will take damage over time.
- Charge – The boss will charge towards a player in a straight line dealing a lot of damage. Any player caught in the path will get hit. He can charge once, or twice in a sequence.
- Shockwave – The boss will stand up, lean back and roar. This causes a shockwave to permeate out from the boss in a circle. You can dodge through or block the damage.
The most notable mechanics to be aware of in this fight are the ice spikes, charge, and ice storm. In order decrease the radius of the ice storm, the tank can tank the boss near the edges of the arena. If you have ice mitigation however, the ice storm is a non factor (IE Ice mutation for the expedition). If the group doesn’t have ice mitigation you can have the tank move the boss outside of the AoE so the group can avoid taking damage.
When the ice spikes drop there will be a whole lot of them. Make sure you are paying attention to where they are going to land and quickly move out of the circles to avoid taking damage.
Boss Stategy
The charge hits incredibly hard, and will one shot most DPS in an M3. There’s 2 ways you can handle the charge, and this fight in general. You can opt to go all melee, or all ranged. It is not advised to have a mixture. This is because the boss will charge at someone standing at range. If he turns and charges a ranged DPS, the melee DPS is very vulnerable because they will not see it coming.
If you go all melee DPS simply position your healer to the opposite side of the DPS. When the boss charges he will always charge at the healer because they are ranged. There will be indicator above the person’s head he is charging to. So, your DPS can safely DPS and the healer can easily avoid the charge. After the charge all the DPS and the tank should follow the boss and continue the fight. The healer then simply repositions to get ready for the next charge.
If you opt to go all ranged you will more than likely deal less DPS, but the charges may be easier to see. If you go all ranged you will want to spread out so that you can easily avoid the charge.
This fight can get hectic once all the mechanics are in full swing. Just make sure you avoid the charge and the ice spikes and you’ll be able to clear the Ice Troll.
Ice River
Once the Ice Troll is killed you’ll clear some trash mobs and make your way through the Ice River. Make sure you jump and don’t fall into the water. You will take damage if you land in the water. There are spikes that fall from the ceiling that will push you into the water here. So be mindful of those. After the river you’ll clear some trash mobs, and encounter another named, Ancient Sanctifier.
Once killed the gate will fall and you make your way down the hall to another furnace. Grab the furnace buff and continue clearing the trash mobs. After these mobs are cleared, you will begin to encountner the Varnagians, so you may want to switch coatings here. You will need to clear the mobs, and make your way to the next furnace.
You will encounter some ice shielded Varangians at the furnace. Careful not the run past the furnace. There is an additional ice shielded archer and more Varangians.
Make sure you have the furnace buff and head right down the stairs, kill the shielded enemies, and break the ice sphere. Activate the sphere to open the door that was back up the stairs.
The Plaforms
Once through the door you will need to activate some platforms in order to progress. One person in the group can stay behind and stand on the first platform to the left. This platform will open the door to the furnace room down the hall and on the right.
The remainder of the group can run down the hall and to the right to the furnace. Clear the trash mobs here and up the stairs is a platform. Standing on this platform will open the door that’s to your left. Once that door is open someone can go through. There’s another platform in there. This will open the platform to the door that’s up the stairs in the furnace room.
Once everyone has made it through jump off the cliff.
Lava River
Clear trash mobs in front of the lava river and progress cautiously over the lava. If you fall into the lava you will take a ton of damage and likely die. Beyond the lava you will encounter another named mob, Ser Roth.
Once dead progress up the stairs to the sphere. You’ll be teleported to the final boss.
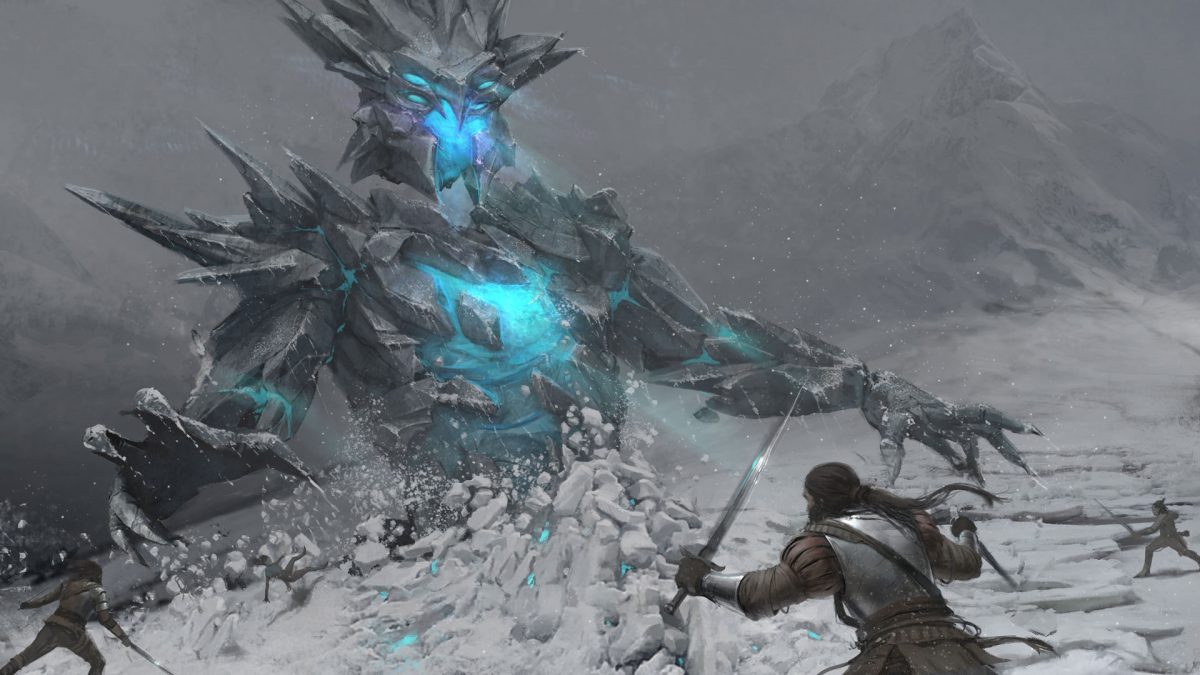
Ser Loth
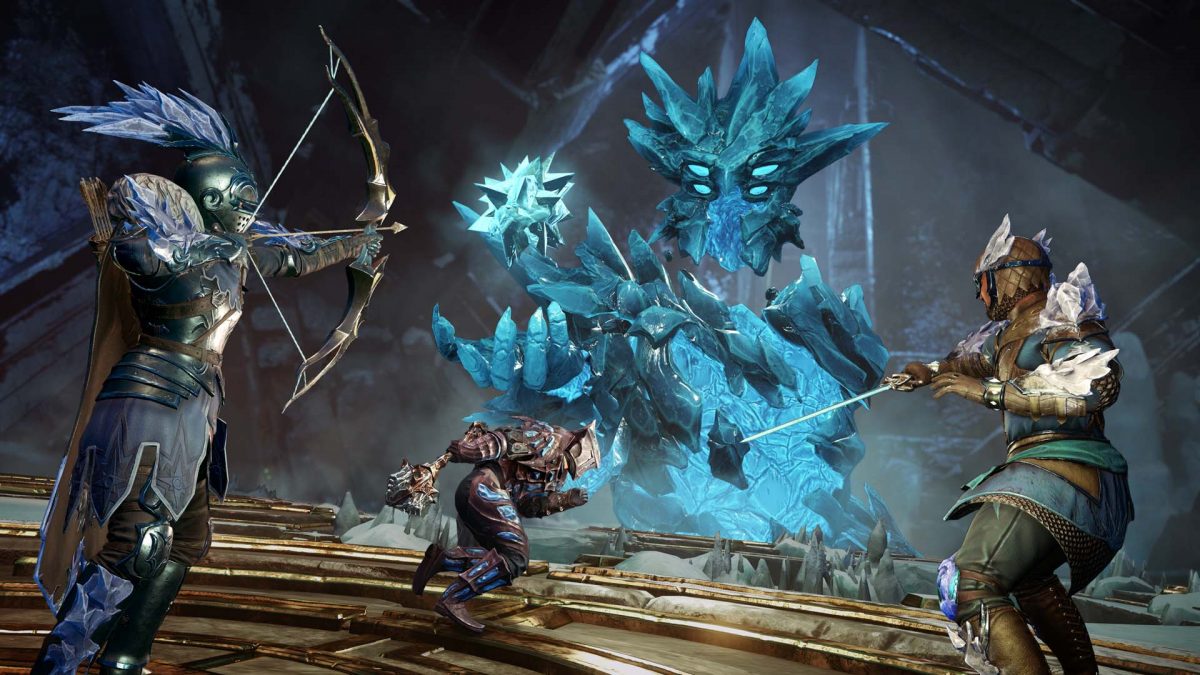
Once in the arena with Ser Loth you will see the boss as well as a huge ice monster in the center of the room. Once you get Ser Loth down 1 bar of health he will summon a mage onto the battlefield. The mage will spawn in with a shield around him making him invulnerable to damage, and will awaken the big ice monster in the middle. Once the shield drops you can deal damage to the mage. Killing a mage will temporarily stun the large ice monster preventing it from doing any of it’s mechanics for a few seconds. However, it is not required that you kill the mages to win the encounter.
Ser Loth Mechanics
- Spear Throw – Ser Loth will target someone at range and chuck a spear at them. The spear will knock you back and deal damage. Be careful not to be close to the edge and get hit by a spear. This will knock you off the platform and you will die.
- Leap – He will leap to another platform when the bridges are broken.
- Charge – The boss will lunge at a player with his greatsword dealing damage.
- Ice Wave – He will shoot out an ice wave in a cone in front of him damaging anyone caught in it’s path.
Ice Monster Mechanics
- Blow & Spikes – This is the most notable mechanic of the ice boss. He will cross his arms and a gust of wind will begin pushing players off of the platform. After a short duration ice spikes will cover the entire platform. These will deal damage to anyone standing in them. When his arms cross make sure you run to a different platform or you will be pushed off and die.
- Weak Points– Green weak points will appear on the ice monster. While these are active Ser Loth will gain stacks of empowerment making him deal significantly more damage. When these appear you can kill them ranged weapons. They should be priority when they spawn. Otherwise Ser Loth will become incredibly powerful dealing tons of damage.
- Ice Bomb – The ice monster will throw an ice bomb onto the center of one of the platforms. It will detonate a few seconds dealing a lot of damage to everyone on that platform. You can prevent it from detonation by attacking the bomb. If one is thrown onto the platform it should be priority for the DPS.
- Slam – He will slam his hands down onto a platform dealing damage to anyone hit.
- Ice Chunks – Large ice chunks will fall from the sky. You can see where they are going to land by the circles on the ground. Getting hit will deal a good amount of damage.
- Bridge Break – There will be red target circles appear on the bridges. When this happens the ice monster will destroy the bridges connecting the platforms. You can rebuild them after a short duration by interacting with the edge where the bridge would be.
Strategy
In order to successfully defeat Ser Loth, all DPS should have a ranged weapon as their back bar weapon for this fight. These will be used to hard target the weak spots when they appear. The quicker you can take them out the better.
You can approach this fight in two different ways.
Group Approach
You can have everyone stand on one platform and fight Ser Loth. With this method everyone in the group needs to be aware of the blow and spikes mechanic. When the boss crosses his arms everyone on the platform needs to rotate to a different platform or else you could wipe.
Different Platform Approach
You could also have your tank positioned on one platform and the rest of the group on another. The group will still be getting attacked by the ice monster, but the tank can keep Ser Loth on one platform. The group will be utilizing range DPS to kill Ser Lott with this strategy. With this method, the tank is the only one that needs to be aware of the blow and spike mechanic. Once this mechanic happens the tank will rotate over and the group will rotate over to a different planform as well.
Taking Out Ser Loth
Regardless of the method you choose, the fight can get hectic. The ice monster is going to be steadily throwing out abilities while you try to DPS down Ser Loth. You can essentially ignore the mages all together in this fight.
You MUST be aware off the blow and spike mechanic and the weak spots mechanic. The entire fight revolves around those two.
Also be aware of the bridge breaks. Ser Loth will jump between platforms when this happens regardless of who has aggro. He will eventually jump back to your tank. You’ll need to kite him until he leaps again if you’re caught on a platform by yourself. Do not get caught on the bridge when it’s targeted or you will fall off and die.
Once the boss has roughly a fourth of his health left the weak spots will appear. These should be priority. Ser Loth will very quickly gain empowerment stacks until the weak spots are broken. Once the are broken the empowerment stacks will pause where they are until the weak spots appear again. Make sure you are hard DPSing Ser Loth during the phases between weak spots, and hard targeting the weak spots when they appear.
For more New World Aeternum guides be sure to check our comprehensive guide library!