
Introduction
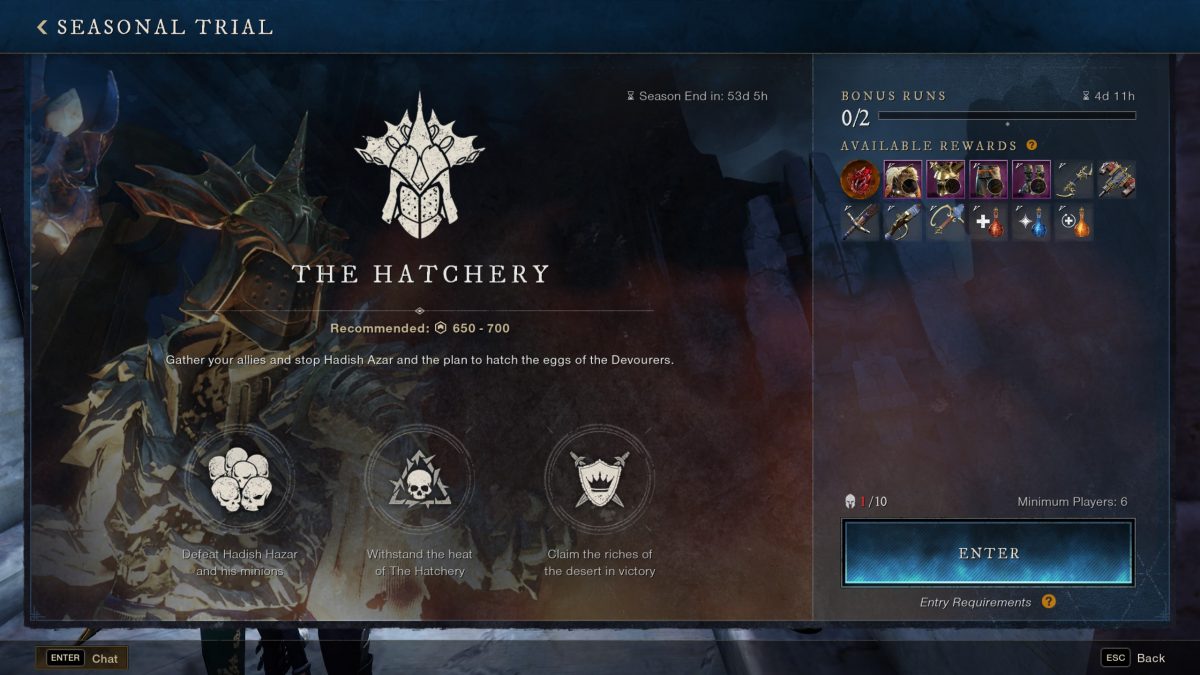
New World season 2 introduced the New World Season 2 Trial called the Hatchery. You will have to fight through waves of enemies to progress and earn unique rewards in a weekly activity for up to 10 gear score 650+. A bonus cache containing a selection of powerful items is additionally awarded for successful completion of the Hatchery, up to 2 times per week.
The hatchery is still available beyond season 2.
New World Season 2 Trial Rewards
Successfully completing the Hatchery will grant you with the possibility of several different rewards. The armor, weapons, and housing items are exclusive to the New World Season 2 Trial. Your first 2 attempts at the trial each week will earn you bonus rewards. These bonus rewards will come in the form of a cache called Hatchery Spoils.
This cache is a bonus cache containing a selection of various items. The following rewards are exclusive rewards that only drop on Trial completion during your first 2 attempts:
- Hordemaster Armor Set
- The Scholarly Jongleur Armor Set
- Corsica Bandit Armor Set
- Sandworm Egg of the Hatchery (Housing Item)
- Writ of Adventure
- Random Glyph Stone
- Dark Matter
Along with the exclusive rewards you will also have a chance to receive some unique rewards. These items drop more frequently during your first 2 attempts. The unique rewards consist of:
Finally, players will always be rewarded with some basic rewards. These rewards include health potions, mana potions, and regeneration potions.
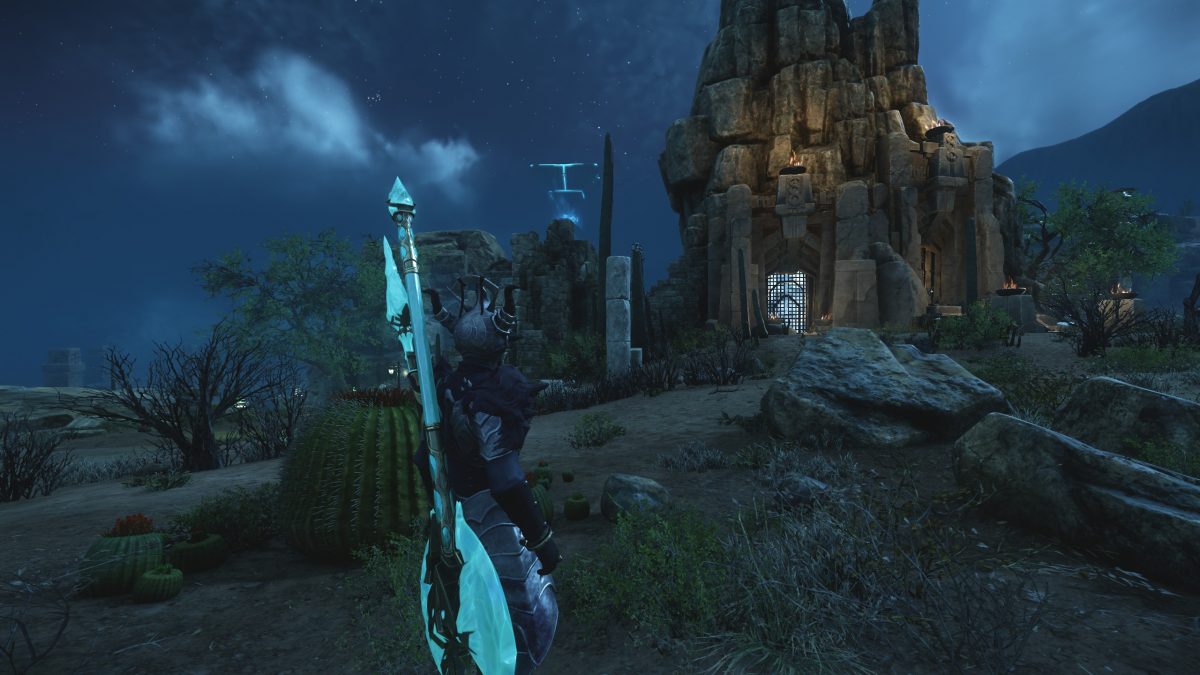
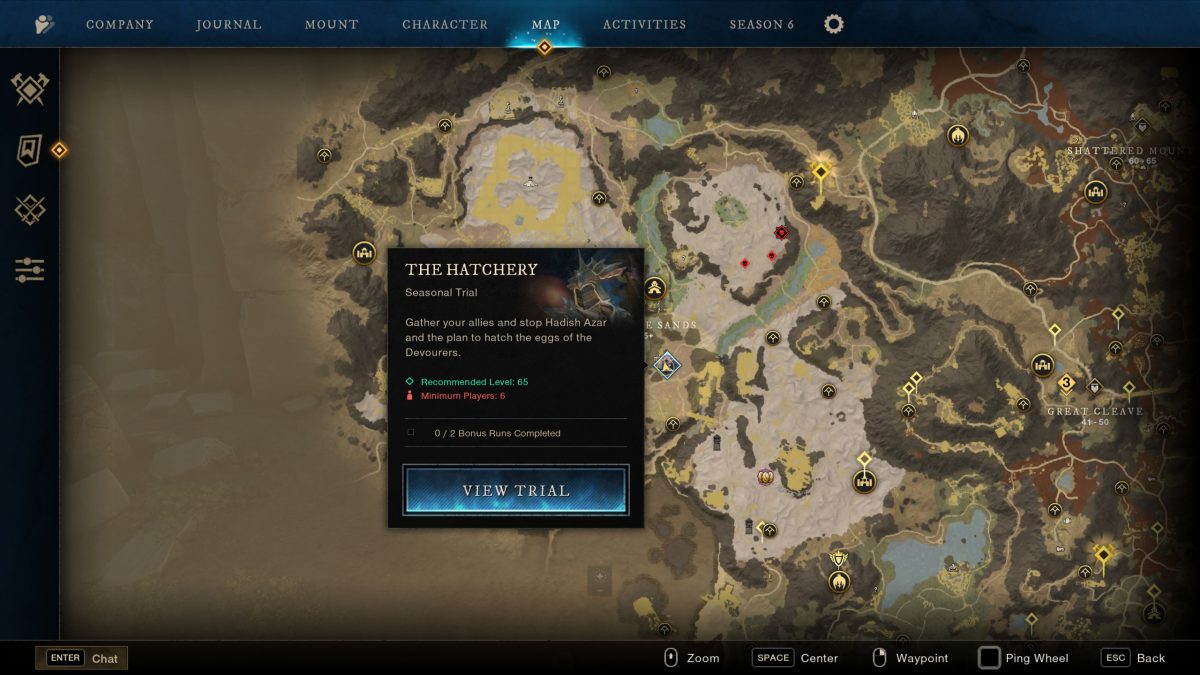
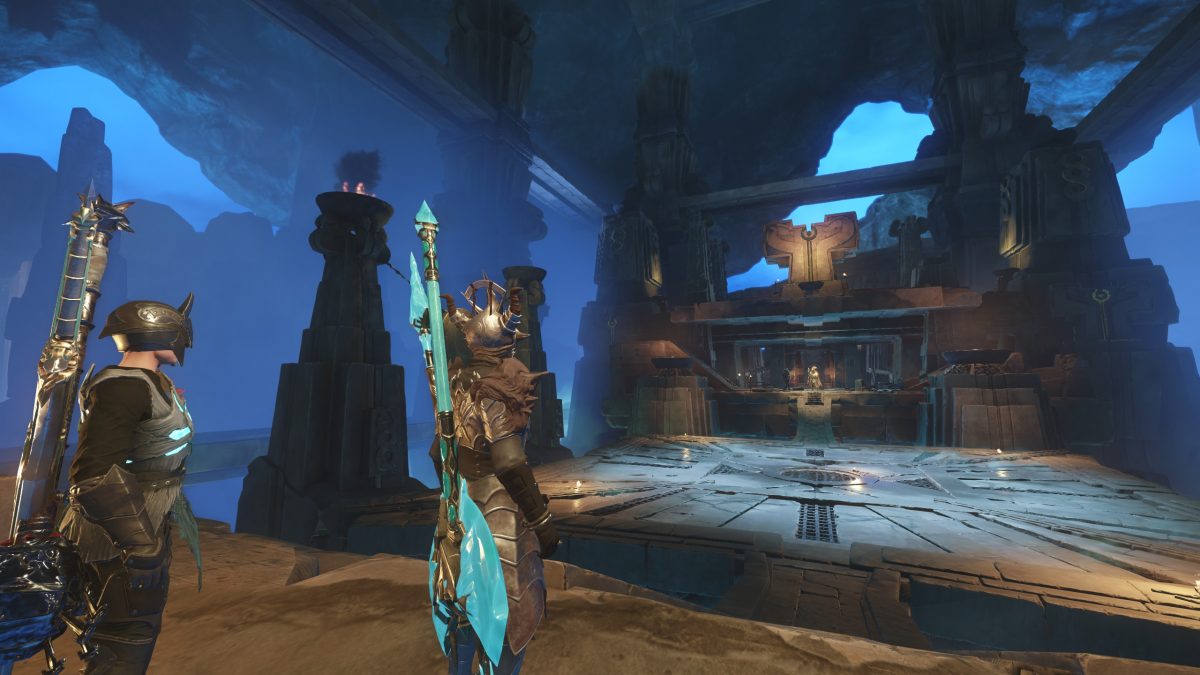
New World Season 2 Trial Location
The Hatchery can be located in Brimstone Sands just south of New Corsica Capital. You can fast travel down to Cavalier’s Shrine, and head due North for quick access to the Trial. The Hatchery can also be accessed through the activities menu by selecting the Seasonal Trials options.
Required Gear & Team Composition
The Hatchery is intended for 10 players. At this time it’s recommended that you have a group that consists of:
- Main Tank
- Off Tank
- 2 Healers
- 6 DPS
This trial contains human type enemies. There is a ton of fire damage output from the final boss, so slotting all rubies and utilizing a flame protection amulet is recommended. You will also want to have human coatings and honing stones as well in order to push maximum DPS.
For specific PvE builds you can reference our builds section.
New World Season 2 Trial Walkthrough
The Hatchery consists of 5 total waves of enemies. During wave five you will encounter the final boss, Hadish Azar, Keeper of the Flame.
If you or one of your teammates dies during one of the waves they will be placed outside of the arena. If the remainder of your group completes the wave then the bridge will reopen and everyone can enter the arena again for the next wave.
Your group will have a total of 1 hour to complete the trial.
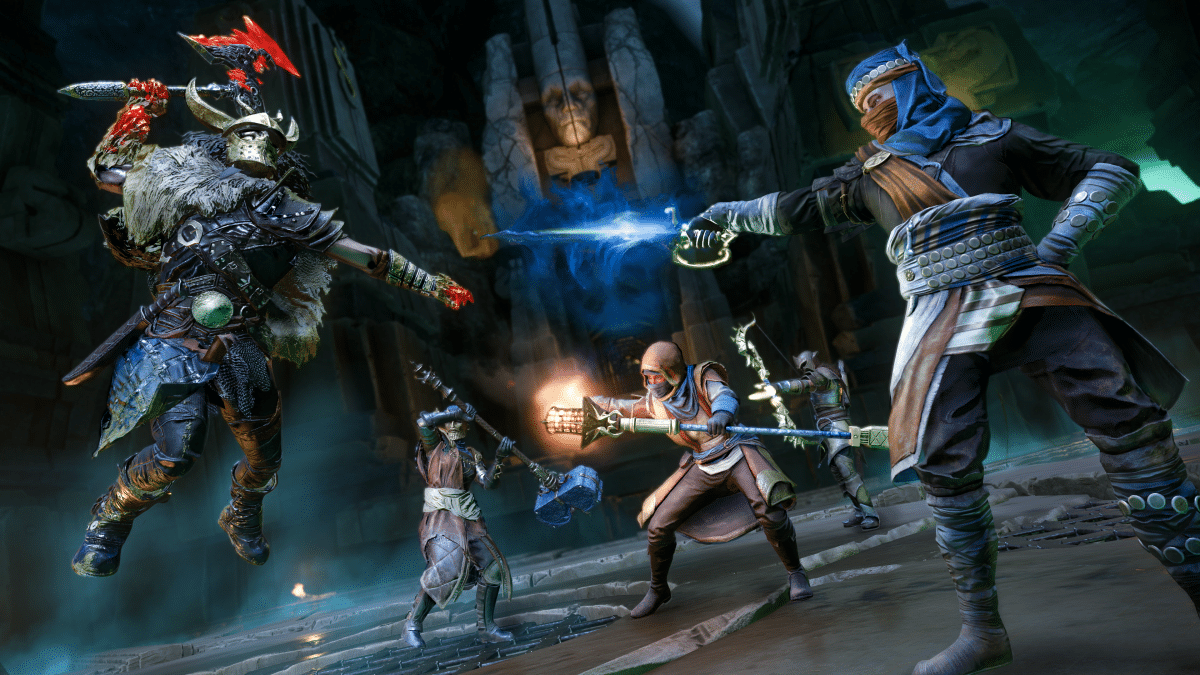
One – Trash Mobs
Whenver your group steps into the arena the first wave willl begin. During wave one there will be several human mobs spawn on the north side of the arena. These are essentially trash mobs and there’s not any real mechanics here.
There are some healers and mages in the back that you will want to focus down, but overall this wave is very easy and willl be cleared quickly.
Two – Trash Mobs (Slightly Harder)
Wave two begins by spawning in 4 elite enemies, 3 melee and a mage. Quickly after they spawn several additional non-elite enemies will appear. Much like wave one, these are all trash mobs. There will be some healers in the back that the DPS will need to target, but overall there are not any mechanics in this wave. Simply take out the mobs, prioritizing the healers, and complete the wave.
Three – Elite Mobs
This wave is much like one and two. However, all of the enemies are now named elite enemies. This wave consists of five mobs, a mixture of mage and melee. There are no real mechanics to speak of in this wave either. Simply group the enemies together and DPS them down to progress to the next wave.
Four – Razhan the Hordemaster
During this phaze you will fight Razhan the Hordemaster. He wields a hatchet and has a few notable mechanics.
- Exploding Glyphs – The boss will place glyphs under several player’s feet. You willl want to scatter during this phase because the glyph will explode and damage any nearby allies. If you have a glyph under your feet, just make sure you distance yourself from your team until it explodes.
- Flame Grunt Summons – Razhan will summon Flame Grunt ads that into the battlefield. He will throw a fireball into the air and when it hits the ground it will cause ad summoning craters. You will need to have a few DPS take out the ads. They are not difficult and can be handled fairly quickly if targeted. If you do not defeat the ads they will jump back into their crater and come back stronger, so make sure you clear them.
During this fight you will just need to avoid getting hit, or hitting your teammates with the glowing glphys, and manage the ads. The remainder of the time will be spend DPSing the boss. This fight is not overly complicated, and can be quickly completed.
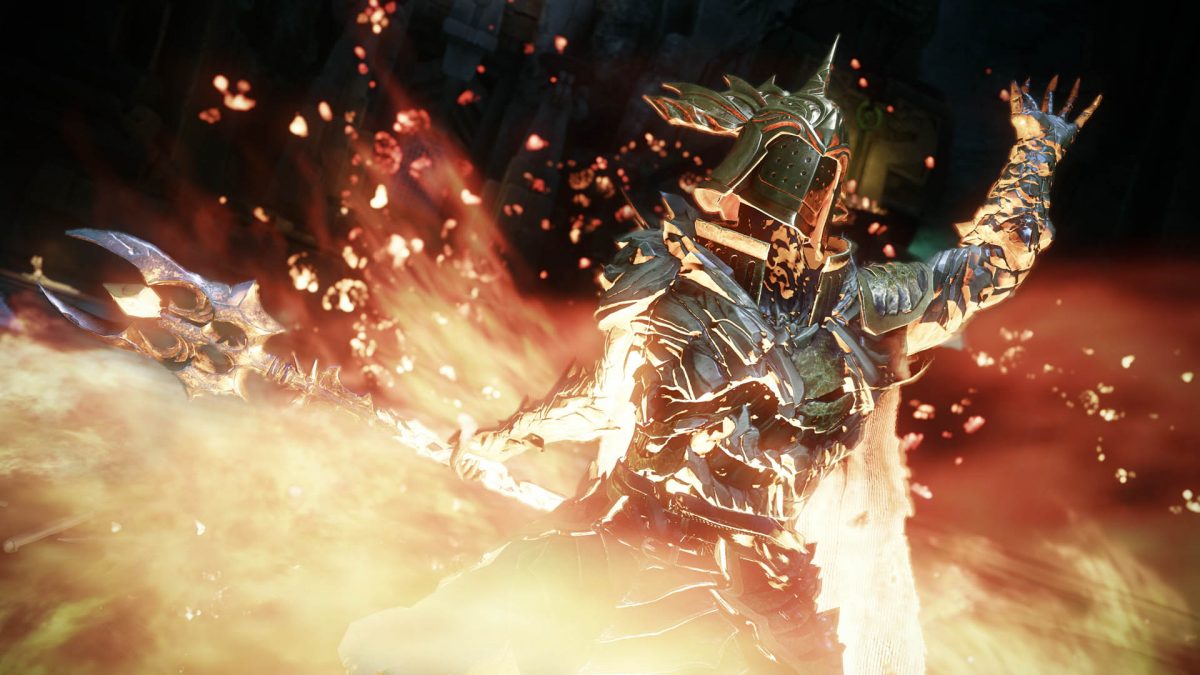
Five – Hadish Azar, Keeper of the Flame
This is the final phase of the Trial. Here you willl be fighting Hadish Azar, Keeper of the Flame. This is the most mechanic heavy fight of the trial, and having fire resistance willl help you out a ton during this fight. Your tank will want to make sure he is positioning the boss appropriately for this fight or it could be detremintal to the team.
Hadish will perform a dash that will knock players off of the edge of the arena map if you’re close to it. Therefore, you will want to fight closer to the center of the arena if you can. The boss also casts a very strong ground rupture ability that can one shot players caught in its path. For this reason, the tank will want to make sure they are positioning the boss away from the group. The DPS and healers will want to stay on the back side of the boss if possible.
The notable mechanics for this boss fight inclulde:
- Fire Ring – Hadish will cast a fire ring that shoots outward from the center of the arena. When hit with this ring it will inflict a powerful fire DoT (damage over time) lasting 10 seconds on anyone hit.
- Totem Trap – The boss will trap a player inside of a totem. You must kill this totem before it explodes or the player trapped inside will immediately die.
- Flame Waves – The boss will go to the back of the arena and send out waves of flames that cover the arena. There will be gaps in the flames that you can move through to avoid damage.
- Ground Rupture – Hadish will stomp the ground sending out a rupture in a straight line. This ability deals a lot of damage and can potentially one shot you if you’re caught in it. Make sure you’re aware of the stomp and move from being directly in front of the boss to avoid the damage.
- Dash – Hadish will perform a dash from one side of the arena to the other. If you are hit by the dash you will take damage and be knocked down. Do not stand near the edge of the arena or the dash will knock you off, killing you.
Other Mechanics
- Fire Lizards – There will be fire lizards that roam the arena from time to time. These will explode, dealing fire damage. Make sure you get out of the red circle when they are activated to explode.
- Vortex – Hadish will suck in players close to himself. This can be deadly if you’re low health and get sucked into an AoE from the Meteor Shower or other damage. Just be aware of the vortex and get away from the boss quickly if needed when you’re sucked in.
- Incinerate – The boss will cast the incinerate ability much like a player. If hit you will take some damage and be knocked back. This ability does not deal a great amount of damage.
- Meteror Shower – The boss will periodically cast a meteor shower into the arena. You will be able to see the AoE circles on the ground. Avoid these to avoid taking damage.
- Fire Ball – He will summon a huge fireball and launch it toward a player. This has a long animation and be be easily dodged.
Fight Strategy
For this fight, you will want to have your tank position the boss near the center of the arena. The tank should taunt the boss back from the edge of the map when possible to avoid getting other players knocked off the side.
The most detrimental abilities to avoid are the ground rupture and flame waves. The other abilities are fairly easy to navigate and avoid. However, this fight does get very hectic. It’s important to pay attention to your surroundings during the fight to avoid the AoE’s on the ground. It is also very important to pay attention to players getting trapped with a totem. Make sure you take out the totem so you don’t lose a group member to an insta death.
When the flame waves begin make sure you are positioned so that you can navigate between the gaps in each wave. You will have to move quickly in order to find a safe spot and not get hit by the flame waves.
For more New World Aeternum guides be sure to check our comprehensive guide library!