
Introduction
The Tempest’s Heart is a level 66 Expedition located in the Shattered Mountain Zone. For more on the Drops you can earn, a walkthrough of the expedition, and Boss Fight Guides, continue reading our Tempest’s Heart Expedition Guide.
Tempest’s Heart Drops
The named drops from the Tempest’s Heart Expedition include the following:
Tempest’s Heart Weapons
The following drops require the Rise of the Angry Earth Expansion
The following drops DO NOT require the Rise of the Angry Earth Expansion
| Weapon | Where it Drops | Difficulty |
|---|---|---|
| Twisting Fates | Isabella 1st Encounter | Normal |
| A Pleasant Reminder | Isabella 1st Encounter | Normal |
| Wayward Thread | Isabella 1st Encounter | Normal |
| Sunrise Kiss | Isabella 1st Encounter | Normal |
| Omen | Isabella Final Boss | Normal |
| Vision of Viciousness | Isabella Final Boss | Normal |
| Calamitous Intent | Isabella Final Boss | Normal |
| Fallow Fields | Isabella Final Boss | Normal |
| Isabella’s Rapier | Isabella Final Boss | Normal |
| Porent | Isabella Final Boss | Normal |
| Infinite Chaos | Neishatun | Normal |
| Reluctant Savior | Neishatun | Normal |
| Emberstone’s Promise | Neishatun | Normal |
| Glacial Sorrow | Neishatun | Normal |
| Blackguard’s Blunderbuss | Neishatun | Normal |
| Blackguard’s Rapier | Ekheke | Normal |
| Blackguard’s Greataxe | Ekheke | Normal |
| Blackguard’s Greatsword | Ekheke | Normal |
| Blackguard’s Musket | Vroeg | Normal |
| Blackguard’s Warhammer | Vroeg | Normal |
| Berserker’s Sword | Vroeg | Normal |
| Blackguard’s Bow | Uzret | Normal |
| Blackguard’s Hatchet | Uzret | Normal |
| Blackguard’s Spear | Crewman Alvaro, Cutthroat Eduardo | Normal |
| Blackguard’s Life Staff | Crewman Ruiz | Normal |
| Blackguard’s Fire Staff | High Priestess Ifel | Normal |
| Blackguard’s Ice Gauntlet | High Priest Basir | Normal |
| Blackguard’s Void Gauntlet | High Maiden Lai | Normal |
| Dark Blessing | High Maiden Lai | Normal |
| Blackguard’s Longsword | Headman Pang | Normal |
| Afterthought | Expedition Wide | Normal |
Tempest’s Heart Armor
The following drops require the Rise of the Angry Earth Expansion
| Armor | Where it Drops | Difficulty |
|---|---|---|
| Magnetic Gauntlets (Artifact) | Isabella | Mutation 1+ |
| Exploratory Desire | Neishatun | Normal+ |
| Cavernous Thoughts | Neishatun | Normal+ |
| Devilish Stamina | Neishatun | Normal+ |
| Enduring Struggle | Neishatun | Normal+ |
| Fallen Monk’s Gloves | Neishatun | Normal+ |
| Cursed Zealot’s Set (Light) | Expedition Wide | Mutation 1+ |
| Cursed Zealot’s Set (Medium) | Expedition Wide | Mutation 1+ |
| Cursed Zealot’s Set (Heavy) | Expedition Wide | Mutation 1+ |
| Isabella’s Set (Medium) | Isabella | Mutation 3 |
The following drops DO NOT require the Rise of the Angry Earth Expansion
| Armor | Where it Drops | Difficulty |
|---|---|---|
| Doomwalker’s Helm | Isabella 1st Encounter | Normal |
| Doomwalker’s Breastplate | Isabella Final Boss | Normal |
| Pious Scout’s Hat | Isabella 1st Encounter | Normal |
| Pious Scout’s Coat | Isabella Final Boss | Normal |
| Honest Thief’s Hat | Isabella 1st Encounter | Normal |
| Honest Thief’s Shirt | Isabella Final Boss | Normal |
| Raider’s Hat | Headman Pang | Normal |
| Raider’s Coat | Ekheke | Normal |
| Raider’s Gloves | Vroeg | Normal |
| Raider’s Pants | Uzret | Normal |
| Raider’s Boots | Crewman Alvaro, Cutthroat Eduardo | Normal |
| Conqueror’s Helm | High Priest Basir | Normal |
| Conqueror’s Gauntlets | Crewman Alvaro, Cutthroat Eduardo | Normal |
| Conqueror’s Greaves | Crewman Ruiz | Normal |
| Conqueror’s Boots | High Priestess Ifel | Normal |
| Conqueror’s Breastplate | High Maiden Lai | Normal |
| Tactician’s Hat | Crewman Ruiz | Normal |
| Tactician’s Shirt | High Priestess Ifel | Normal |
| Tactician’s Gloves | High Priest Basir | Normal |
| Tactician’s Pants | High Maiden Lai | Normal |
| Tactician’s Shoes | Headman Pang | Normal |
| Neishatun’s Helm | Neishatun | Normal |
| Neishatun’s Breastplate | Neishatun | Normal |
| Neishatun’s Greaves | Neishatun | Normal |
| Neishatun’s Boots | Neishatun | Normal |
| Neishatun’s Gauntlets | Neishatun | Normal |
| Wizened Hat | Vroeg | Normal |
| Wizened Shirt | Ekheke | Normal |
| Wizened Pants | Uzret | Normal |
| Wizened Shoes | Crewman Alvaro, Cutthroat Eduardo | Normal |
| Wizened Gloves | Crewman Ruiz | Normal |
| Sagacious Hat | High Priest Basir | Normal |
| Sagacious Shirt | High Priestess Ifel | Normal |
| Sagacious Pants | High Maiden Lai | Normal |
| Sagacious Shoes | Headman Pang | Normal |
| Sagacious Gloves | Headman Pang | Normal |
Tempest Heart Jewelry
The following drops require the Rise of the Angry Earth Expansion
| Jewelry | Where it Drops | Difficulty |
|---|---|---|
| Cleansing Pod | Isabella 1st Encounter | Normal+ |
| Vivify | Expedition Wide | Normal+ |
| Slaked Thirst | Expedition Wide | Normal+ |
| Myrkgard’s Earring | Expedition Wide | Mutation 2+ |
| Myrkgard’s Amulet | Expedition Wide | Mutation 2+ |
| Myrkgard’s Ring | Expedition Wide | Mutation 2+ |
The following drops DO NOT require the Rise of the Angry Earth Expansion
| Jewelry | Where it Drops | Difficulty |
|---|---|---|
| Isabella’s Amulet | Isabella 1st Encounter | Normal |
| Forgotten Vow | Isabella Final Boss | Normal |
| Keepsake Of The Divines | Neishatun | Normal |
| Surgeon’s Ring | Ekheke | Normal |
| Fanciful Earring | Ekheke | Normal |
Other Resources
| Item | Where it Drops | Difficulty |
|---|---|---|
| Minor Heartrune of Dark Ascent | Isabella | Normal+ |
| Tempest Materia | Isabella | Normal |
| Dense Tempest Materia | Isabella | Normal+ |
| Desecrated Flesh | Expedition Wide | Normal+ |
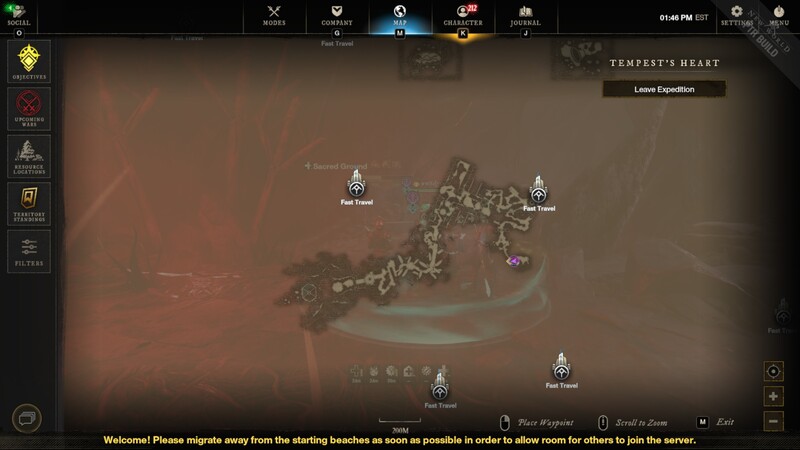
Tempest’s Heart Map
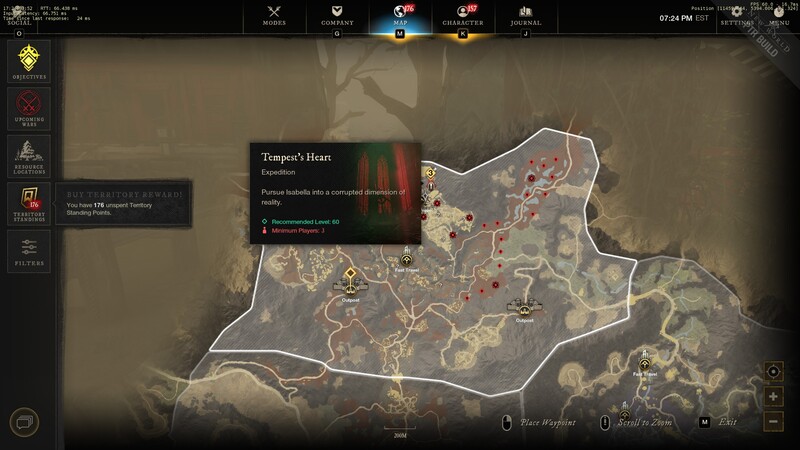
Tempest’s Heart Location and General Information
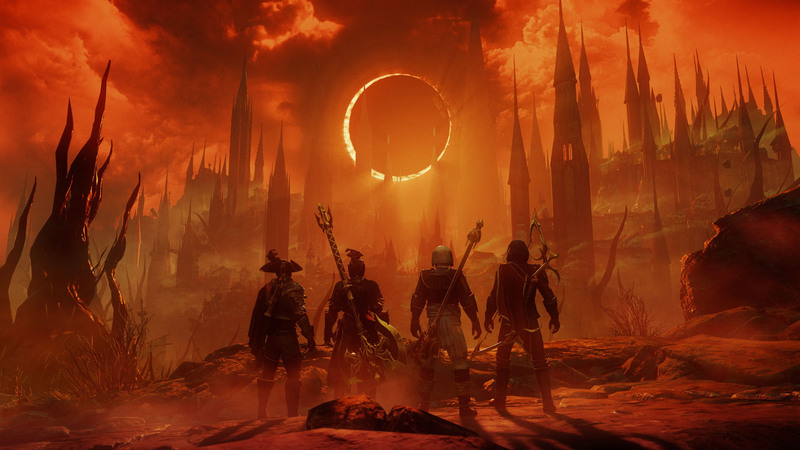
The final showdown against Isabella is upon you… Enter the Tempest’s Heart! Pursue the Tempest into a corrupted dimension of reality, through the twisted capital city of Myrkgard. Discover the secrets of her past while you dive deeper into her corrupted mind.
The Tempest’s Heart is an endgame expedition for 5 players. The normal version is recommended for level 60+ players with Gears Scores between 550 and 570. The Tempest’s Heart Expedition is located in Northern Shattered Mountain at the Northern tip of Myrkgard.
Types of Enemies in Tempest’s Heart and Optimal Damage Types
Once inside you will encounter corrupted enemies. The most effective damage types against the corrupted are thrust, nature, and arcane damage. Therefore, in order to maximize DPS a weapon that deals thrust damage should be utilized. You can check our Damage Type vs Mob Type quick chart for a full list of weaknesses for all enemy types.
You can also use Corrupted Coatings and Corrupted Ward Potions and Corrupted combat Trophy. to dish out more damage and to mitigate additional damage from the Corrupted enemies.
How to Enter Tempest Heart
In order to enter the Tempest Heart (like all New World Expeditions), someone in your party can be at the entrance to enter.
There is a limit on the number of expeditions you can run.
- 15 Normal Expedition runs per player per day or 105 per week, per player.
- 35 Mutated Expedition runs per week.
You can also utilize the dungeon expedition group finder to find a group and enter the expedition. The group finder can be accessed through the expedition entrance UI or from the map by clicking on the Expedition map icons.
You can browse listings created by other players, or post your own request to join other players on your server. This tool allows you to declare your preferred team role, such as DPS, tank, or healer. You can recruit based on those roles. You can also set recruiting requirements like minimum gear score and level, then inspect members to learn their average gear score, weapons, and mastery levels.
Repeatable Quests
There are several different semi-repeatable quests for the Tempest’s Heart Expedition called The Tempest’s Soul, Isabella De Leon, Isabella’s Corruption, Rise of Captain Isabella, Death of the Heretic, The Possession of Russo, and Isabella’s Madness. You must be level 60 in order to accept these quests, and you can obtain these quests from Mara Rosa in the cathedral just South of the expedition entrance. You can obtain one of the quests at a time, and upon completing the quests you will receive a Cache that will contain umbral shards, a Gypsum Orb, and several pieces of gear depending on the cache opened. Once you complete all of the quests listed you will no longer receive the cache that includes the gear, but will still be able to accept a repeatable quest that will reward you with a Gypsum Orb upon completion.
Tempest’s Heart Layout
Hidden Chest
There is a hidden chest mechanic in this dungeon. There are chests scattered throughout the dungeon that will give you a sword. You will need to use these swords on the statues throughout the dungeon. If you collect them all, the last statue of the dungeon will reward you with an additional dungeon chest.
Tempest’s Heart Walkthrough
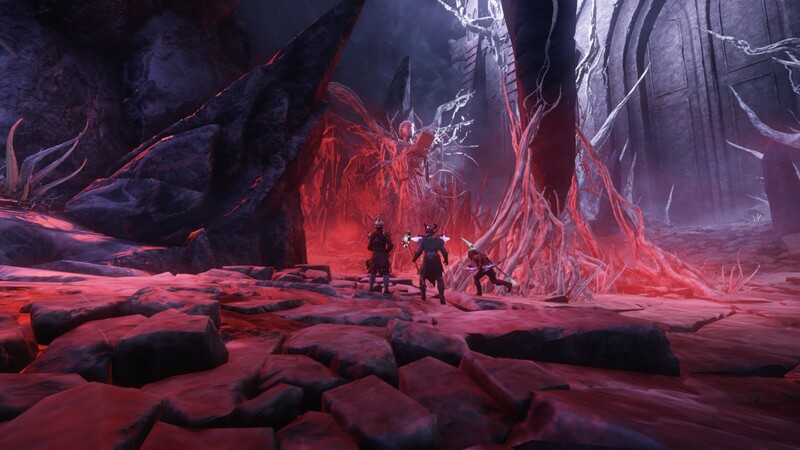
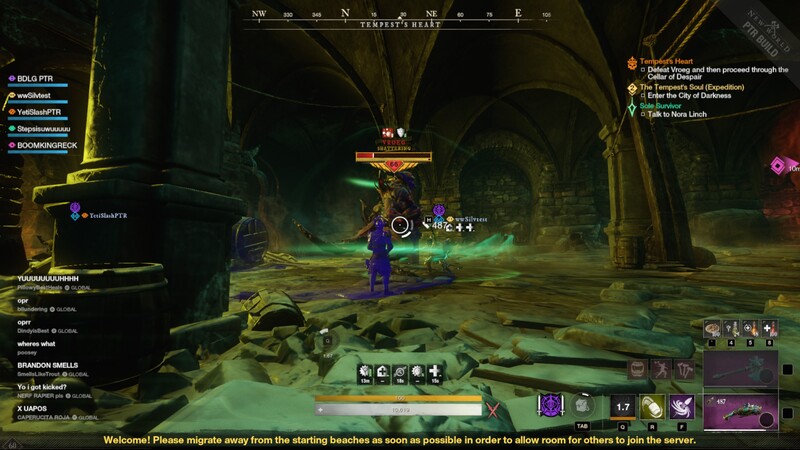
As you enter the Tempest’s Heart dungeon you’ll make your way down the initial corridor cleaning the trash mobs along the way until you work your way up the stairs to the Gates of Madness. Once in the Gates of Madness area you will encounter Isabella.
She will activate the corrupted monolith in the middle of the room. There will be 3 corrupted pylons around the monolith that you will need to close using your Azoth staff. You will then need to go into the middle of the corruption and attack the carapace to break it. Once it’s broken you will then close it with your Azoth staff to complete the room.
During this process you will have several mobs spawn just as you would at an open world corruption event. There is an Elite level 66 mob that spawns named Uzret. Be aware of his hard-hitting attacks with his greatsword. You can kill him or complete the corruption event and he will despawn. Once the corruption has been cleared the doors up the ramp will open and you can progress.
Dark Passage
Once you pass through the doors you will go left into a small nook. There you will activate your memory of Isabella. Once you have seen the memory you can continue to progress through the passage. You will have to clear some corrupted tentacles and trash mobs as you make your way through.
Once you make it to the end of the passage you will have several waves of trash mobs spawn that you will need to clear. Once the trash is cleared a named Elite, Crewman Rutz will spawn. Kill him and the gate will open.
Castillo De Leon (1st Boss Fight)
Pass through the gates and you will encounter your first boss fight, Ekheke, a level 66 Spriggan Elite (1st Boss Fight). There are several trash mobs around the boss. Clear those and then focus the boss down.
This boss fight is fairly simple. He has a few abilities to watch out for:
- Club Cleave – Swings his club-wide staggering and damaging players. This ability has a very long and wide range.
- Club Smash – An overhead club swing that deals a good amount of damage.
- Ground Rupture – The Spriggan will leap into the air and then smash the ground around him causing it to rupture with roots. This is an AoE damaging ability.
There aren’t any complex mechanics to this boss. Simply have your tank maintain aggro and DPS the boss down while being aware of the above attacks.
After killing the boss you will need to find the key to the cellar. You will take the stairs to the right, clearing the trash mobs along the way. Once you get to the top of the stairs you will go through the red portal.
Once through the portal, you will encounter a level 66 Elite boss named High Maiden Lai. You will need to clear the trash mobs around her and then kill her. She is much like the Maiden’ you encounter in Dynasty Shipyard. Just be aware of the Dragon Swirl AoE ability around her and DPS her down. Once she’s dead you will need to loot the chest in the middle of the room to obtain the Cellar Key. Proceed to the other side of the room to exit through another red portal.
Cellar of Despair
Make your way back down to the cellar door and use the key you just looted to gain access to the room. In the room you’ll be met with a level 66 Elite Brute, Vroeg. This brute functions much like any other brute (OPR, invasions, etc). He will roll his meatball and has a ground slam that he will perform. No other notable mechanics in this fight. Kill the brute and then talk to the heritic in the cellar.
Corrupted Graveyard
After exiting the cellar you will make your way though some trash mobs in the corrupted graveyard until you reach another Elite Mob. Level 66 Cutthroat Eduardo. There are not any noteworthy mechanics with this fight. Simply kill the Elite and move through the rest of the trash mobs in the Corrupted Graveyard and make your way through the double doors into the Basilica.
Basilica (2nd & 3rd Boss Fight)
Once inside the Basilica drop down from the ledges down to the bottom where you will encounter your second boss fight, Isabella (2nd Boss Fight). This boss fight is not mechanic-heavy and is fairly easy to clear..
- Rapier Dash – She will perform a quick dash covering a good distance and damaging all in the path.
- Corrupted Orb – She will shoot a corrupted orb in a straight line damaging all in it’s path.
- Flame Sword – A wide swing with her sword dealing damage in a cone in front of her.
You do not need to kill her, simply get her to roughly 75% health to continue with the dungeon. Once she’s at 75% health she will teleport out and you can proceed
Continue down the hallway into the cathedral room. Here you will encounter a group of trash mobs along with an Elite mob, High Priestess Ifel, that you will need to take down. This section is still considered a part of the boss fight. So, if you died against Isabella and die again here you will be dead and will have to respawn at a respawn location. Make sure to loot the chest on the platform up the stairs before proceeding to the next area.
Clear the trash mobs through the hallway and pick up the respawn point prior to starting the Isabella fight (3rd Boss Fight). Make sure you do not engage until everyone is on the platform. There is a bridge that disappears once the fight starts and it will lock out your teammates from the fight.
Once the fight begins you will notice that there are 2 cultists that spawn along with Isabella. Isabella will start the fight with 2 stacks of empowerment on her. She gets one stack per cultist and will spawn them throughout the fight. Make sure you DPS the cultists down to keep the empower stacks off of isabella. She has the same attacks as the previous fight, and like the previous fight, you do not have to kill her. You just need to get her health down to half and she will teleport out and you can continue the expedition.
Once dead, make your way down the ledges to the expedition chest and then into the next area of the dungeon, the Sea of Corruption.
Sea of Corruption
Leap off the ledges and follow the path down. Here you’ll be met with several trash mobs and a Void Destroyer. The void destroyer will target a player and place a persistent lazer on that player dealing a good amount of damage. You can line of sight the initial lazers and clear the trash mobs if you stay behind the broken ship rubble. Once the trash mobs are cleared someone in the party will need to hop onto the repeater and target the Void Destroyers Eyes to kill it.
Once it’s killed make your way to the Reliquary Statue and Azoth Staffs to obtain a large protective bubble for your group.
Your group will need to stay inside this bubble, killing ads along the way. The bubble will stop the lazer from the Void Destroyer, so make sure the person carrying the bubble pauses on top of the repeaters so someone can hop on and shoot the eyes out of the Void Destroyer. Also, be aware that there is a good amount of corruption damage throughout this area so make sure you have some corruption tinctures on hand. Continue this process until you make your way through the Sea of Corruption. The player holding the Reliquary will need to speak to Isabella at the end, which will then drop the bubble from the group.

Make sure you loot the chest here and then continue up the stairs to the right into the City of Darkness.
City of Darkness
Clear the trash mobs, and an Elite level 66 Mob named High Priest Basir, along your way through the City until you reach a room with 5 summoners and a large bubble covering the statue in the middle of the room.
In this room, you will need to DPS down all the summoners before the bubble fills the room. If the bubble fills the room it will wipe your group.
Once complete make your way through the void tunnel to the next area. Here you will need to defeat a level 66 Elte, Headman Pang. Once cleared exit through the opposite void tunnel into the next area, Bloodstain.
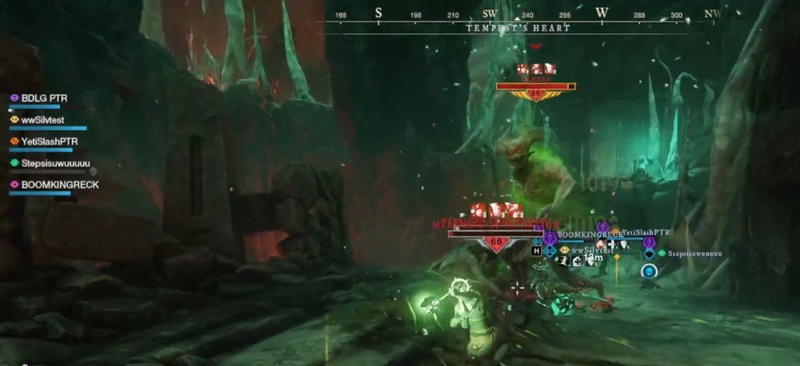
Neishatun Boss Guide
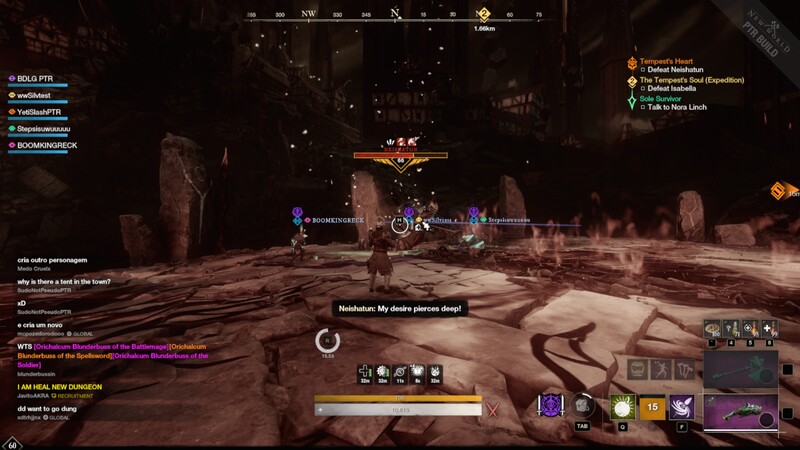
Here you will encounter the 4th Boss of the Dungeon. This boss, Neishatun, is very mechanic-heavy, and you will need to know the mechanics in order to defeat the boss.
The main mechanic to be aware of with this boss is the fire that is placed down around the arena. The boss will disappear during this phase, and there will be glyphs that pop up on the arena floor. These glyphs indicate where a large circle of fire is going to appear. You must make your way into a safe (free from fire) area of the arena before the fire explodes.
If you get hit by the fire you will gain a stack of burning. You can not cleanse this stack and it will persist through the remainder of the fight.
If you are subsequently hit by fire again you will gain an additional stack. Every stack you gain increases the damage over time.
Another mechanic to be aware of is the glyph that will appear above players’ heads. If this glyph appears above your head then Neishatun will target you and send a shockwave in a straight line that deals massive damage to you, or he will target you with an array of arrows. The wave does massive damage and can be dodged. If you are targeted you will need to get away from your teammates as anyone in the path will be hit. Make sure you dodge or you could be dealt a fatal blow. Make sure you also dodge the way of the arrow barrage.
There will also be an orb that spawns in from time to time. When it spawns in, everyone should target the orb and DPS it down as fast as possible. If it is not killed in time it will explode, deal damage, and apply a stack or an additional stack of fire to the entire team.
Other notable attacks are as follows:
- Tail Whip – Neishatun spins around quickly dealing damage in a large area with his tail.
- Charge – Neishatun will charge a player, knocking the back. Make sure you do not stand near the edge of the platform or you will be knocked off the platform and insta killed.
- Rain of Arrows – Neishatun will shoot his bow into the air raining down arrows across a large portion of the arena. The arrow landing will be marked by a white circle on the ground. Make sure you avoid these.
Summary: Make sure your tank gains and maintains aggro as your DPS deals damage to the boss. Tank should be aware of the tail whip and other attacks and block as necessary. Do not get too close to the edge because the boss will charge you and knock you off, killing you.
Once the boss is roughly 75% healthy he will spawn the glyphs.
When glyphs spawn on the map be aware of where they are and where they are not. Make your way to an area of the map where you did not see any glyph so you can avoid the Fire and avoid burn stacks being applied.
After the first glyph phase, he will then start laying down a few glyphs while fighting him. Make sure you do not stand in the fire. After the first glyph phase is also when the orb will begin to appear. When you see the orb spawn, DPS it before it explodes.
During the second Glyph phase, there will also be ads that spawn in. You will need to make your way to a safe area and DPS down the ads.
The rest of the fight is rinsed and repeated. Once you defeat the boss, ensure you loot the chest near the void tunnel and then proceed through the tunnel to Father Russo and speak to him. After you speak with him you will then be at the final boss fight.
Tempest’s Heart Isabella Boss Fight
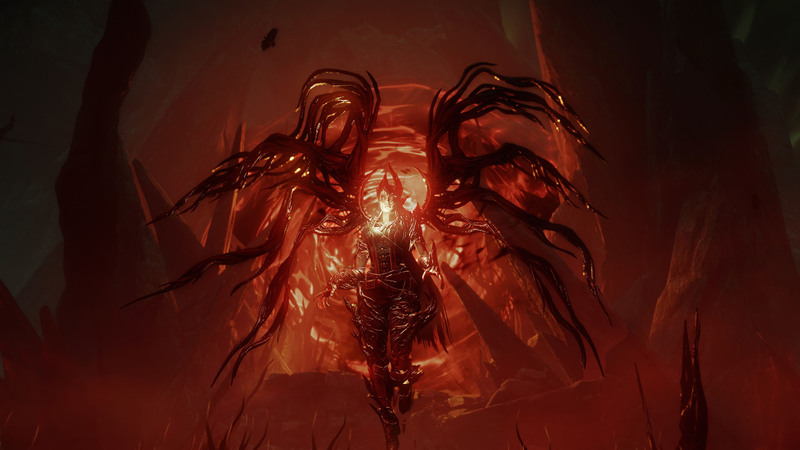
This fight is not quite as mechanically heavy as the previous fight. However, there are some mechanics to be aware of.
- Cleave – An AoE cleave in front of Isabella, much like the one she performs previously with her rapier. If you are in the area of the cone make sure to block.
- Corruption Summon – She will spawn in corrupted vines that emerge from the ground in an X or cross shape dealing damage. She will stomp the ground prior to this happening. Stand directly behind or directly in front of her to avoid damage. However, during the second phase (when she is below 50% health) you will see her summon a glyph before performing this ability. The vines will then hone onto targets after that point. You can dodge or block to avoid or reduce damage.
- Wing Spin – Isabella will spin quickly dealing damage to anyone close with her wings
- Burn – Isabella will target a player and apply a burn Dot to them.
- Take Flight – Isabella will take flight and dive through players dealing damage. This can be avoided by dodging out of the way when she dives.
- Monolith Summon – Isabella will launch herself straight up into the air and summon a monolith onto the ground. Get away from the monolith as it will have corrupted vines spinning all around it for a short period and will do heavy AoE damage to anyone caught in it. Once the swirls disappear a player will have to use an Azoth staff to de-spawn the monolith.
There are corrupted blood pools on the ground near the back of the arena. Do not stand in these. They do a lot of damage when standing in them.
Just have your tank maintain aggro while being aware of the above mechanics. Your tank will need to avoid a lot of the melee ranged attacks and AoE’s that she will perform. This fight is not super melee friendly due to all the close-range AoE’s around the boss. Make sure you loot the expedition chest after the fight and the dungeon is complete and you can exit.
Tempest’s Heart Expedition Guide Conclusion
That Complete’s our Tempest’s Heart Expedition Guide. For more on the other End-game Expeditions in New World check out our Garden of Genesis and Lazarus Instrumentality guides. For more New World Aeternum guides be sure to check our comprehensive guide library!