
Welcome to our Temple of Roar guide for Throne and Liberty. In this guide, we’ll take you through everything you need to know to beat this dungeon. The recommended level for this dungeon is 30 and can be accessed through the Secret Dungeon tab. This dungeon is also a beginner version of Temple of Slaughter.
Drops


Other Drops (Materials)
- Precious Rubrix, Stalon, Emeret, Marind, Ore
- Precious Polished Crystal
- Rare Polished Stone
- Reaper’s Soul and Mana Blood
First Section & Mini-Boss
During the first section you’ll meet a few mobs such as the Monk and Mutt. The majority of these mobs are straightforward to kill, as a result, clear them out and head to the first jump-down point. The goal of this room is to defeat all the mobs down below and activate the Mana Fluid Regulator. After defeating all the mobs, interact with the Mana Fluid Regulator to flood the section of the room you’re in to continue.
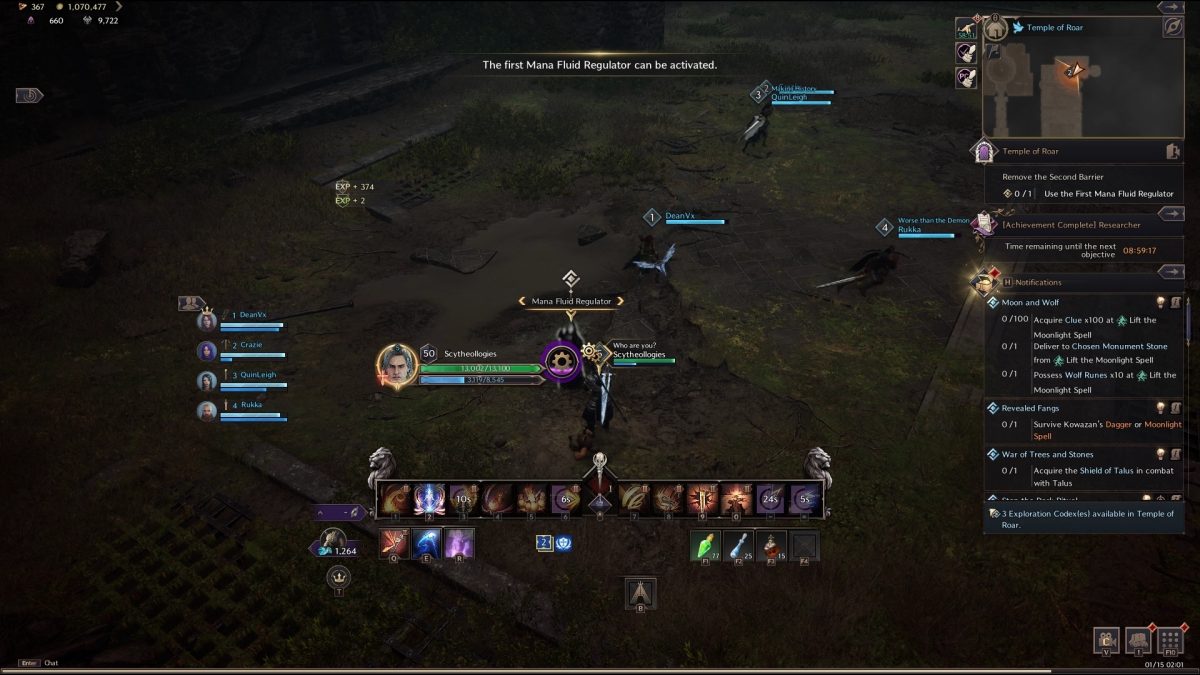
Next is a second Mana Fluid Regulator, repeat the above steps and you’ll rise up to the first mini boss of the dungeon.
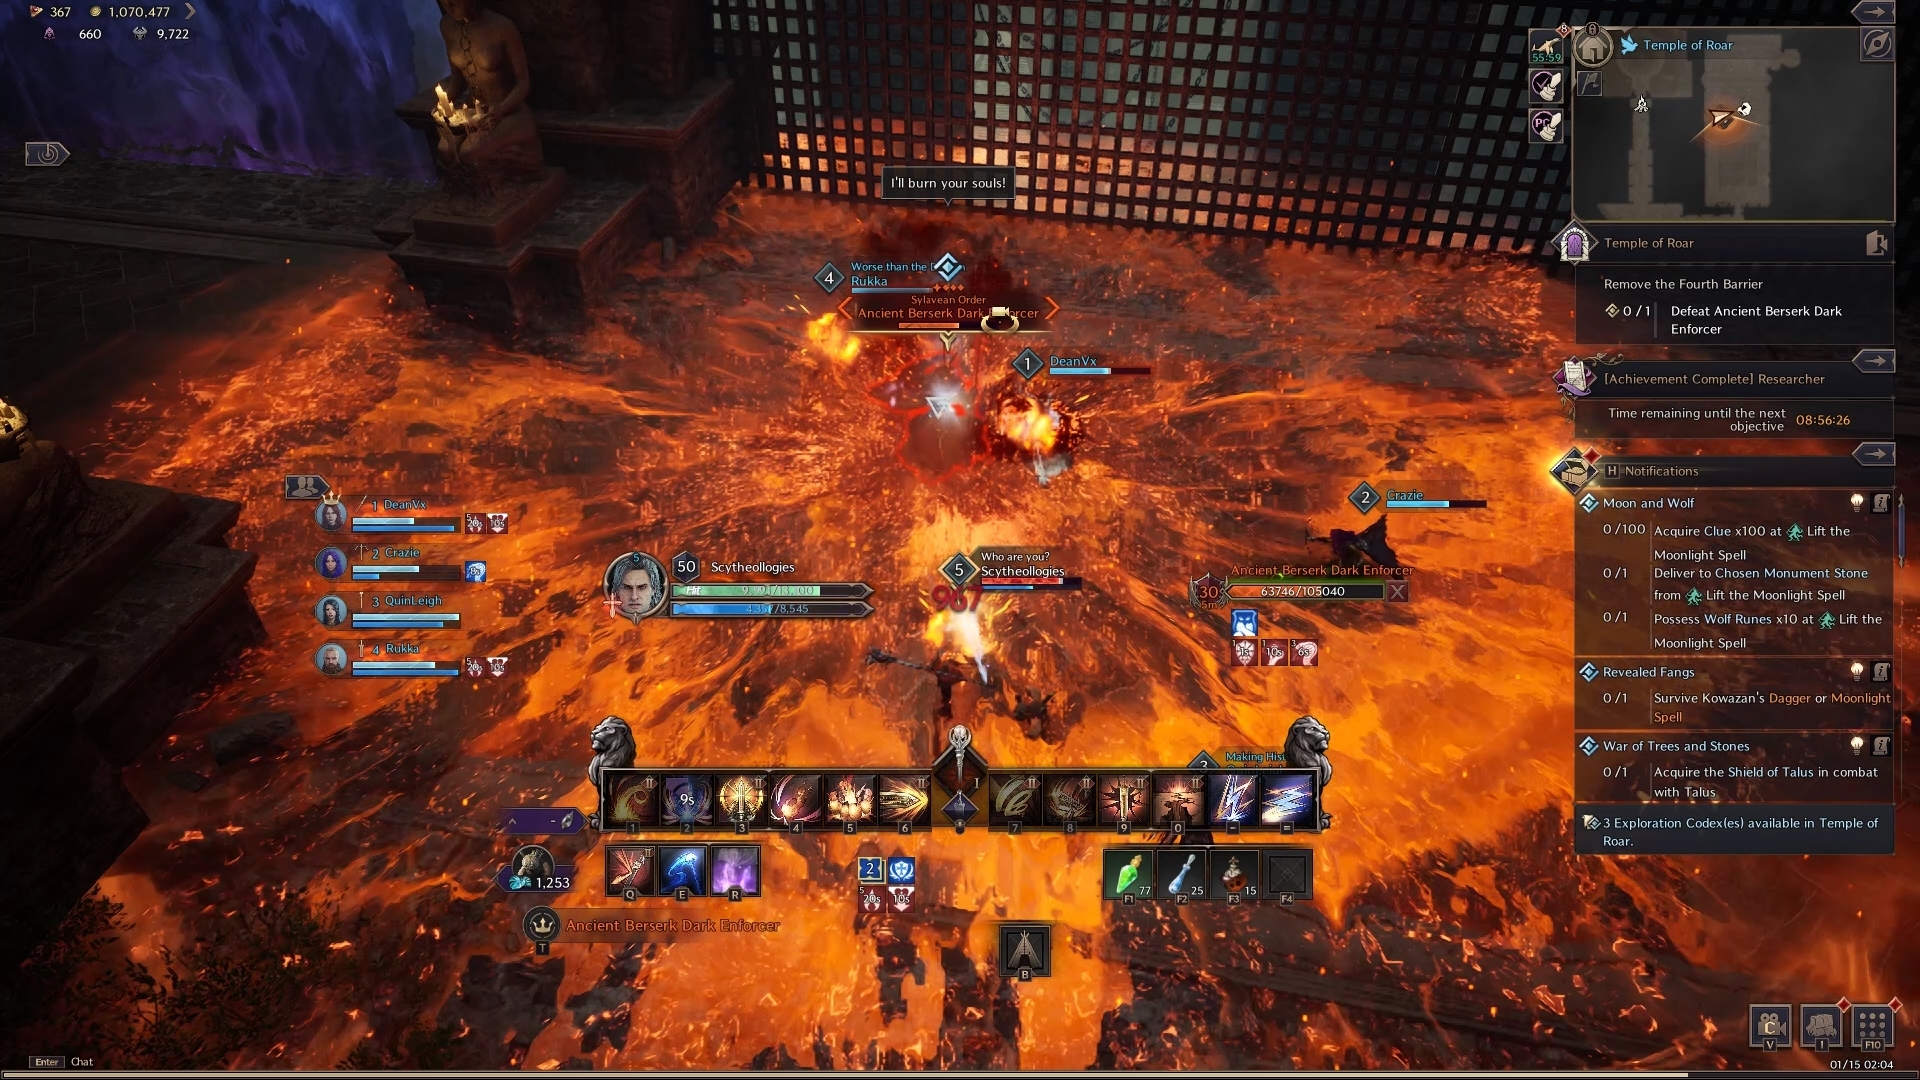
Mini Boss 1: Berserk Dark Enforcer
The Dark Enforcer doesn’t have mechanics outside of an AoE flame attack that applies burn stacks to the party. However, you can simply hop into the water for half the duration of the stacks! Clean up the boss quickly and move on to the second section.
Section Section & Mini-Boss 2
To progress through this area quickly, make use of your Morph to glide through a fiery gauntlet. This method can be quite dangerous but as long as you avoid the fire beams you’ll be safe. Next, clear up all the mobs and follow the corridor all the way through until you reach the second mini-boss of the dungeon.
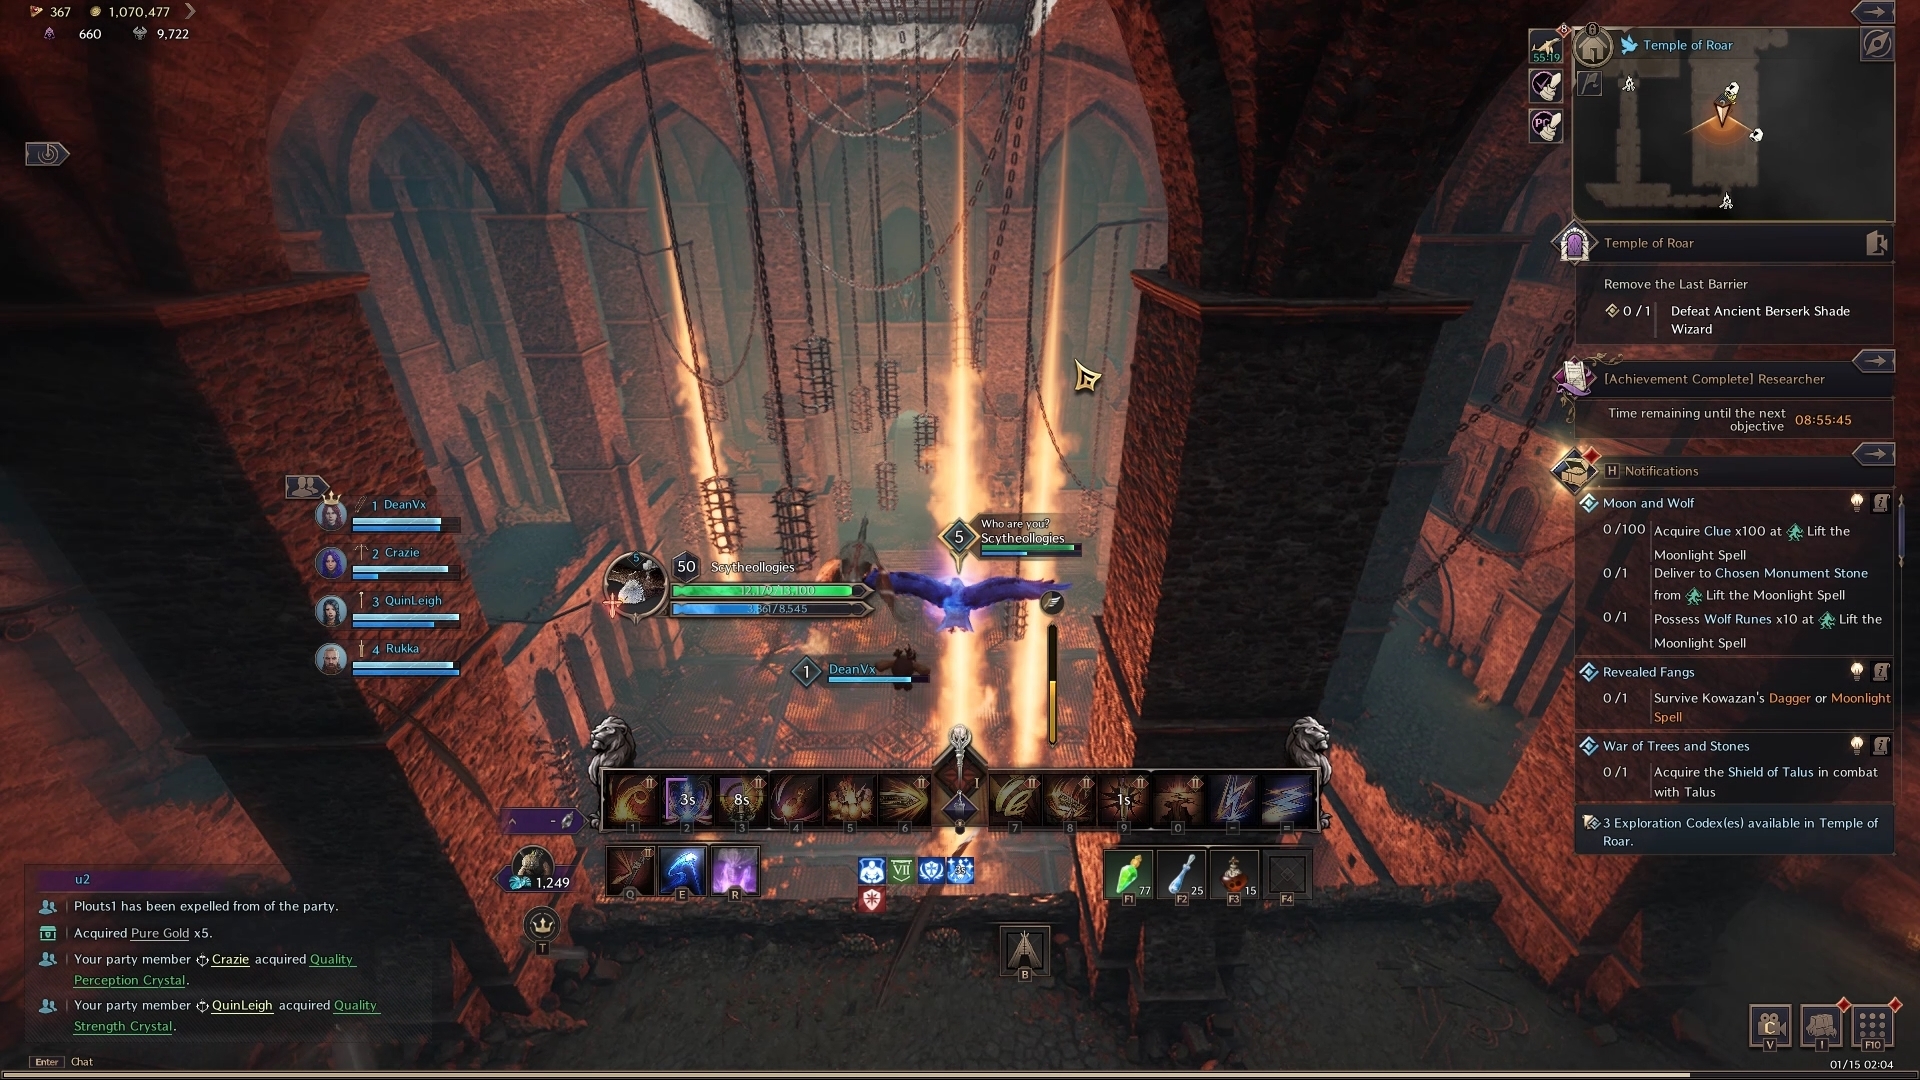
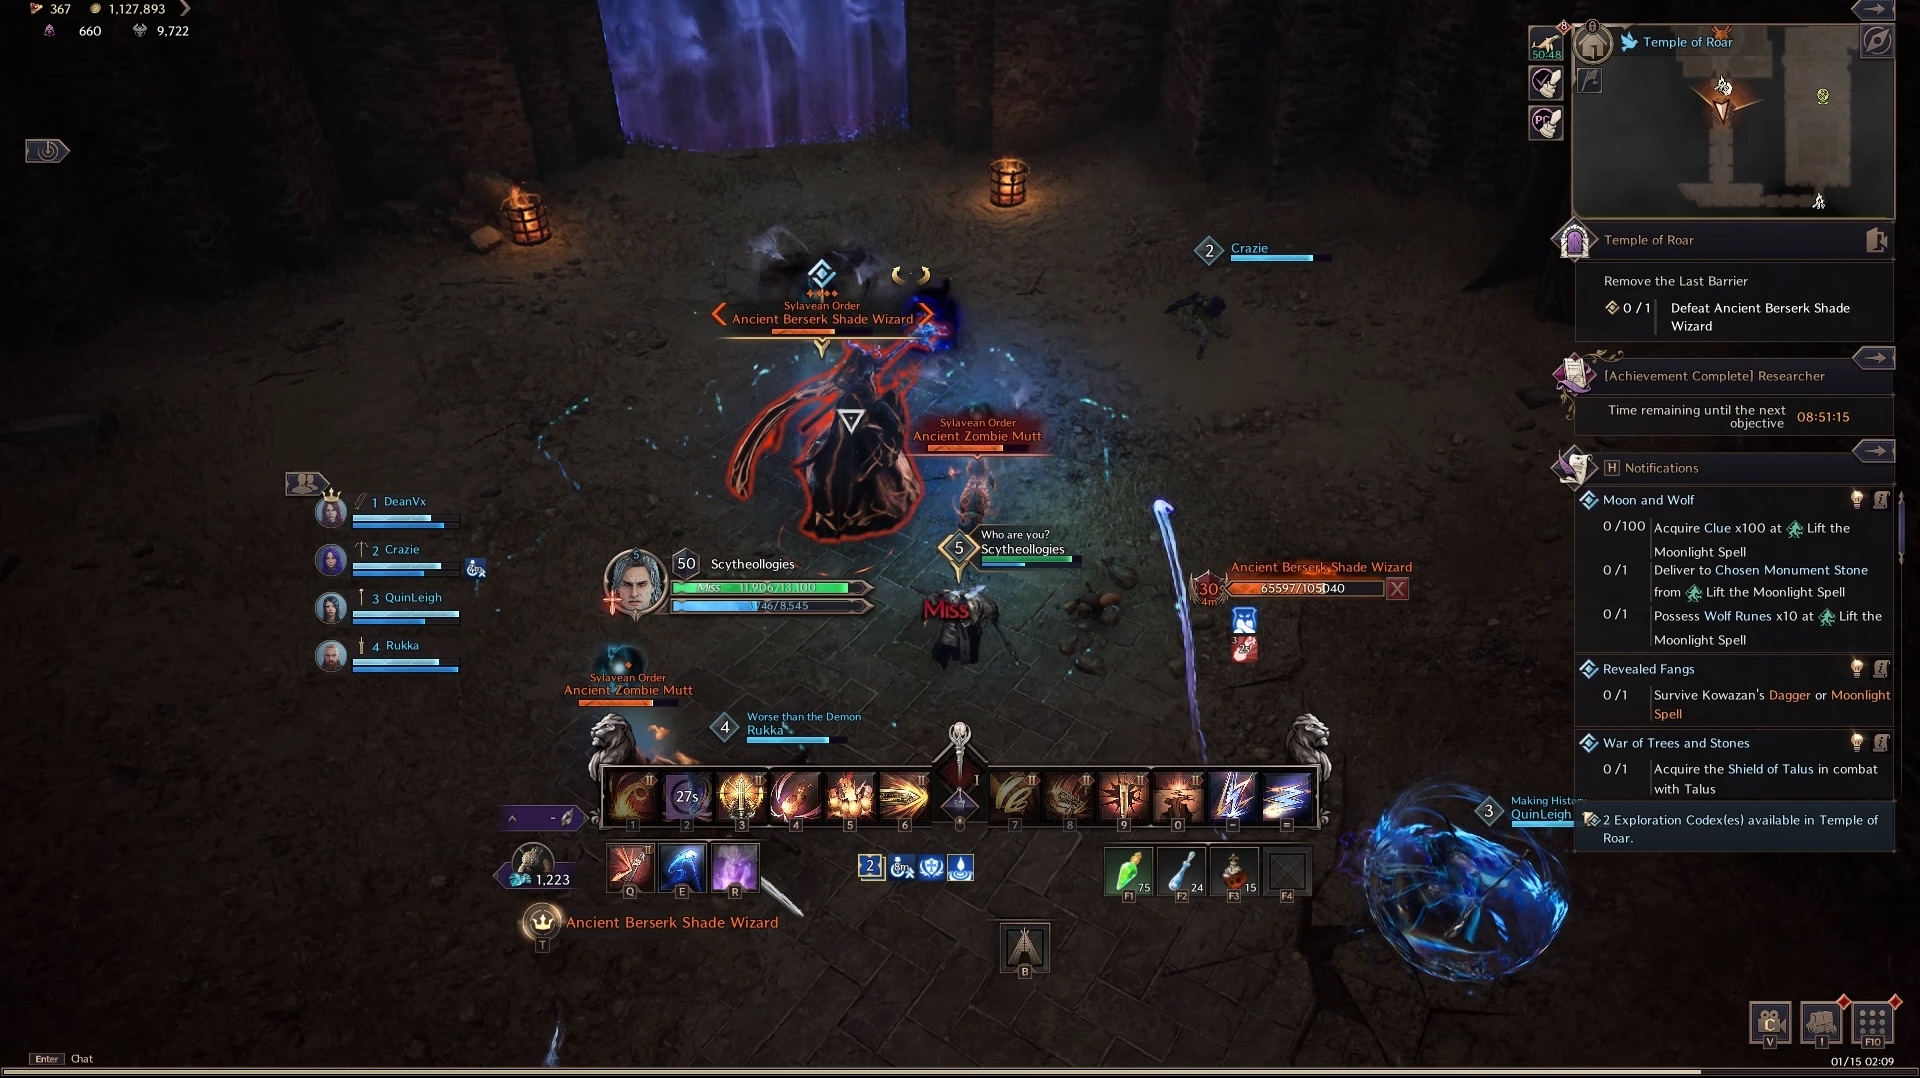
Mini-Boss 2: Berserk Shade Wizard
The Berserk Shade Wizard has a couple of AoEs to watch out for as they deal decent damage. The Shade Wizard periodically summons Mutts to chase the party. Within a certain moment, the Shade Wizard activates the Mutts, causing them to explode. As a result, keep a look out for when the Mutts turn blue and avoid them! Once the mini boss is down, head into the final room to fight the last boss.
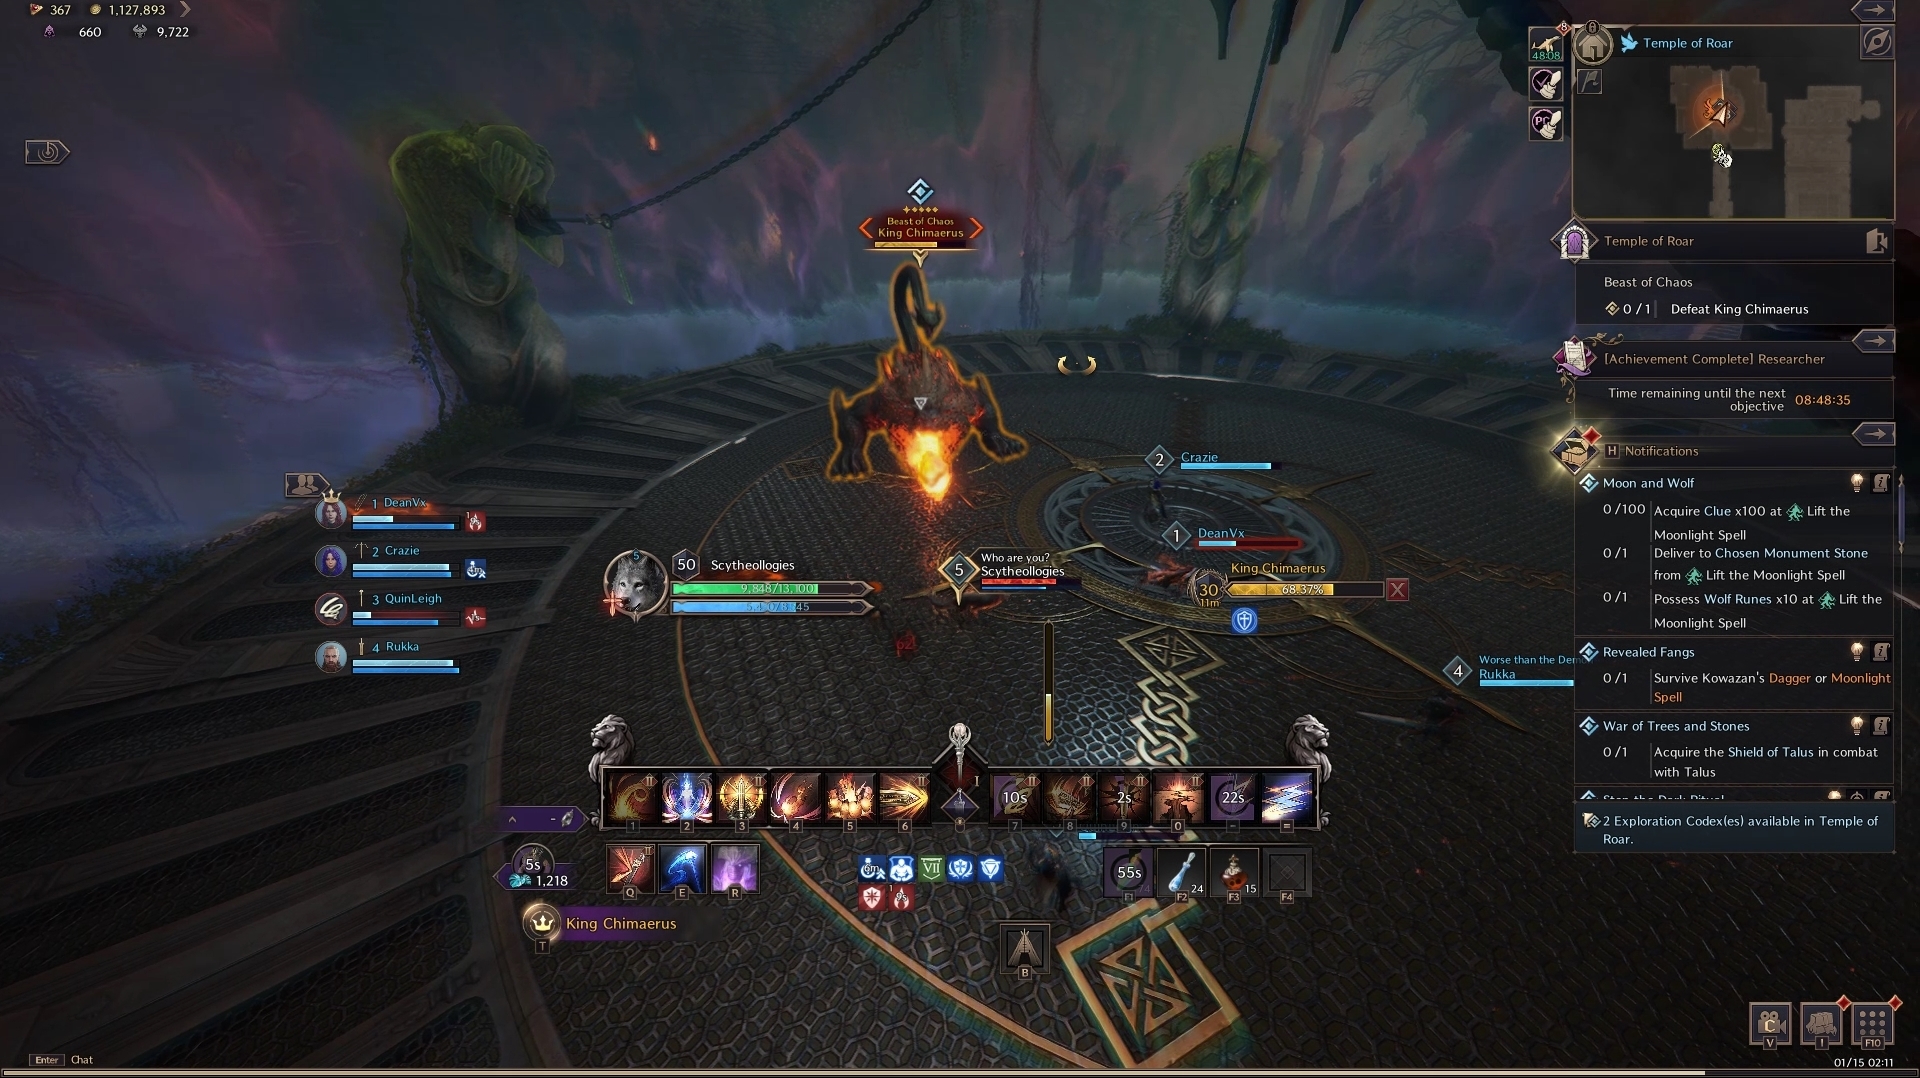
Final Boss: King Chimaerus
King Chimaerus is the first majorly intimidating boss you’ll come across in Throne and Liberty’s dungeons. Throughout the standard damage phase of the boss, there is a couple of attacks to watch out for:
- A jumping swipe attack on the player with highest threat
- Ranged poison spits that leave a puddle on the floor
- A tail-swipe if you stand behind it
After some time within the phase, King Chimaerus selects a target to inject paralyzing venom into. That player has to run as far from the boss as possible and have the tank position in-between the target and the boss. King Chimaerus then unleashes three huge fireballs towards the paralyzed target. If done correctly, the tank soaks up the damage and then the next part of the phase switch begins.
Soon after the fireball phase, King Chimaerus jumps into the centre of the arena. Each of the four color-coded chains around the arena can be grappled onto. As a result, select 4 party members to pull the chains at the same time with their grapple. This douses the King in water and prevents a constant AoE wave that wipes the party.
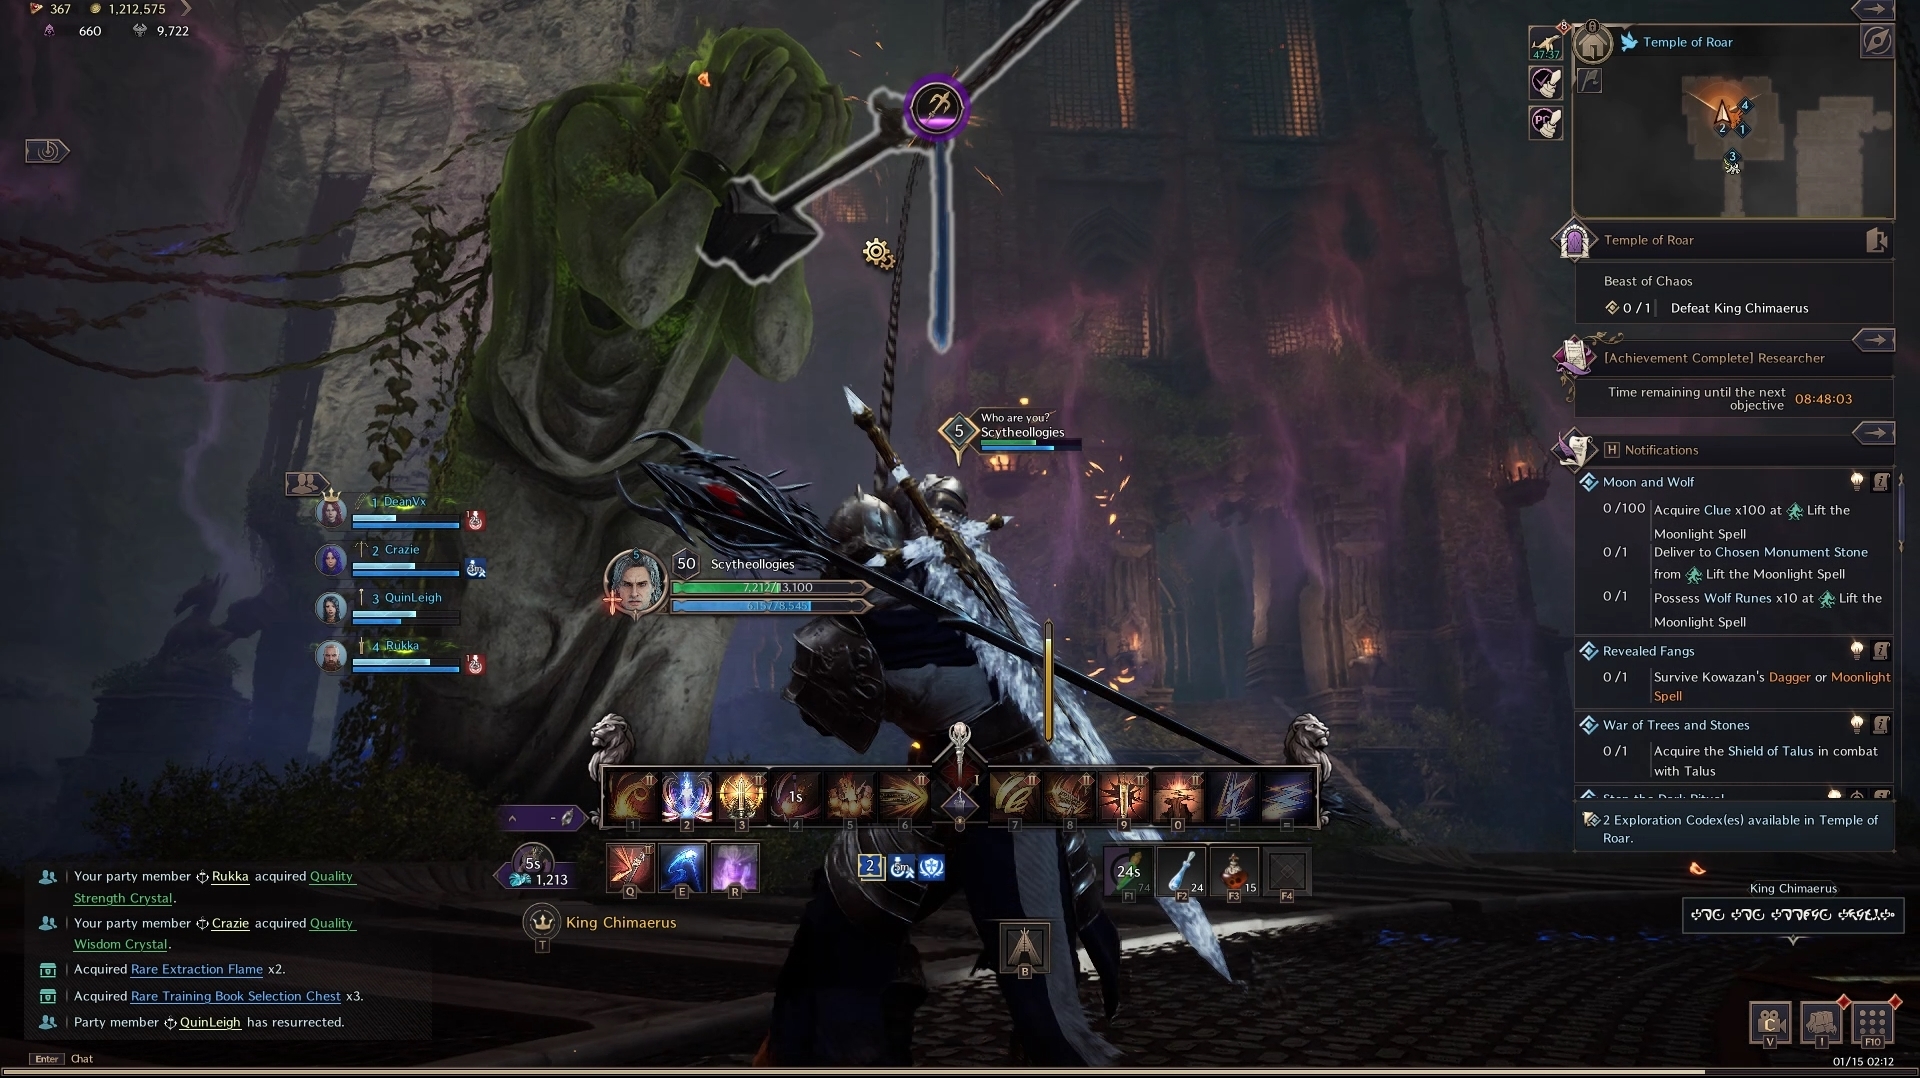
After this phase, the boss repeats the above phases until it is defeated! After the King is down, collect your chest full of loot as your reward!
Temple of Roar Guide Conclusion
That concludes our Temple of Roar guide for Throne and Liberty. For more information on Throne and Liberty, check out our official Home page!