
Introduction
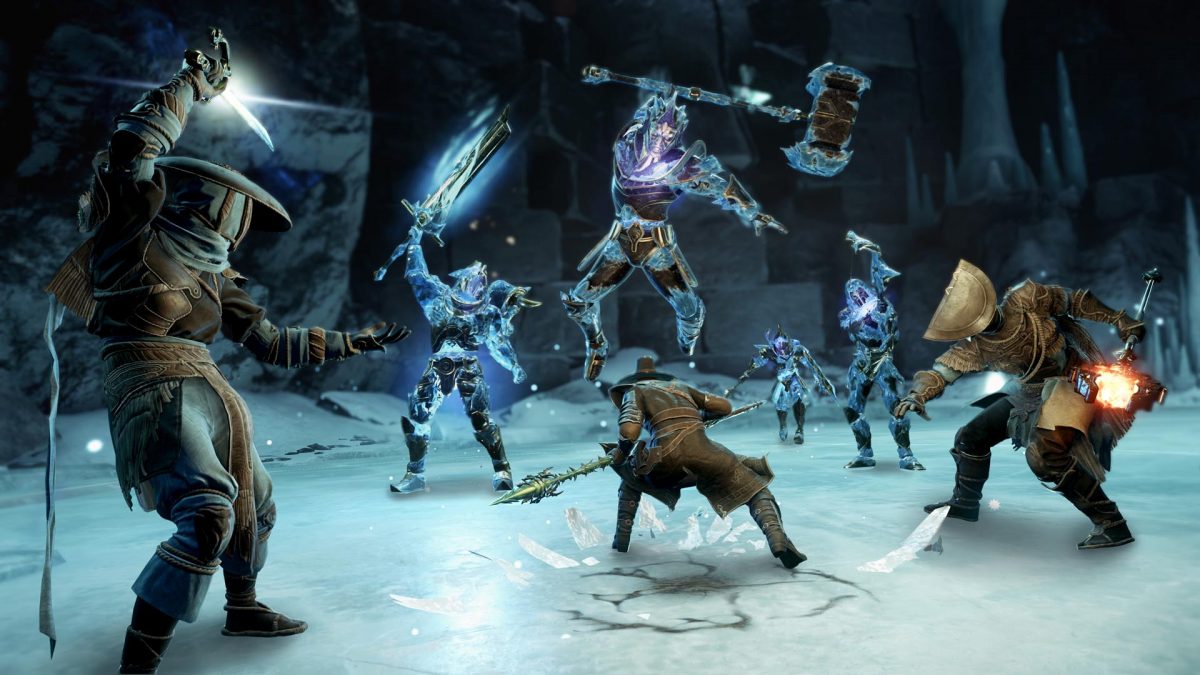
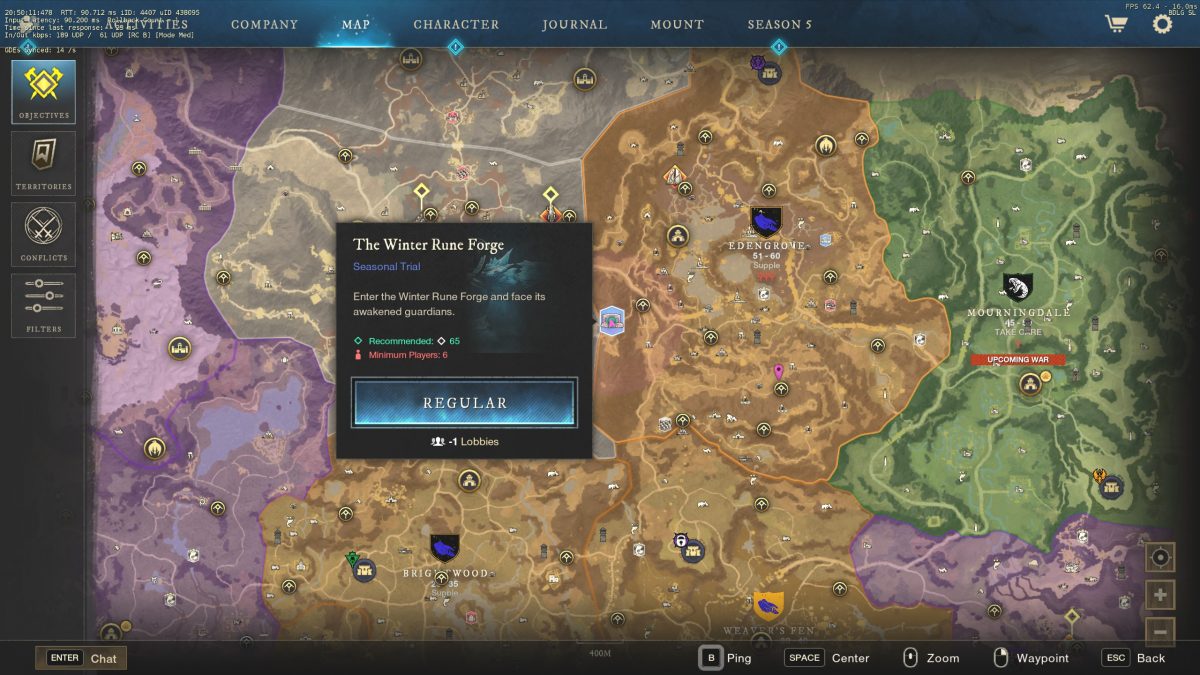
The Winter Rune Forge is a 10-man Trial in New World Aeternum located in western Edengrove. This trial requires teamwork to overcome rune puzzles, slay Icey constructs, and fell an ancient ice guardian for unique rewards.
This Winter Rune Forge guide will walk you through everything you need to know about the trial. This includes the rewards and a complete walkthrough of the mechanics.
Winter Rune Forge Rewards
Completing the trial twice per week will reward you Winter Rune Forge Spoils. You are guaranteed to net one piece of named gear that’s upgradeable, 150 dark matter, and Frostforged gear. Weekly rewards reset at 5 AM local time on Tuesday. For example, if you grab one special cache at 4:58 AM, you’ll be able to earn another at 5:01 AM.
The Spoils cache also has a 10% chance to drop the Tempest Fury artifact, and a 50% chance to drop a faction token bundle containing 5,000 faction tokens. Below are all the possible rewards you can obtain from the spoils cache.
Weapons
| Item | Type | Upgradeable |
|---|---|---|
| Tempest Fury (Artifact) | Great Axe | Yes |
| Power Stone (Artifact – Drops from Mobs not the cache) | Flail | Yes |
| Frostforged Weapons | All | No |
| Ice Guardian Gauntlets | Ice Gauntlet | Yes |
| Icecleaver | War Hammer | Yes |
| Frozenpoint | Spear | Yes |
| Snowburst | Musket | Yes |
| Chilled Meteor | Flail | Yes |
| Moon of Healing | Lifestaff | Yes |
| Sun of Knowledge | Fire Staff | Yes |
Armor
Other Resources
| Item | Upgradeable |
|---|---|
| 5,000 Faction Tokens | N/A |
| Dark Matter | N/A |
Location
The trial is located in the southwestern section of Edengrove. You can easily get there by utilizing the Gnostic Crux Shrine in southeastern Great Cleave, or the Crescent Window Shrine in southwestern Edengrove. From the Great Cleave shrine simply follow the road to the west and when you reach the crossroads head north. From the Edengrove shrine follow the road to the south and then to the west through the mountains. Once you reach the crossroad, head north.
Enemy Types
All of the enemies you’ll encounter during the trial are Ancients. This means it would be a good idea to have your ancient combat trophies active before entering the trial.
It’s also suggested that you have ancient coatings and ancient ward potions on hand. This will allow you to deal more DPS, and mitigate more damage against the ancient family of enemies.
You can reference our damage type vs mob type quick reference guide for more information regarding damage types versus ancients.
Walkthrough / Mechanics
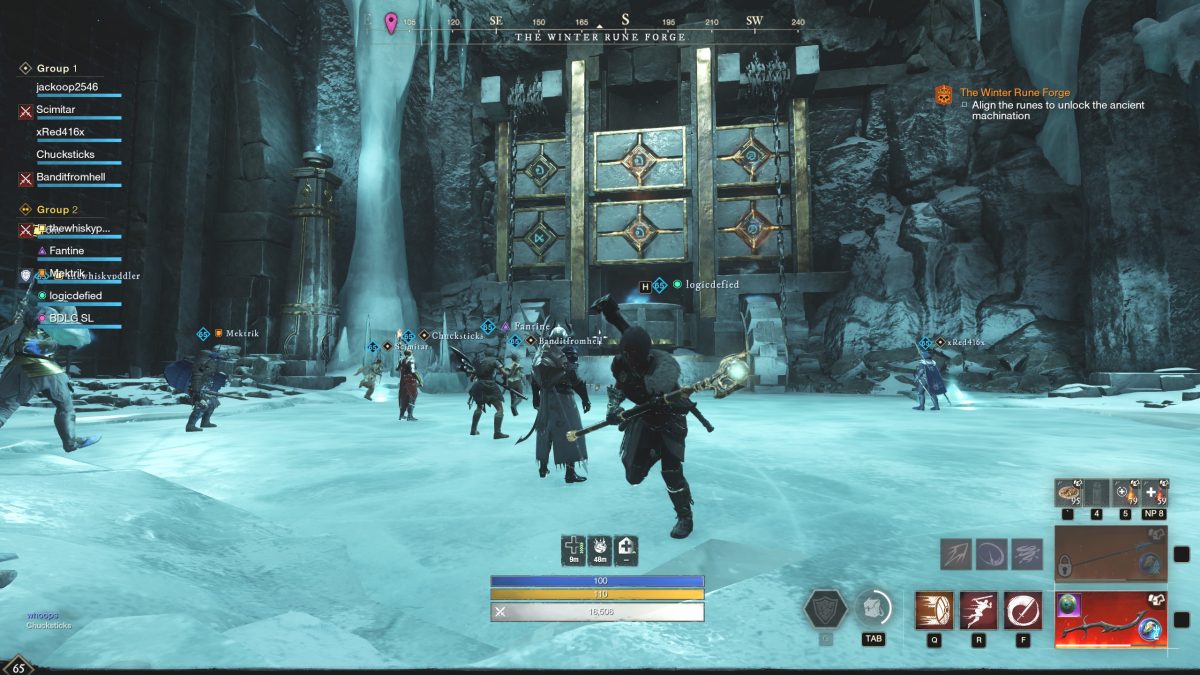
Upon entering the trial your team will need to complete a rune puzzle in order to spawn in the first wave of enemies. The rune puzzle is on the south wall of the room. Players in your group will need to pick up the ice on the ground and throw them at the runes on the wall. The goal is to match the bottom rune shape with the top rune shape in each of the three columns. Once this is complete the first wave of enemies will spawn.
Waves 1 – 2
The first wave consists of several types of ancient trash mobs that include some runeforge commanders, crushers, reavers, and archers. These enemies can be quickly defeated by grouping them up and taking them down to move on to wave 2.
Wave 2 consists of a few named enemies. They are little stronger and hit a littler hard than the mobs from wave 1, but nothing noteworthy. Simply burn the enemies down to move on to the next phase.
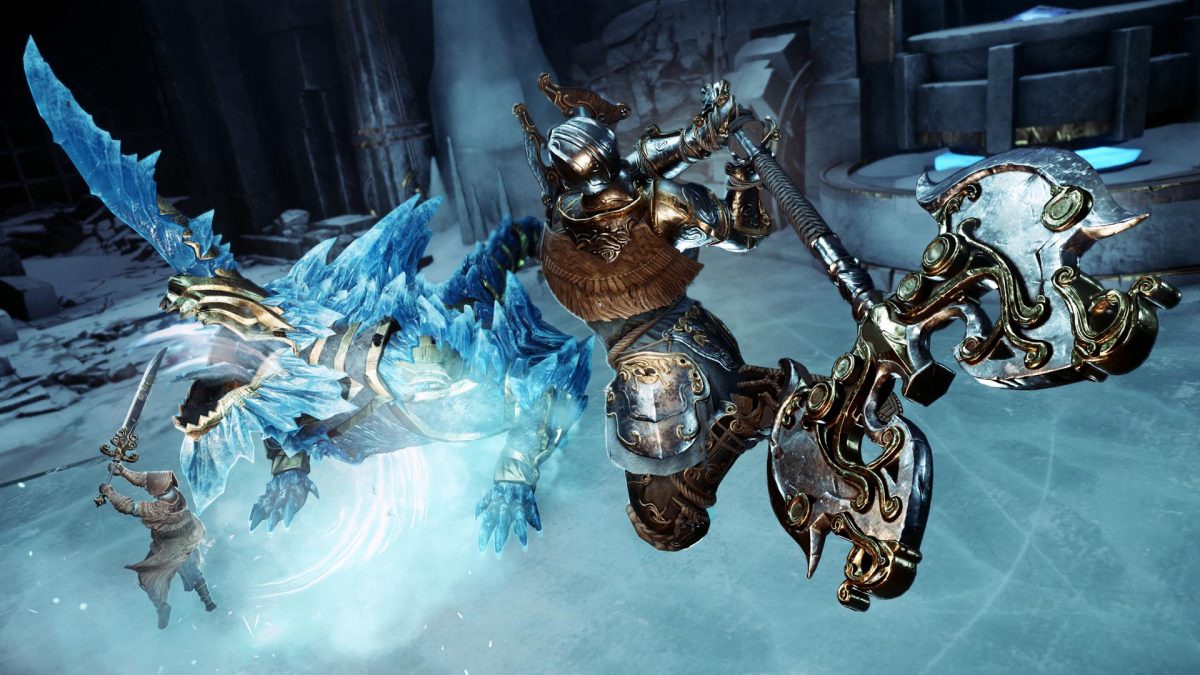
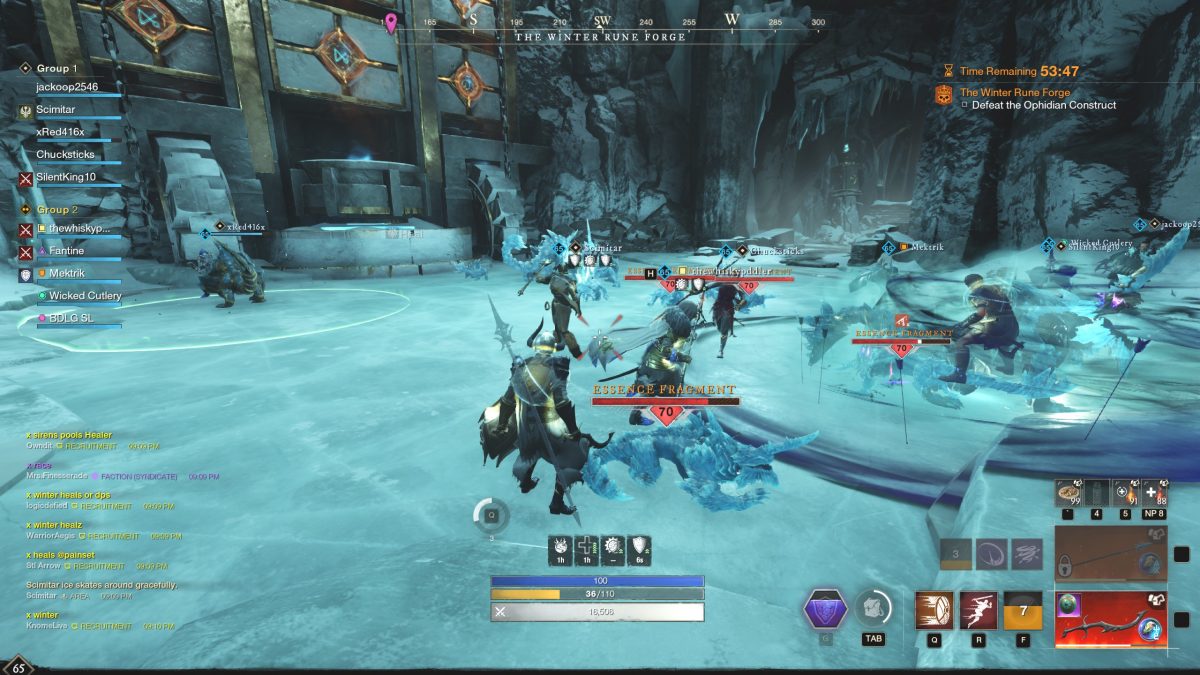
Ophidian Construct
Next, you’ll encounter the Ophidian construct rushing out it’s cage. The mechanic here is that it splits into 2 separate beasts when it’s health reaches a certain threshold. Then, those 2 will also split into 2, which can lead to a total of 4 constructs at once. However, there is a fairly easy method to clearing this phase.
For the first construct your tank should draw aggro while the rest of the team deals damage. Once he’s at roughly 50% health he will split into 2 constructs. Whenever this happens the main tank should pull one of the constructs and hold aggro while the rest of group fights the other one.
While the main tank holds aggro the team should continue fighting the other construct until it splits. Once it splits the team should finish the remaining two before switching over to the construct that the tank is holding. Be aware that when the 2 constructs die they will freeze in place. When this happens they will spawn in ads called Essence Fragments for the remainder of the fight. Make sure you’re clearing the ads or they can become a problem.
This method will prevent 4 constructs from spawning at once and will make this phase and easy clear. The constructs themselves do not have any major mechanics. Just be aware that if you’re a DPS or healer they can hit pretty hard so just position yourself behind them or at range.
Once the constructs are defeated the ground will break away and you’ll fall into the next area to fight the Ice Guardian.
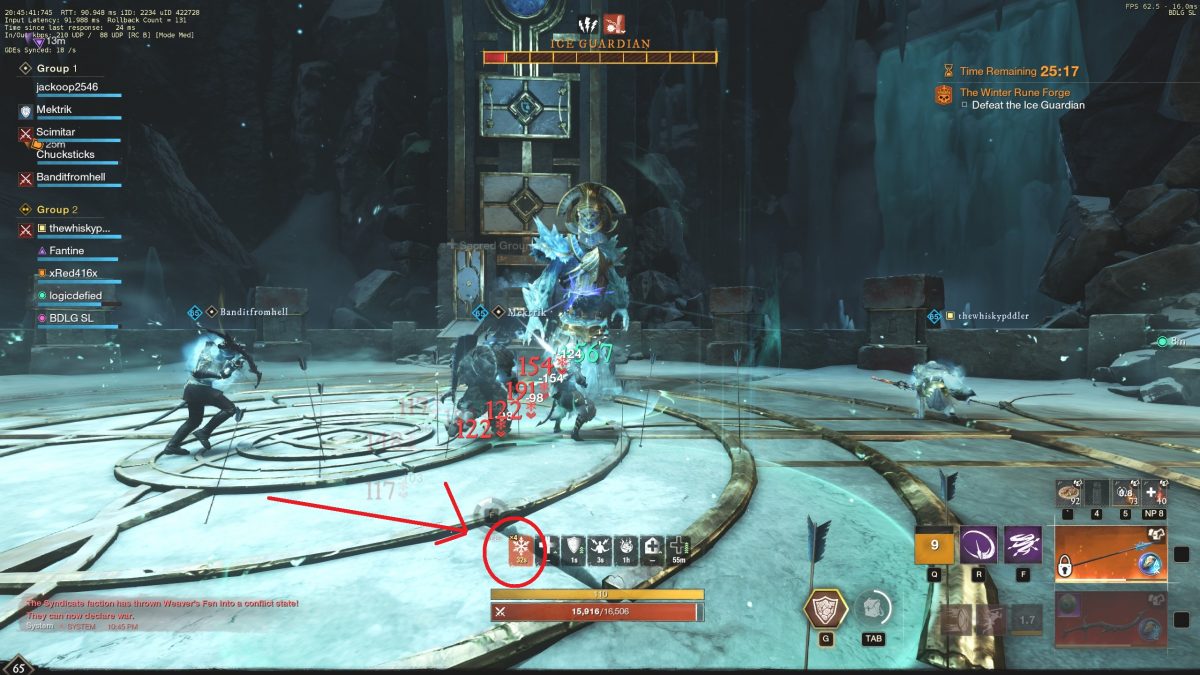
Ice Guardian
Upon entering the Ice Guardian arena you will notice the Ice Guardian in the middle and rune puzzles on the wall circling the arena. These rune puzzles are utilized for one of the mechanics of this fight. You will also notice fire circles underneath the rune puzzles right as the fight begins.
The fire circles are utilized to cleanse a debuff that your team will receive periodically during the fight. The debuff is called Hypothermia. The debuff deals ice damage every 2 seconds and can stack up to 10 times. You will also be slowed and have increased ice weakness per stack.
In order to cleanse yourself or a teammate you will simply need to grab the buff or run into the fire circle that surrounds one of your teammates that has the buff. However, the fire buff is not always available.
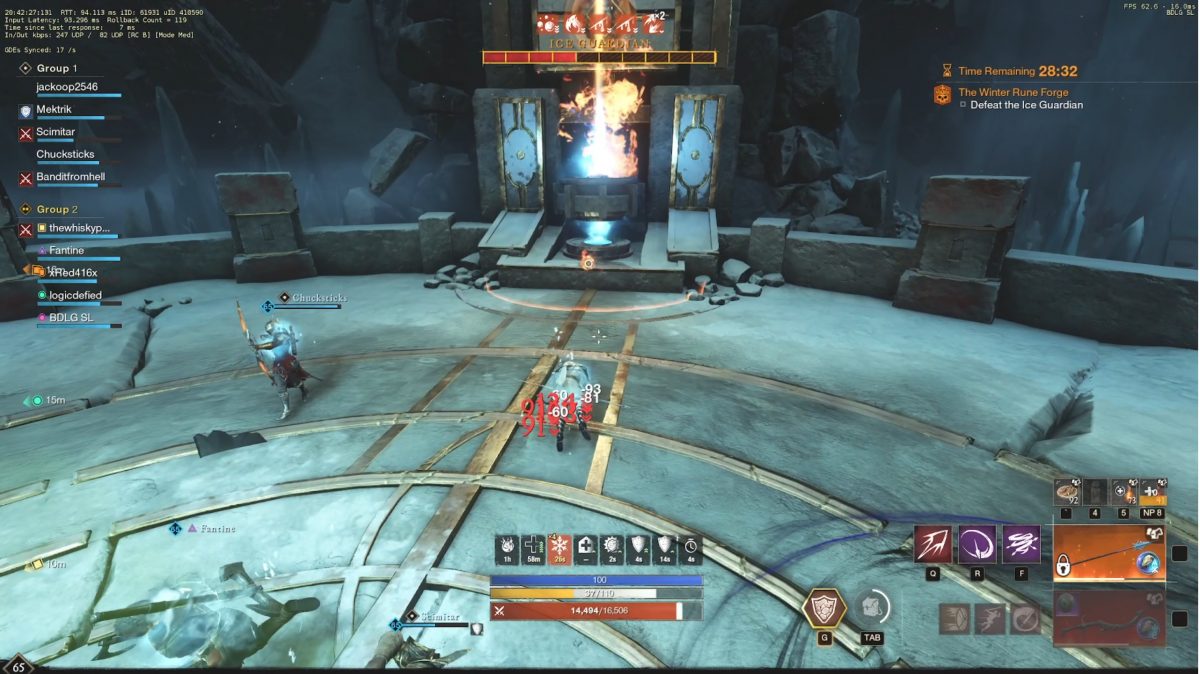
How to Get the Fire Buff
Periodically the boss will cast a frost circle ability. He raises his hands and summons wind from the runes on the wall that blows into the arena. When this happens the boss will also rotate in a circle with cones of frost coming from him and widening as they get closer to the edge of the arena. Make sure you are close to the boss during this ability to avoid getting killed. Simply walk in a circle around the boss in the safe area until the ability ends.
Also during this ability the boss spawns icicles into the arena. Your team will need to pick up and throw the icicles at the runes, and match the bottom rune shape with the top. Once all of them are matched the fire buff will then be available to pick up again. If you grab the buff make sure you run to your teammates to ensure the hypothermia debuff on them is cleansed if they had it.
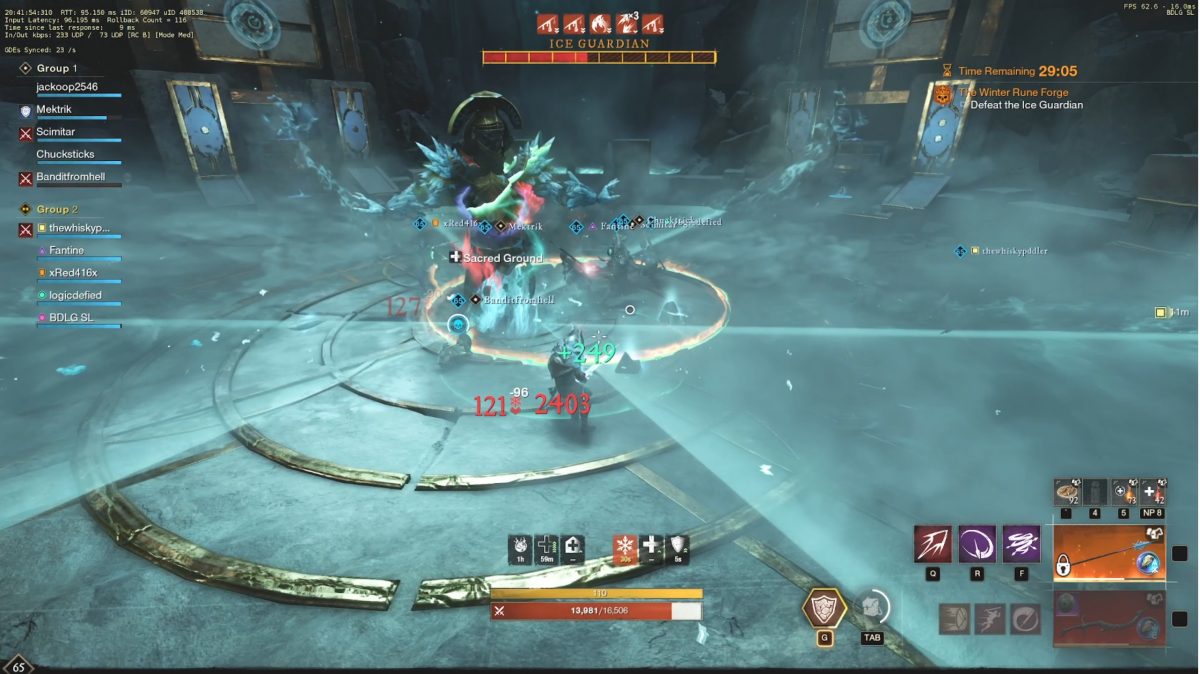
Phase 2
At roughly 40% health the Ice Guardian will begin to teleport around the arena. As he does this he will summon ads and perform his usual mechanics. However, during this phase he will also summon a mob called Guardian’s Root into the middle of the arena. Make sure your team is paying attention to the summon.
Once the mob appears in the middle all the DPS should focus their efforts on it. If you do not kill him in time he will cast a frost circle ability much like the boss. However, his frost circle covers the vast majority of the arena.
Therefore, it’s imperative that you pay attention to the ground as you’re fighting the Guardian’s Root. Be prepared to quickly move into the safe area and rotate around the mob in the center to avoid getting killed by the massive AoE frost on the ground.
Boss Abilities
The other notable abilities that you should be aware of during the fight include the following:
- Falling Ice Spikes – The boss summons ice spikes that float in the air for a moment before falling. Avoid the circles on the ground to avoid being hit by the spikes.
- Ice Cone – The guardian casts a cone of ice in front of him damaging anyone in his path. You’ll see the cone outline a moment before the ability. Make sure you dodge or move out of the cone area.
- Frost Circle – The boss will raise his hands in the air and summon wind from the rune walls. When this happens he will also have cones of frost covering a large portion of the arena. These will spin as he spins. Make sure you are close to the boss when this happens. If you are on the outer edge of the area it’s much harder to get into the safe area. Be aware that there may be 2 large cones, or 3 smaller ones. Stepping into the frosted areas will give you the hypothermia debuff and deal significant DoT damage.
- Shockwave – The boss casts a shockwave of ice that moves outward in a circle from him towards the edge of the arena. You can block or dodge the ability to avoid damage.
- Summon Ads – Periodically ads will be summoned into the arena. Make sure the DPS clear the ads
- Ice Tomb – The Ice guardian will cast an ice tomb on a random player. You will notice a white circle above your head if you are targeted. The rest of the team must break the ice block. If they do not break it in time you will die. When a teammate is entombed make sure your DPS break the tomb.
For more New World Aeternum guides be sure to check our comprehensive guide library!