
Introduction
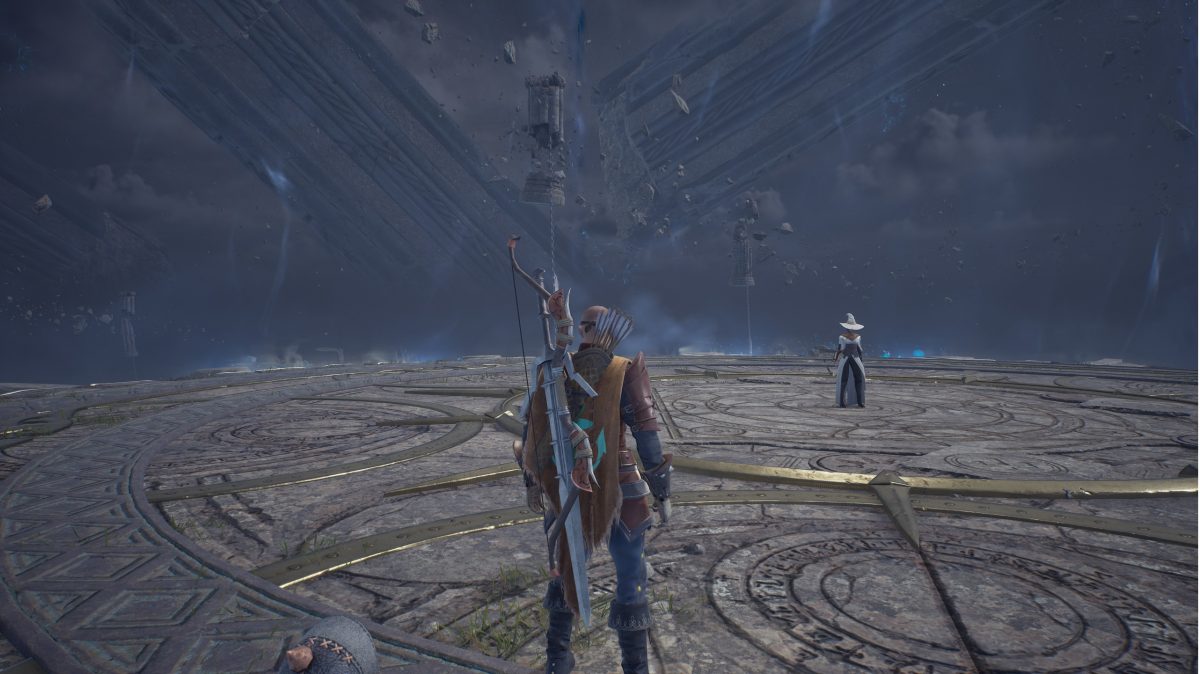
In order to gain access to Taedal’s Tower Floor 3 you must be level 19 and have completed floor two. On this floor you will be facing a Starving Giant Zombie. Once you enter Taedal’s Tower Floor 3 you will also notice that’s there’s an NPC, the Lost Adventure. This NPC is there to help you take down the boss, and clear the Screams and a Healing Song floor.
For more general information about Taedal’s Tower you can check our Taedal’s guide here.
Abilities & Mechanics
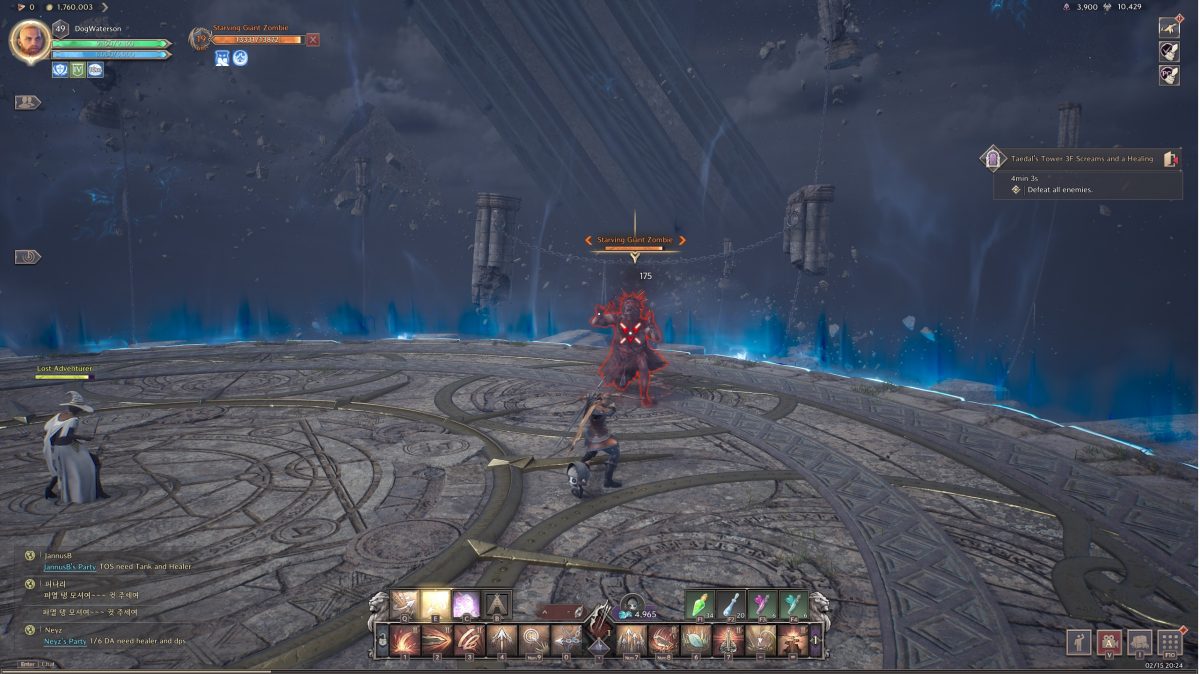
Once you approach the Lost Adventure in the middle of the arena you will see a weak starving zombie spawn at the edge of the room. Make sure you take out the zombie before it reaches the Lost Adventurer. You do not want the NPC to take any unnecessary damage. The NPC will heal you through the duration of the fight as long as she remains alive.
If the zombie gets close to you or the NPC it will explode dealing damage. So, make sure you take out the zombie quickly, or draw aggro to yourself to keep it away from the NPC. There will be a total of 4 weak starving zombies that spawn. None of the have ranged attacks. They can be easily kited and killed with a ranged weapon. After the 4th one dies a Starving Giant Zombie will spawn.
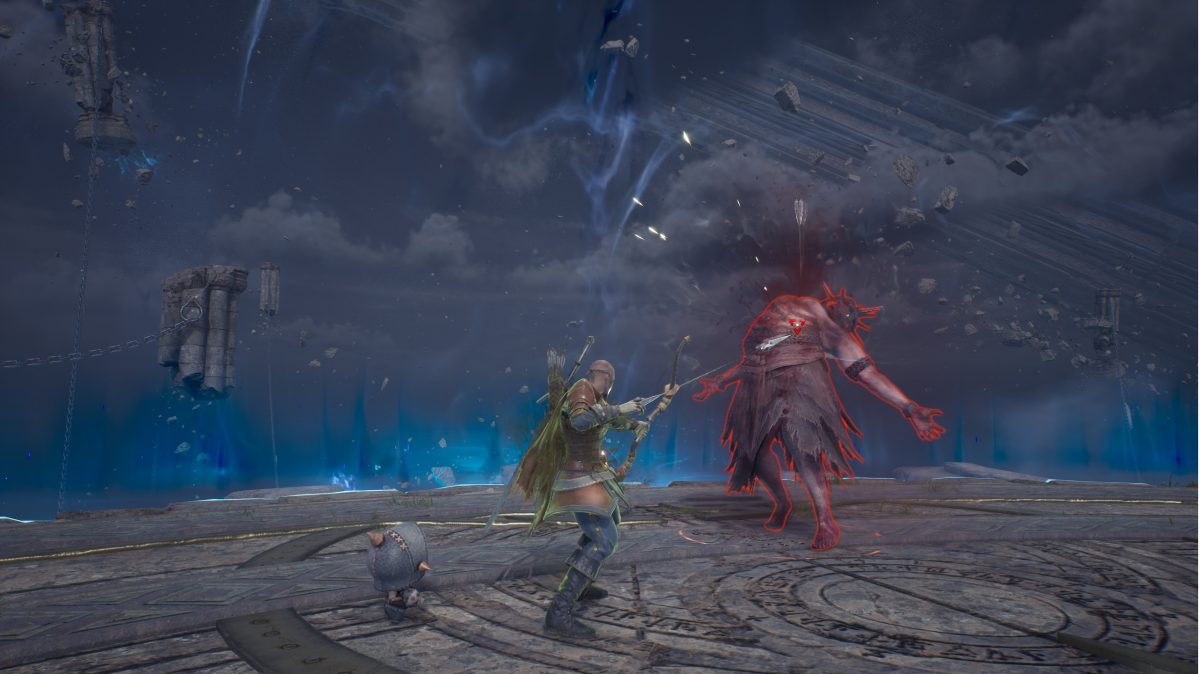
Once the giant zombie spawns it will not move from it’s location. All of the boss’s attacks are ranged. Just like any previous boss make sure you are looking for the purple circles that indicate you need to block. You will need to time your block accordingly in order to avoid taking damage.
The boss has the following abilities you should be aware of:
- Ground Smash – The boss will smash the ground. This ruptures the ground and sends out an AoE in a line in front of him towards your direction. You can sidestep the ability to avoid getting hit. When this happens make sure you are away from the NPC so she doesn’t take damage from the attack. She doesn’t have a lot of health so it only takes a couple ground smash’s to kill her.
- Projectile – The giant zombie will throw a projectile at you. This projectile deals instant and DoT damage.
- Protection – Every now and then the NPC will yell “Come behind me! I’ll protect you!” When this happens you can take cover directly behind the NPC. This will ensure you avoid being hit by multiple projectiles that are thrown at you.
- Starving Zombie – Near the end of the fight the giant zombie will summon another weak starving zombie into the fight. This zombie acts just like the 4 that spawn in at the very beginning. The safest way to approach this is by quickly killing the weak zombie before it can explode or deal damage to you or the NPC.
If the NPC dies you can continue the fight without her. You just will not receive her aide for the duration of the fight once she dies.
Consider equipping a ranged weapon for this fight. The boss does not move from his location so you can easily kill him at range while avoiding the attacks. A ranged weapon also allows you to kite the weak zombies around and avoid the explosion when they are close to you or the NPC.
Rewards
| Reward | Quantity |
|---|---|
| Quality Armor Growthstone | 4 |
| Quality Weapon Growthstone | 2 |
| Quality Accessory Growthstone | 3 |
| Recovery Crystal | 5 |
| Sollant | 4,061 |
| Experience | 5,959 |
The rewards can only be obtained one time.