
Welcome to our Cave of Desperation guide. In this guide, we’ll take you through everything you need to know to complete the dungeon. Cave of Desperation is recommended at Level 40. This dungeon is also a beginner version of Cave of Destruction.
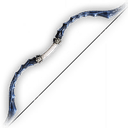
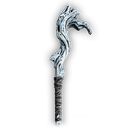
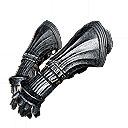
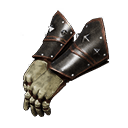
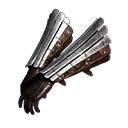
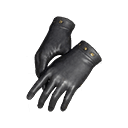
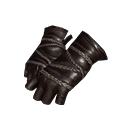
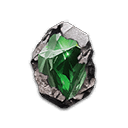
Drops


First Mini-Boss
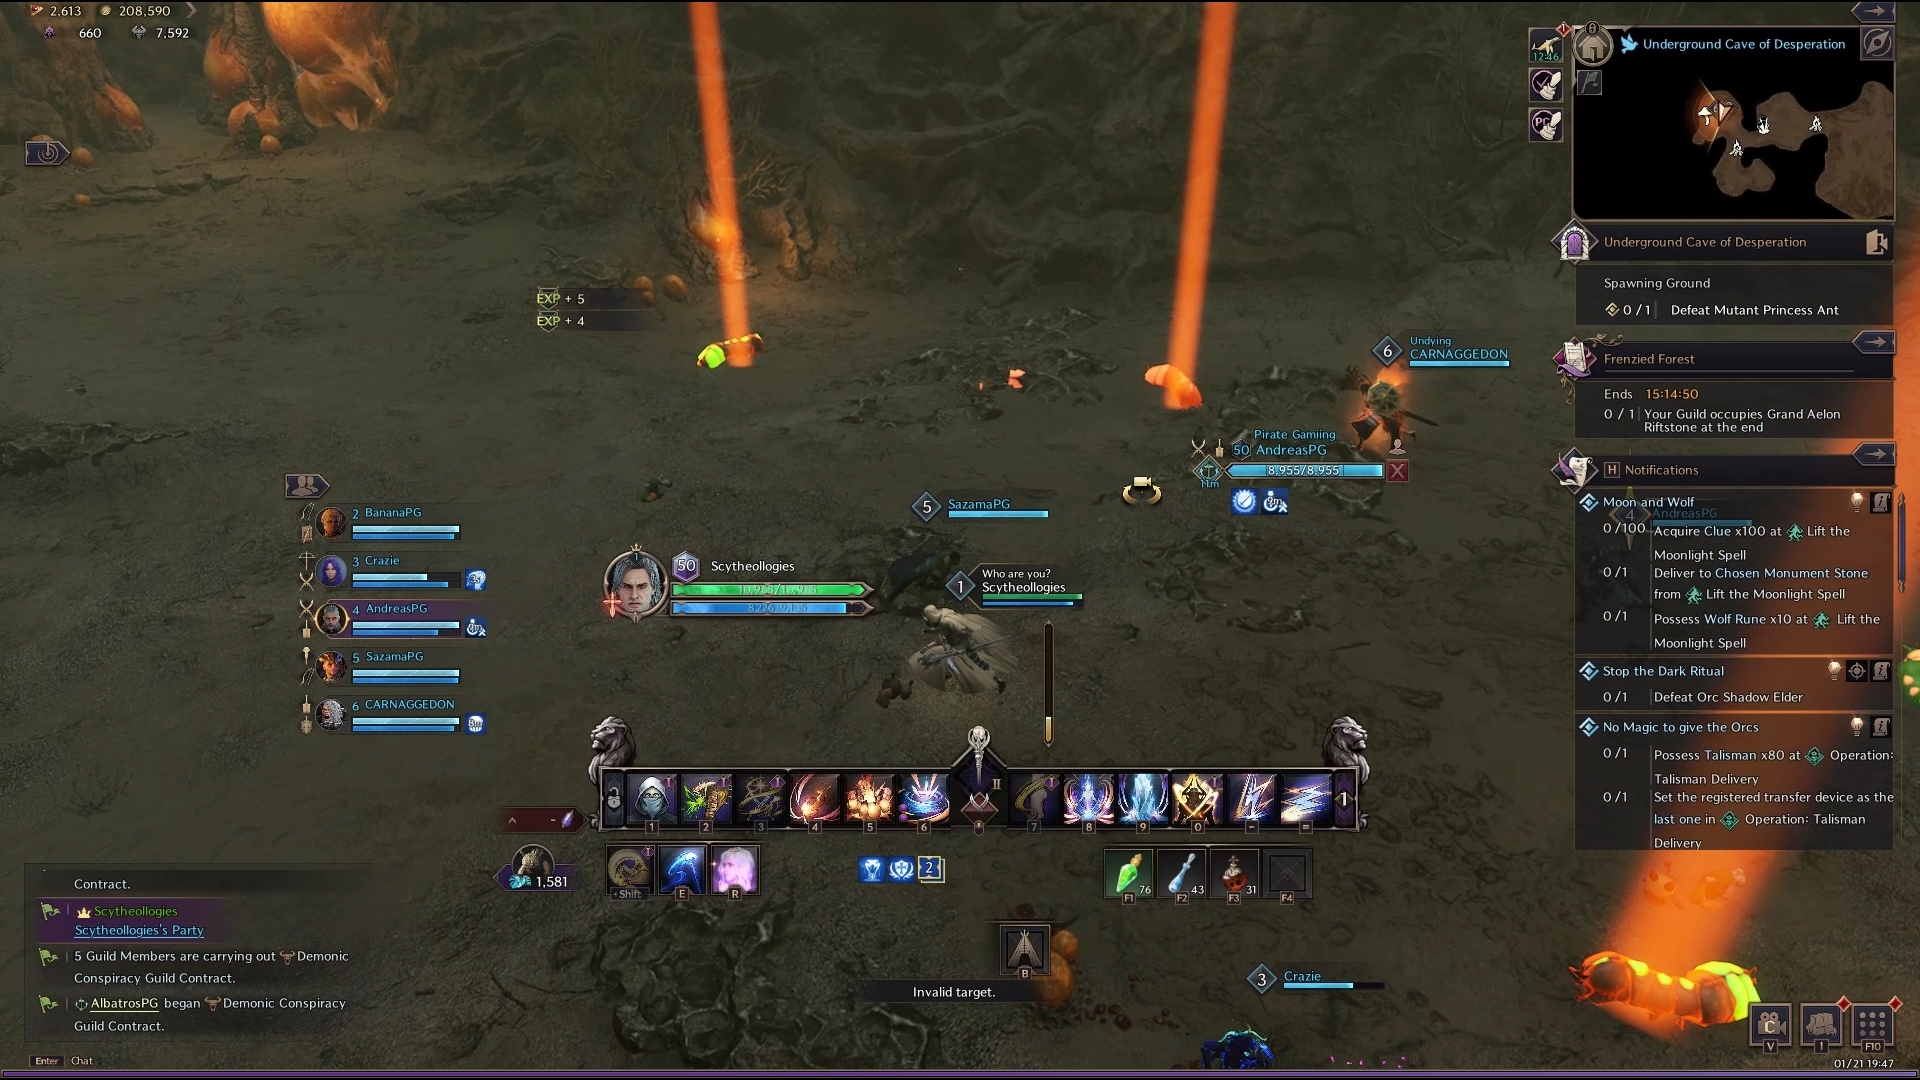
After clearing the first room of mob spawns (of which spawn in 3 waves), head through to the next room with a bonfire ahead. The next room consists of several Larva that once triggered, spawn ants of different types. As a result, select Larva together with the party and destroy them as fast as possible. We recommend focusing on any Ant Larva that is not the Explosive Ant. Once the Larva is cleared, the first mini-boss spawns and the fight begins!
Mini-Boss 1: Mutant Princess Ant
The Princess Ant has a couple of attacks that can hit hard, such as a small AoE cone in front of the boss and periodic explosive Larva being placed on party members. To remove the Larva, simply walk on top of the player that has a Larva and it’ll transfer – removing the damage. The main mechanic from the Princess Ant is a shout-out followed by several Ant Larvae spawning. This mechanic can be stopped by a hard crowd control such as a stun, so be ready! Once the boss is dead, move onto the second mini-boss room.

Second Mini-Boss
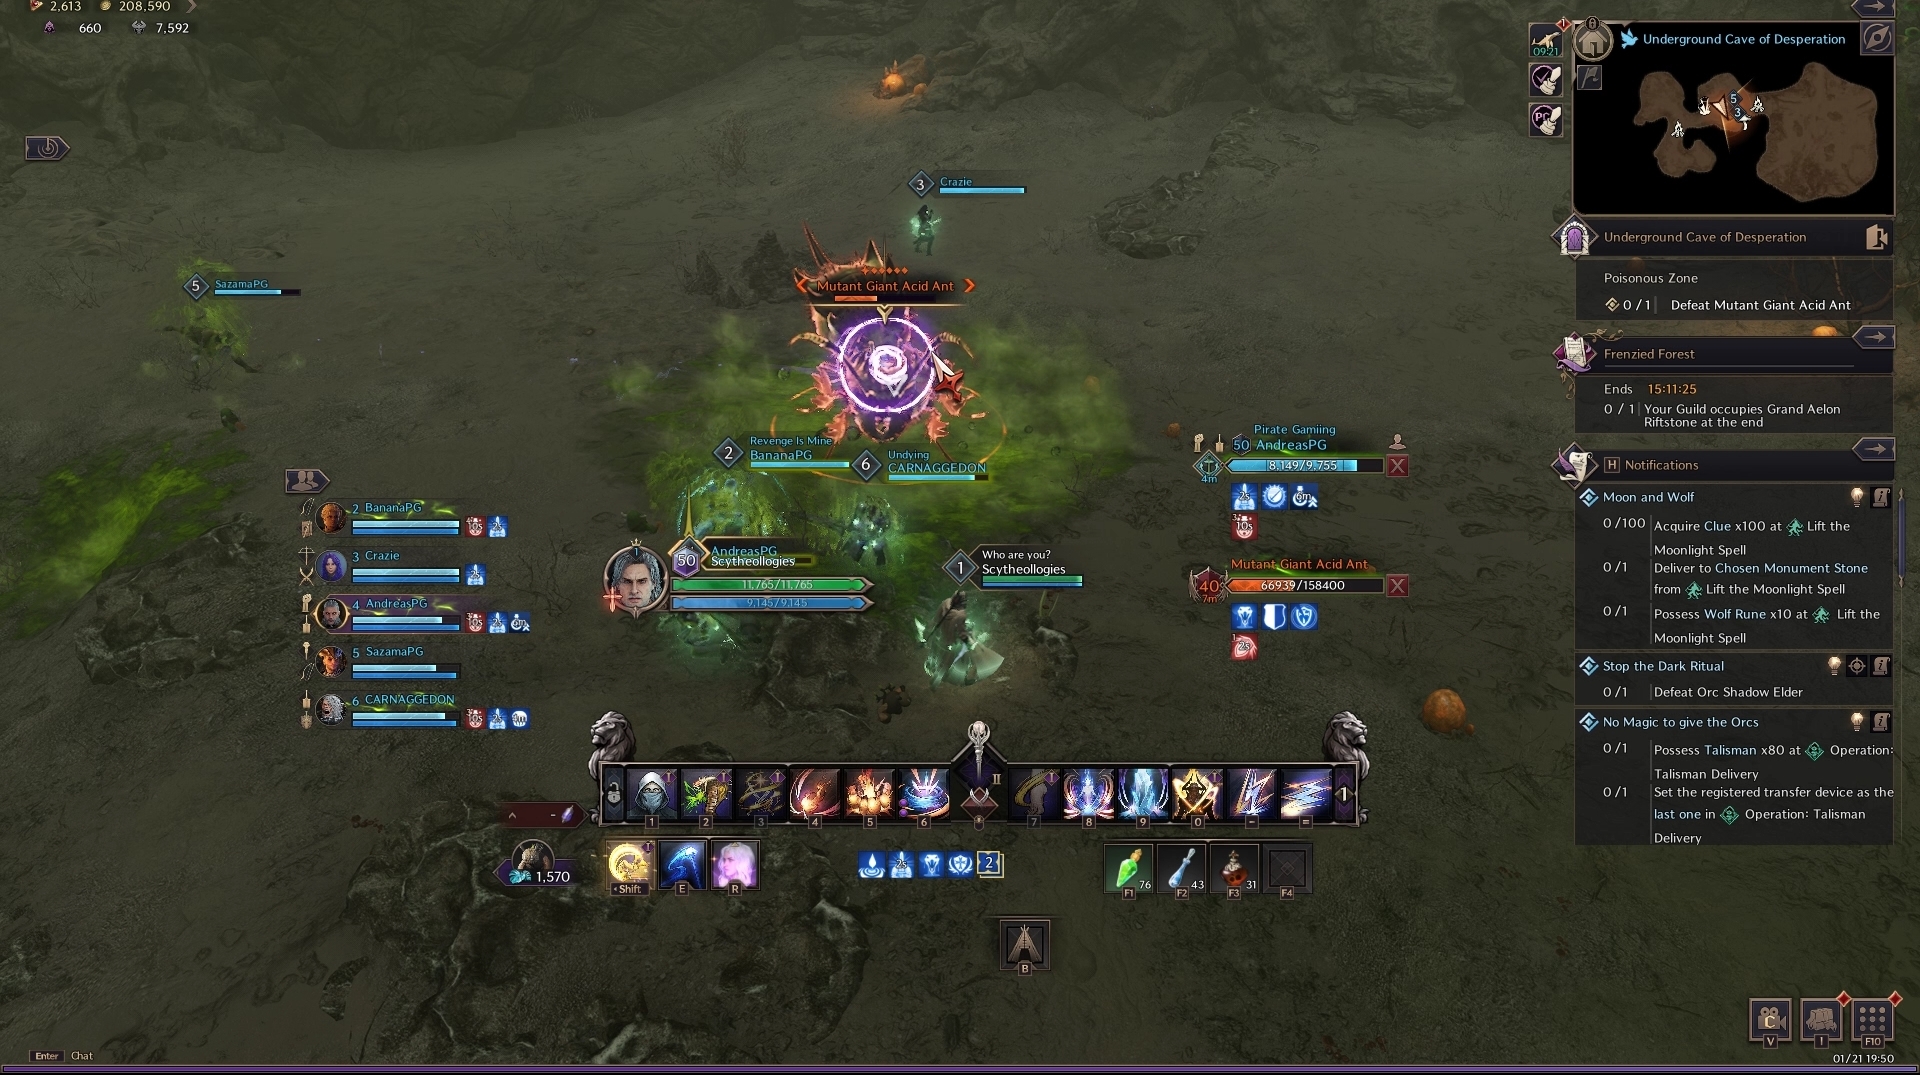
In the second room, three poison sacs spawn in the middle that need to be removed. After, the room begins and Ants spawn in along with periodic waves of Explosive Ants. Once the Soldier Ant is defeated, a giant egg will spawn in the middle of the room connected to three Poisonous Worker Ants. Clear the three Poisonous Worker Ants to be able to attack the egg, spawning the second mini-boss.
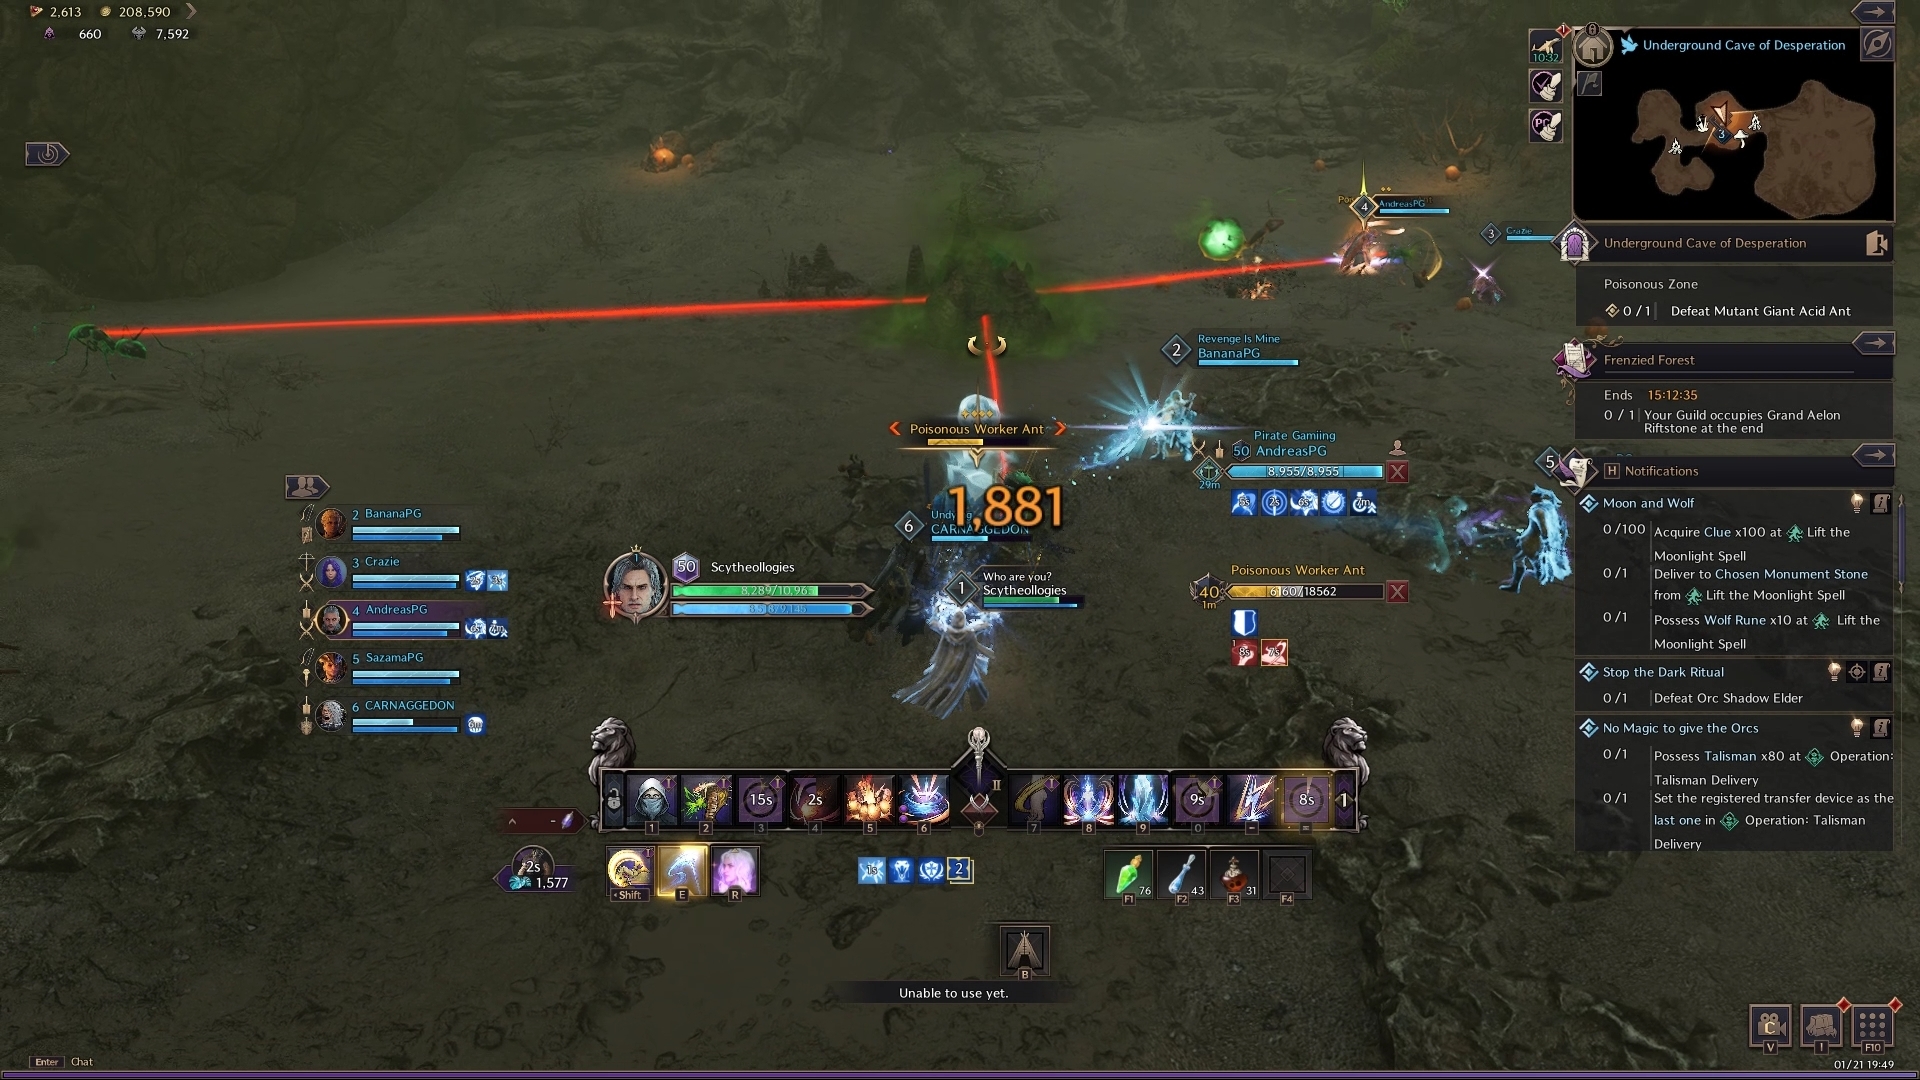
Mini-Boss 2: Mutant Giant Acid Ant
The Giant Acid Ant spams poison puddles all over the ground, as a result, the tank should try to pull the boss out of the puddles whenever possible. Eventually, the Acid Ant shouts out, followed by a headbutt. After the headbutt, a Fury Attack purple circle that moves VERY fast pops up on the boss. In this window, you have to either block or stun the boss to prevent being pulled into the poison pools. After the boss is dead, move onto the final boss!
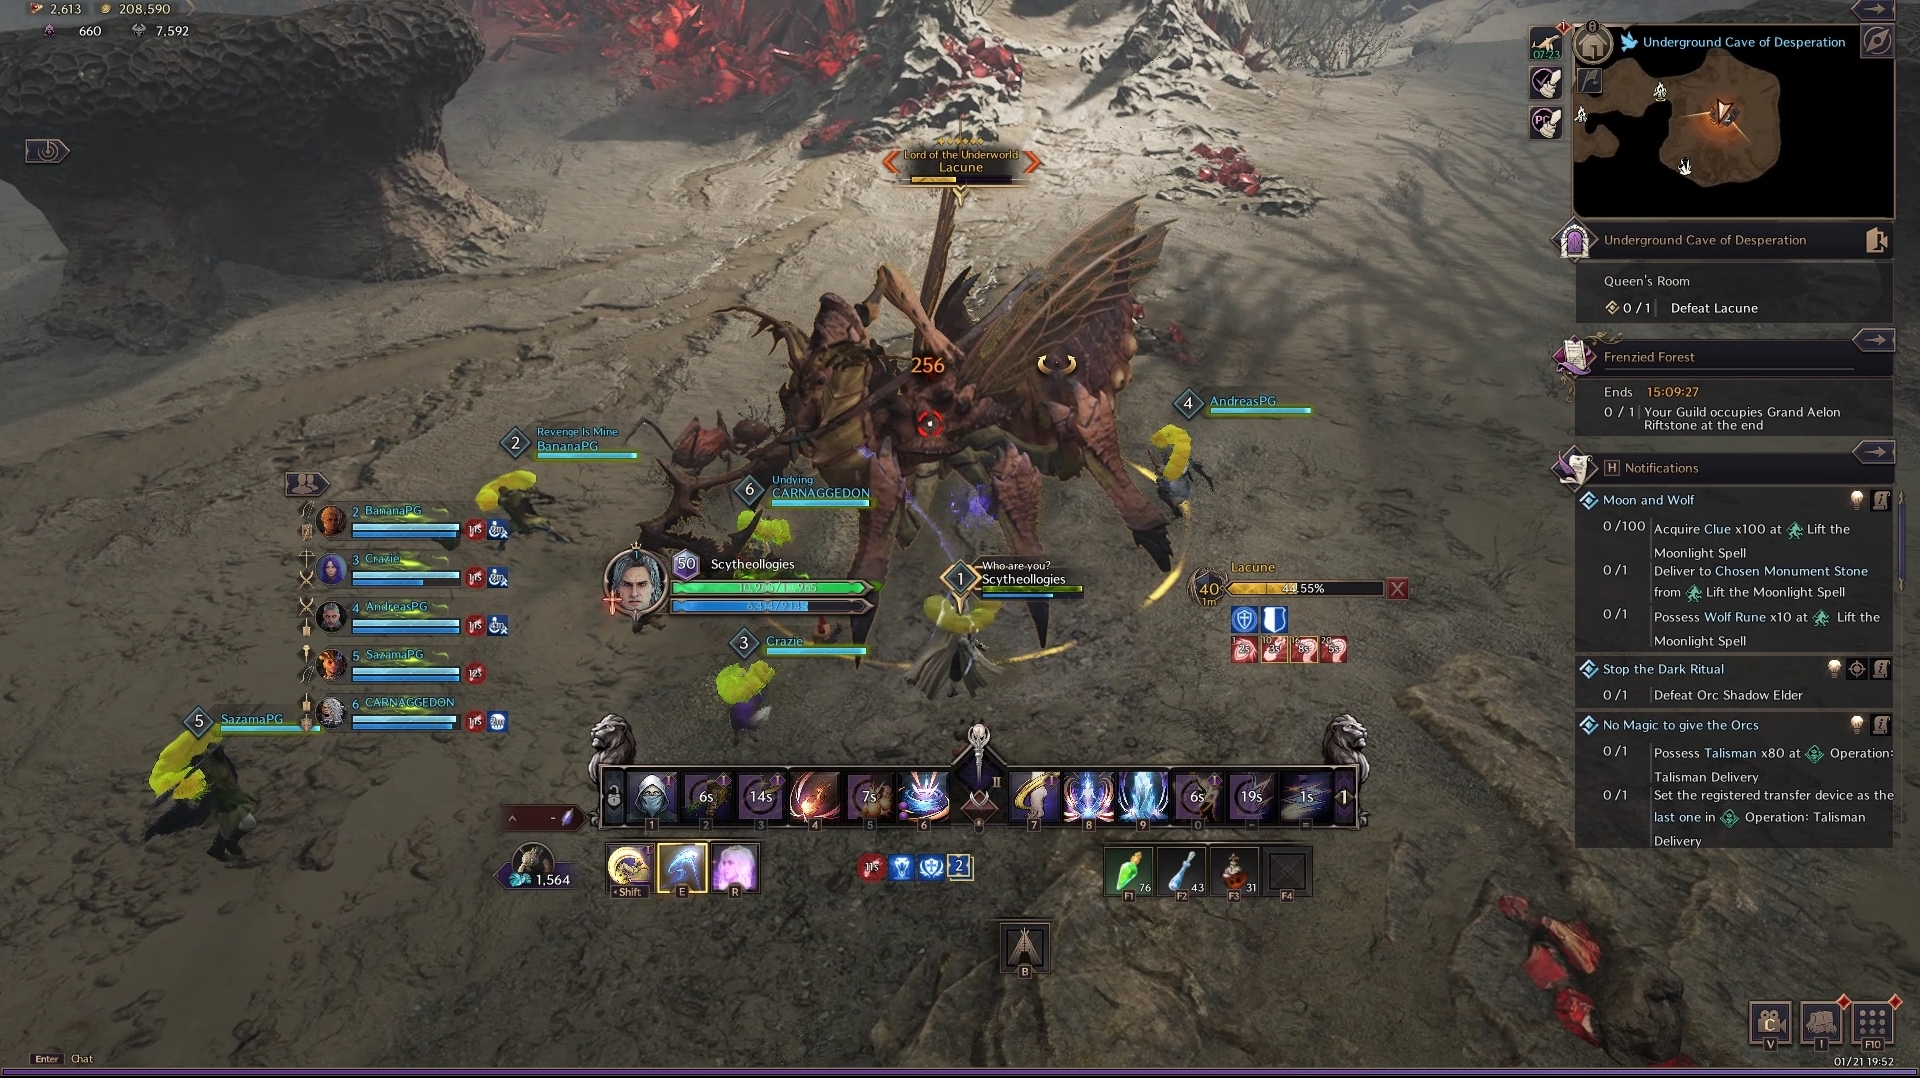
Final Boss: Lacune
Lacune has a couple of Fury Attacks that hit the front of the boss if you’re not careful. As a result, have the tank position the boss away from the group. Periodically, Lacune shouts out and a red circle marking appears on the ground randomly. Running to this mark lets you ride up a rising pillar, saving you from a wipe mechanic while giving a damage buff. However, you can avoid this mechanic by simply running up one of the three platforms in the arena. After the wipe attack, a Gem Ant spawns on one of the three platforms. Head over to that platform and kill the ant. Make sure to block the ant where possible to avoid huge damage. Once you’re down, the boss repeats these steps until it’s below 50% HP.
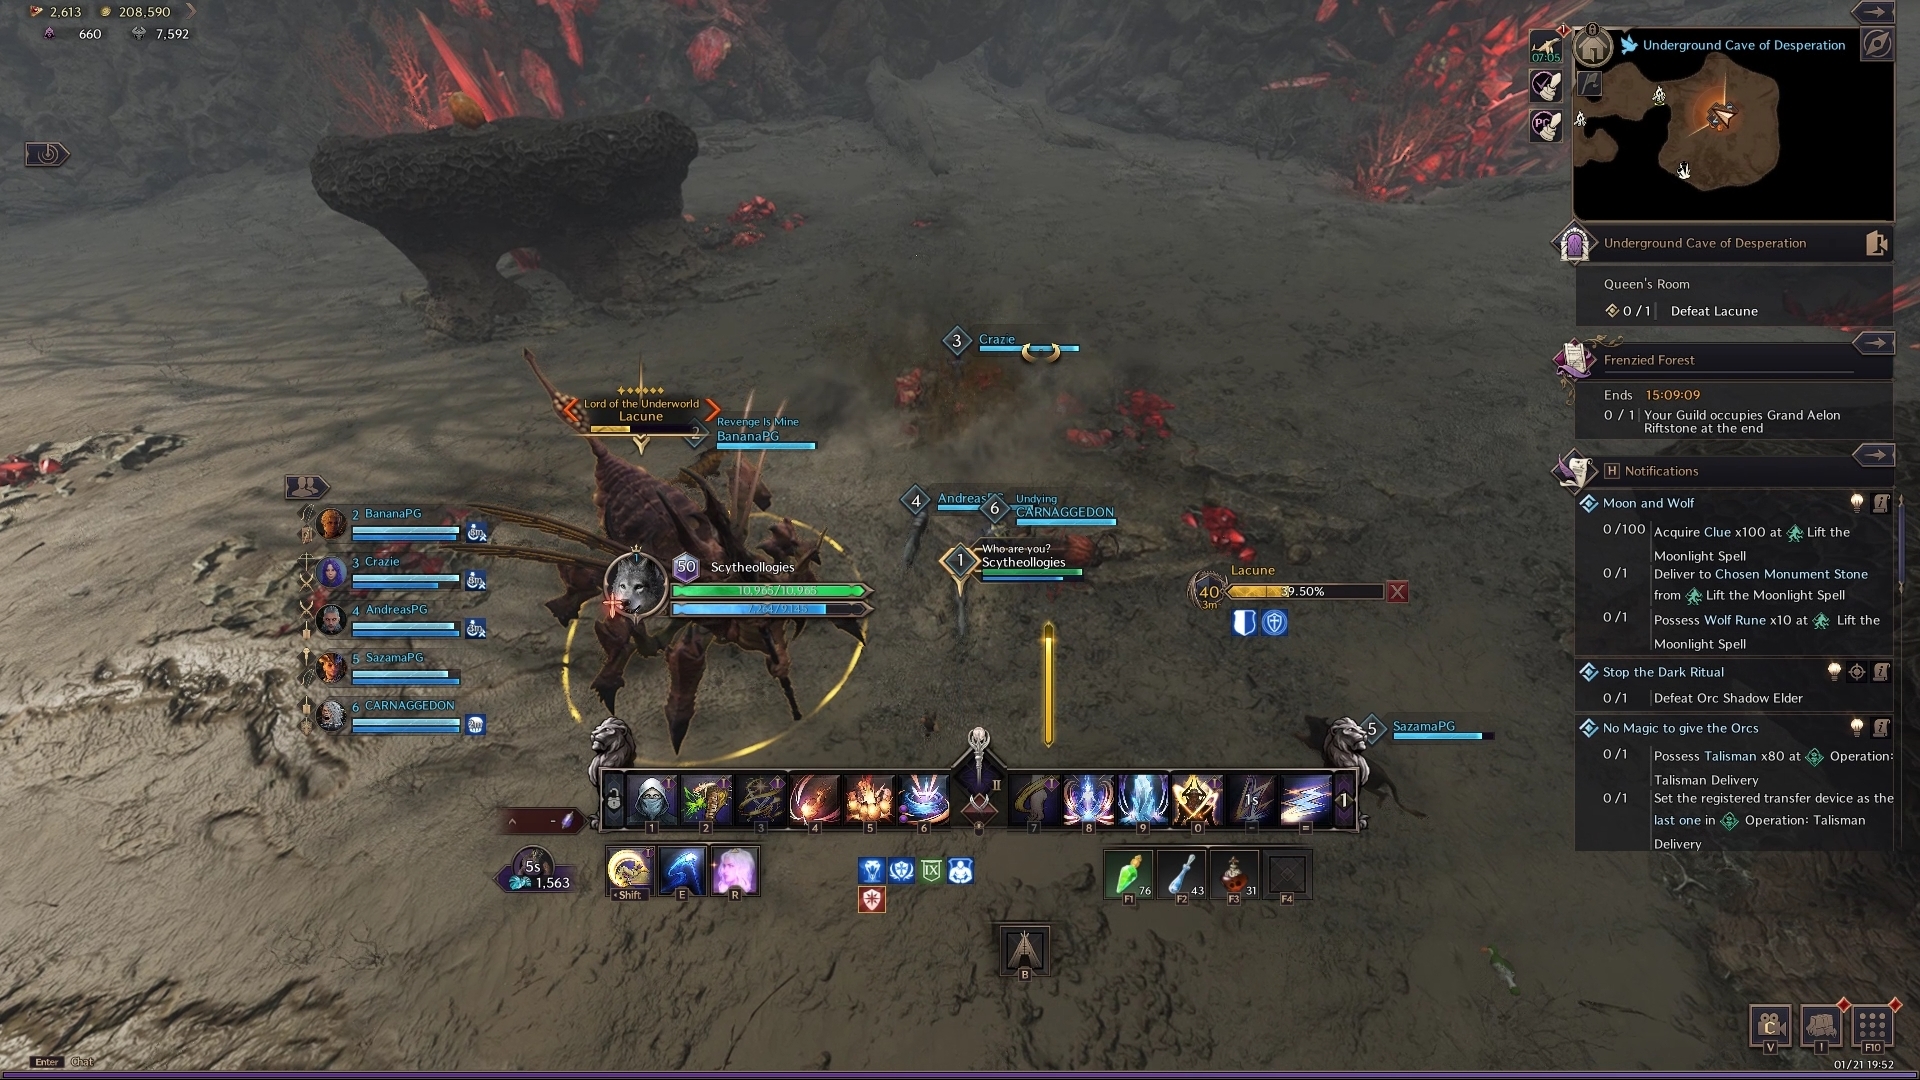
Below 50% HP, Lacune sends several Explosive Larva onto the party. It is now the job of two players to head towards two teammates each and collect their Larva to prevent damage and crowd control to the party. After this, keep fighting the boss until it’s defeated!
Cave of Desperation Guide Conclusion
That concludes our Underground Cave of Desperation Guide for Throne and Liberty. For more information on Throne and Liberty, check out our official Home page!