
Introduction
(IMPORTANT NOTE: RUINS IS CURRENTLY NOT IN MAP ROTATION AND IS UNDERGOING A POTENTIAL REWORK. AS A RESULT, CHECK BACK LATER FOR AN UPDATED GUIDE WHEN THAT HAPPENS.)
The Dark and Darker Ruins is Ironmace’s first attempt at creating the surface level of the Dark and Darker world. This map is accessible for up to a 2-person party, similar to the original dungeon, The Forgotten Castle. This map also does not have any Red portals, however, the map has a unique double Blue portal to escape with all your friends!
The nature of the map being outdoors creates a unique experience for the players. For example, many parts of the map are open-spaced and less closed-in. This makes a fresh difference to the corridor-heavy layout of the original map. Being a different map, you can expect to see different and new monster types, for example:
- Dire Wolf
- Cockatrice
- Wisp
- Giant Spider
- Giant Worm
- Golem
You can see every monster type in Dark and Darker in our Beginners Guide.
Unlike the Goblin Cave or Crypts, this map feels a little more forgiving due to the space and overall spread of the map. It is also worth noting that the new monsters in the Ruins aren’t as terrifying, for the most part. Outlined below is a breakdown of the Dark and Darker Ruins map explained. These sections detail what you can expect out of the maps points of interest.
Types of Enemies and How to Fight Them
The Ruins have several different types of enemies lurking within:
Skeletons
- Skeleton Archer: To deal with archers, simply strafe left and right as you move towards it.
- Skeleton Guardsman: These are equipped with swords. They have a decent range with the sword, but swing slow. Hit and move backward to avoid damage.
- Skeleton Footman: These are equipped with swords and shields. They have a decent range with the sword, but swing slow. Hit and move backward to avoid damage.
- Skeleton Spearman: The spearman can hit hard and from a long distance. Due to this, the longest attack is a frontal attack. Make a habit of dodging to the left and past the spearman, as this will also dodge the only sweeping hit it has.
- Skeleton Crossbowman: Deadly ranged monster, similar to the archer, strafe left and right to avoid the shot and move in to attack. The main difference with the crossbowman is that they take a long time to reload.
- Skeleton Axeman: Incredibly hard-hitting monster. This monster was made to punish players that only back-step to avoid attacks. Make sure to dodge to the left of the axeman to avoid any attacks.
- Skeleton Mage: Keep an eye on the mage for when it is casting a Fireball, as this can be fatal. As a result, look to strafe or line of sight the Fireball and then attack. The mage can also apply a shield to itself or another monster.
Other Undead Monsters
- Zombie: These guys spit out poison clouds that deal damage. Their attack pattern is very much like a mummy. They are very slow. Hit them, move and avoid the poison cloud, then hit them again after they attack.
- Spider Mummy: These can be a problem when there are several on you at once. Aim at the ground and back up while swinging or attacking to take them out. Make sure you take out the spider pot in order to prevent them from continuously spawning.
- Mummy: Very slow and telegraphed attacks. Hit and back up. After they swing hit them again. Rinse and repeat until they are dead.
New Monsters
- Wisp: The Wisp attacks with a magical projectile. Be careful when you kill it as it explodes and blinds players.
- Dire Wolf: The wolves are pretty easy to kite, try to steer left or right around them. Be aware of the fact that the wolves are a pack.
Large Monster and Mini-Bosses
The Ruins include two new mini-boss-styled monsters and a large monster. These are the Cockatrice, Golem and Giant Spider monsters. Each include their own unique attacks and mechanics:
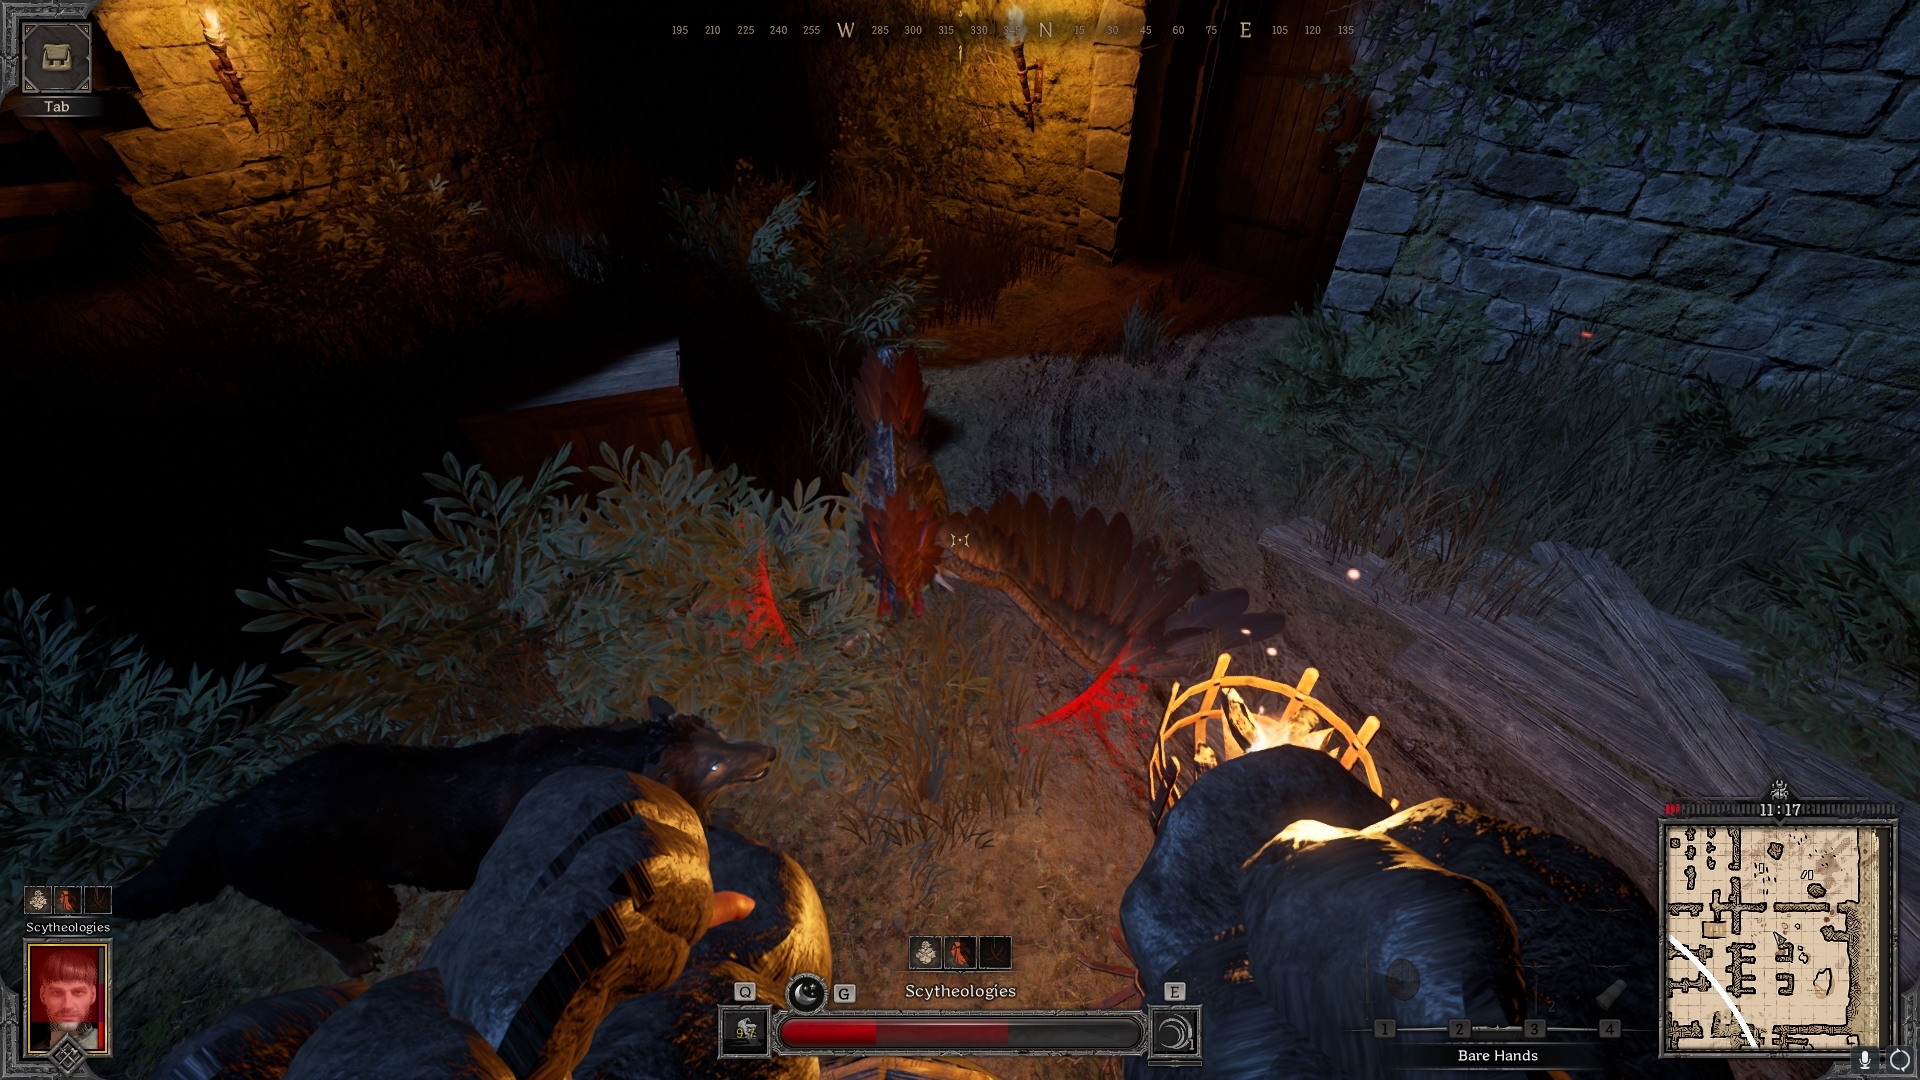
Cockatrice
The Cockatrice is a giant part-dragon-part-rooster mythical monster. In Dark and Darker, the Cockatrice hits fairly hard and has a ton of health at 1150HP. A mechanic to also be careful of is the monster’s shriek mechanic. Occasionally, the Cockatrice lets out a shriek towards players that petrifies anyone that does not look away in time. It’s other attacks include a jump kick and a peck while moving forward.
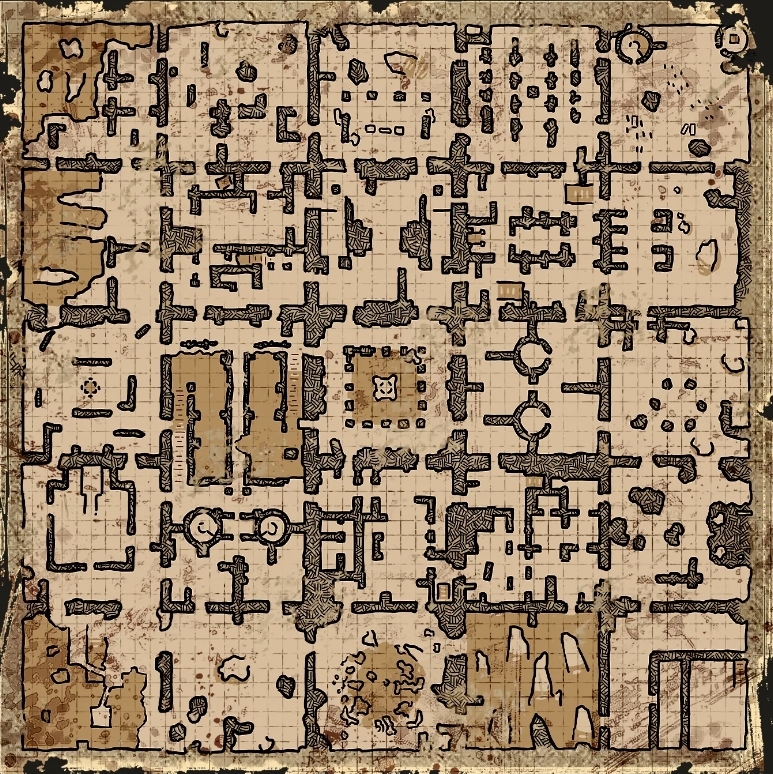
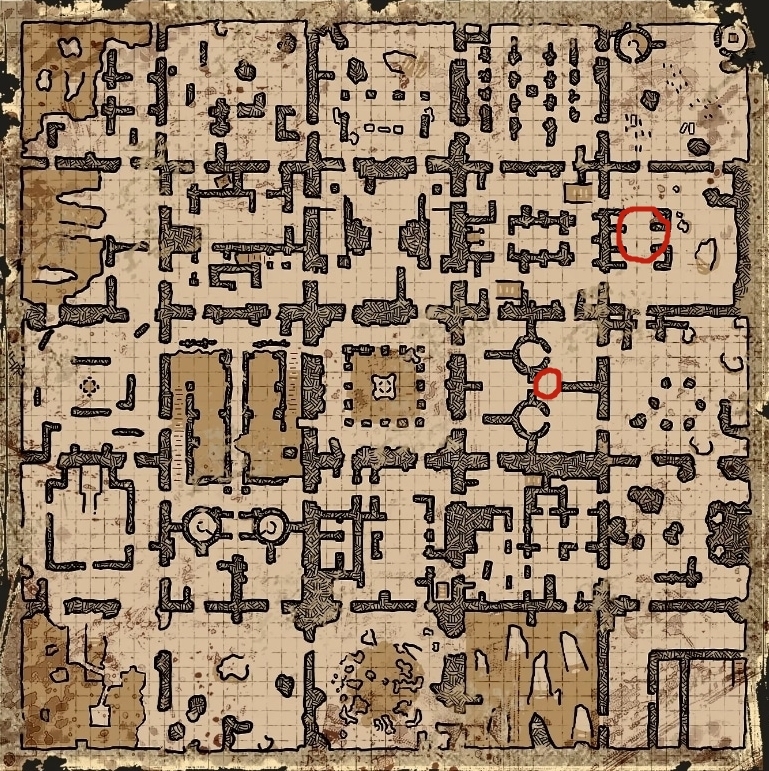
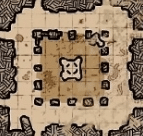
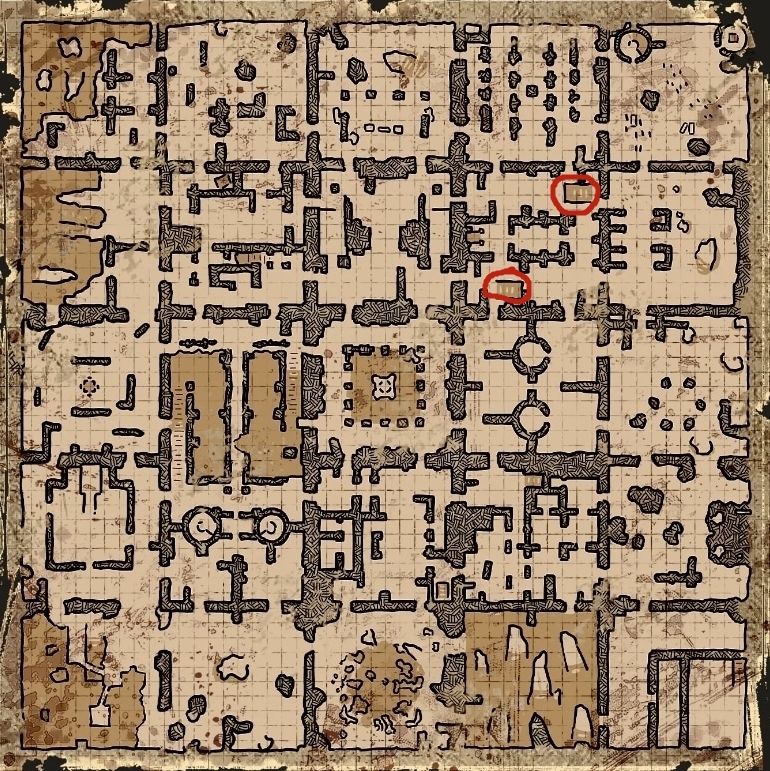
Currently, the Cockatrice has two known spawn locations as shown below:
The best way to fight the Cockatrice is to leverage high ground to your advantage. For example, finding a spot on-top of a Lion’s Chest to avoid both the melee and also the shriek. Another method is to bring the Cockatrice to the center room of the map. On the top right corner of the center room, you can hold the Cockatrice there and easily kill it with no worries. However, be aware that you are in the center of the map – a high traffic zone for players.
Giant Worm
The Giant Worm is the second highest health elite monster in the Dark and Darker Ruins. The Worm has several attacks, some dealing serious damage. However, many of the attacks are avoidable. Watch out for when the Giant Worm moves underground to travel. If the monster does this movement, prepare to move away as it merges and can deal damage doing so. Another attack is a simple body swing that can easily be jumped over. Keep an eye on the moment the Worm lunges forward, this is a simple bite attack that can be side-stepped. Finally, the Worm can spit poison around its position – keep an eye on this as poison can always be a problem! Knowing how the attacks work means you can just DPS the monster down between attacks. Another easy method is to get one or two hits in and back off to force the Worm to burrow.
Golem
A new mini-boss has been added in place of the Giant Worm, serving the same purpose, however. The Golem is now the highest health elite monster in the Dark and Darker Ruins.
Finally, the Giant Worm can also drop the Old Rusty Key, used to farm a Treasure Horde pile in the Dark and Darker Ruins!
Currently, the Worm has been removed and replaced with the Golem. The Golem is found underground in the center room of the Ruins:
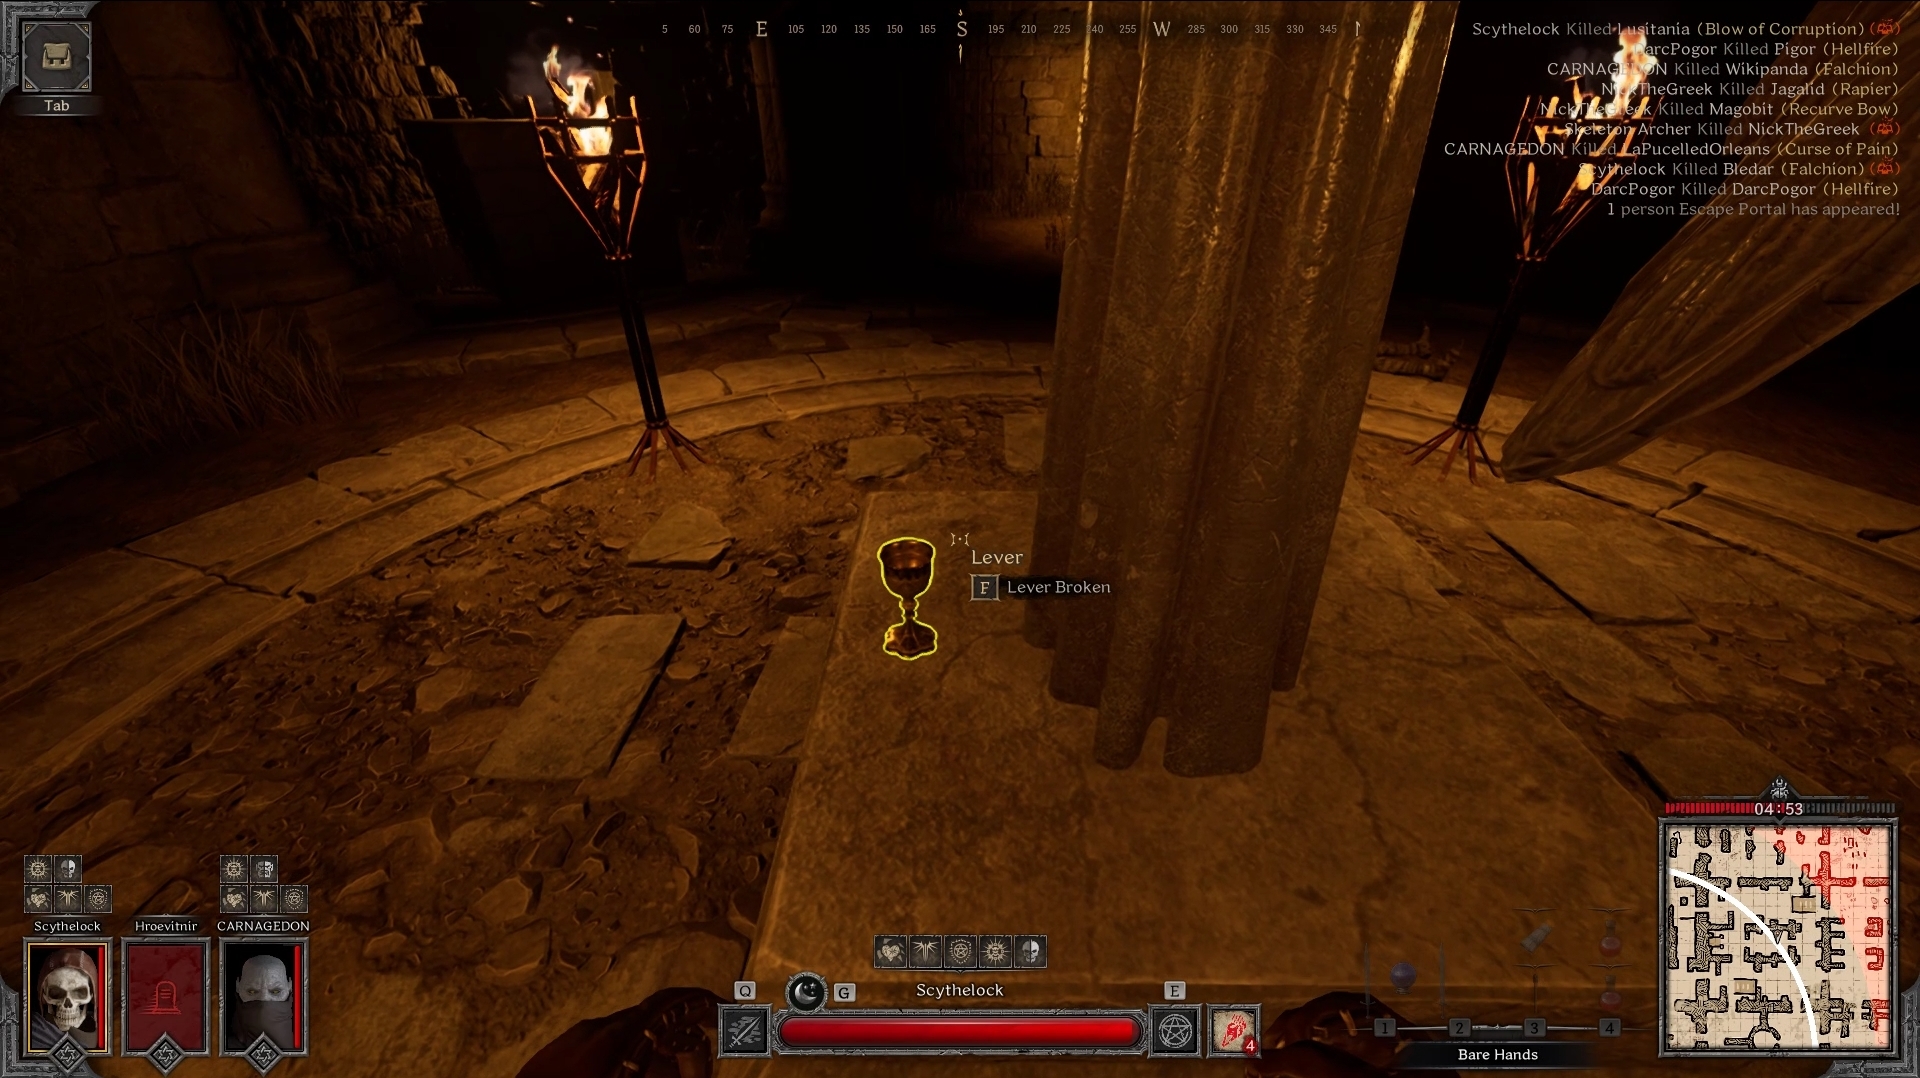
Giant Spider
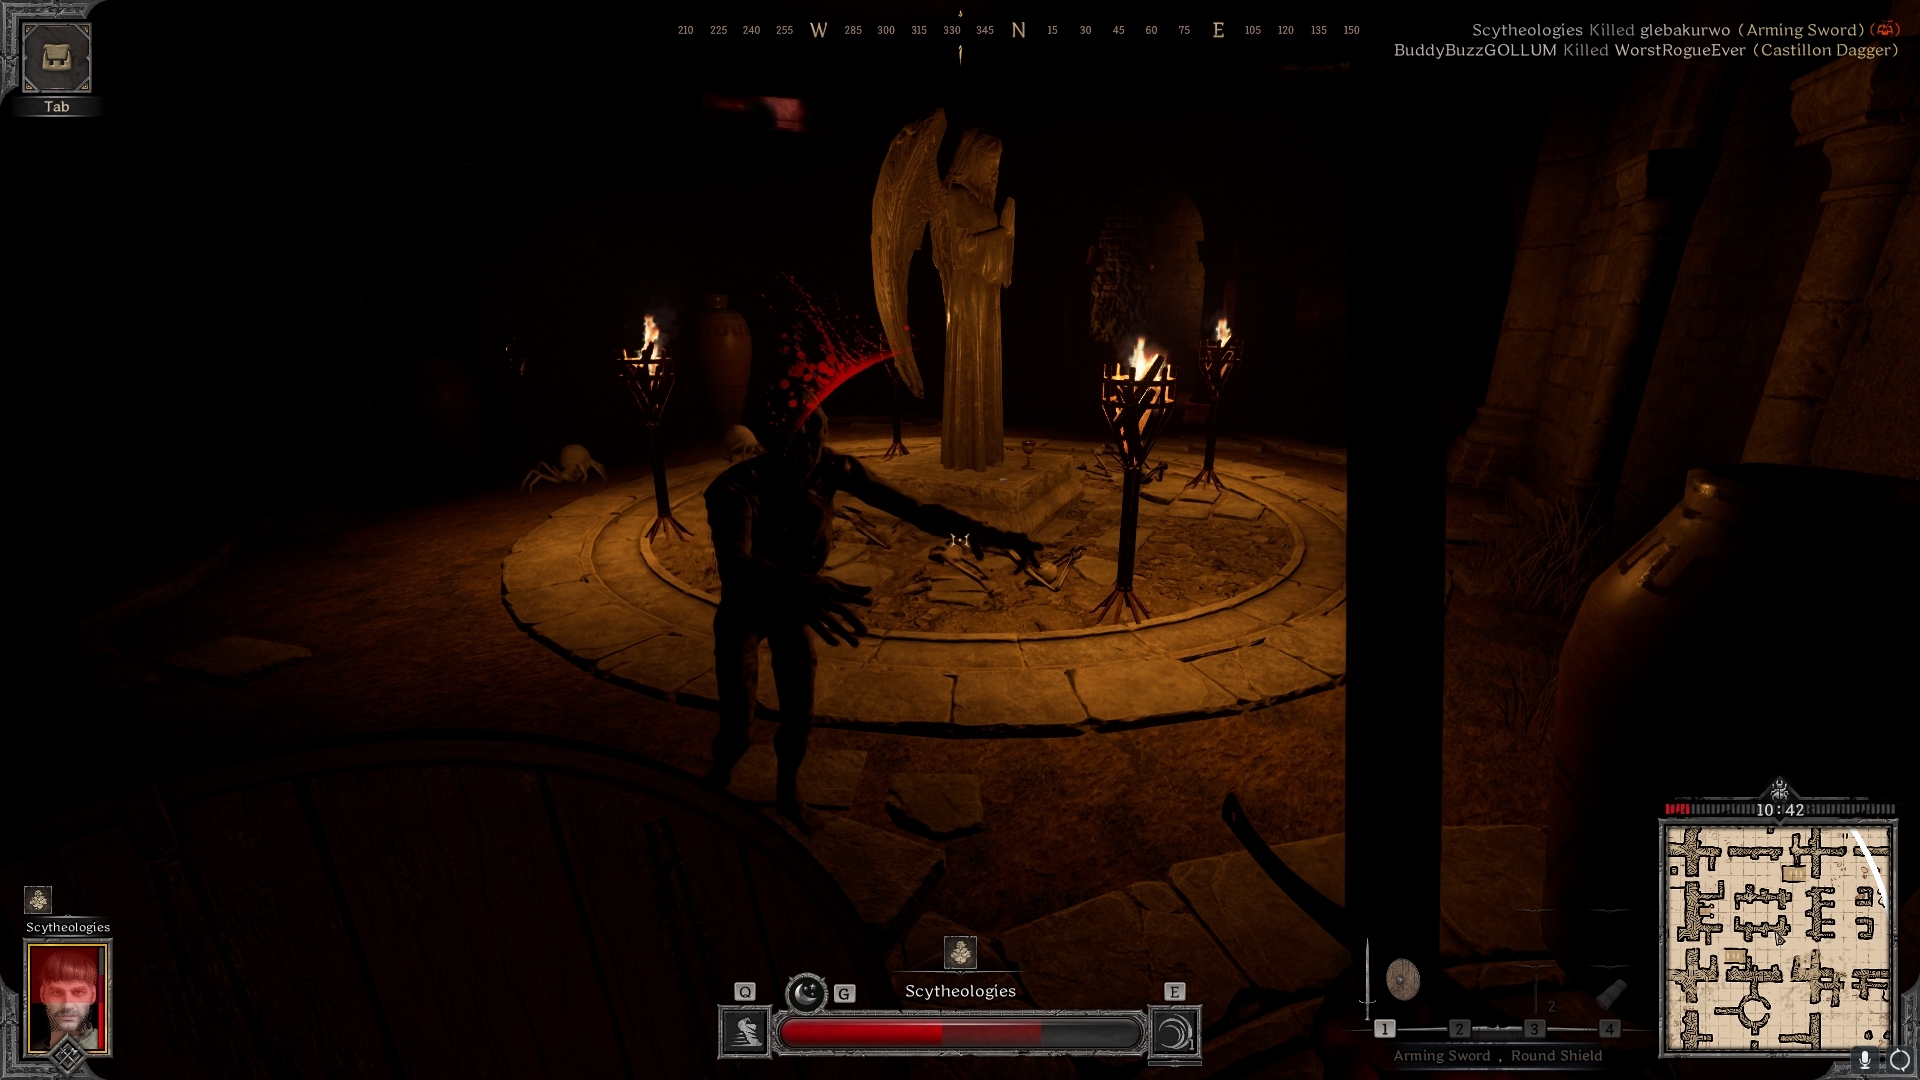
The Giant Spider is an elite monster but not quite mini-boss level one. You can find the Giant Spider located in the underground temple located just one square north and then one square to the east from the center room.
The Spider itself can be spawned in the underground temple by interacting with a fake goblet lootable in the center of the room by the statue. Attempting to take this treasure lowers a stone wall nearby that allows the Spider to come out! However, this Spider is not too scary. The only attack to watch out for is the ranged poison spit it can fire out, due to being fairly long-range. You can engage fighting this Giant Spider in a similar way you would with any other mob – bait a melee attack and attack back! Ranged attacking is also an option.
Points of Interest and Hidden Mechanics
As seen above, there are several points of interest within the map providing loot and elite monsters. In this section, we go over a few sections within the map that provide decent loot and hidden areas.
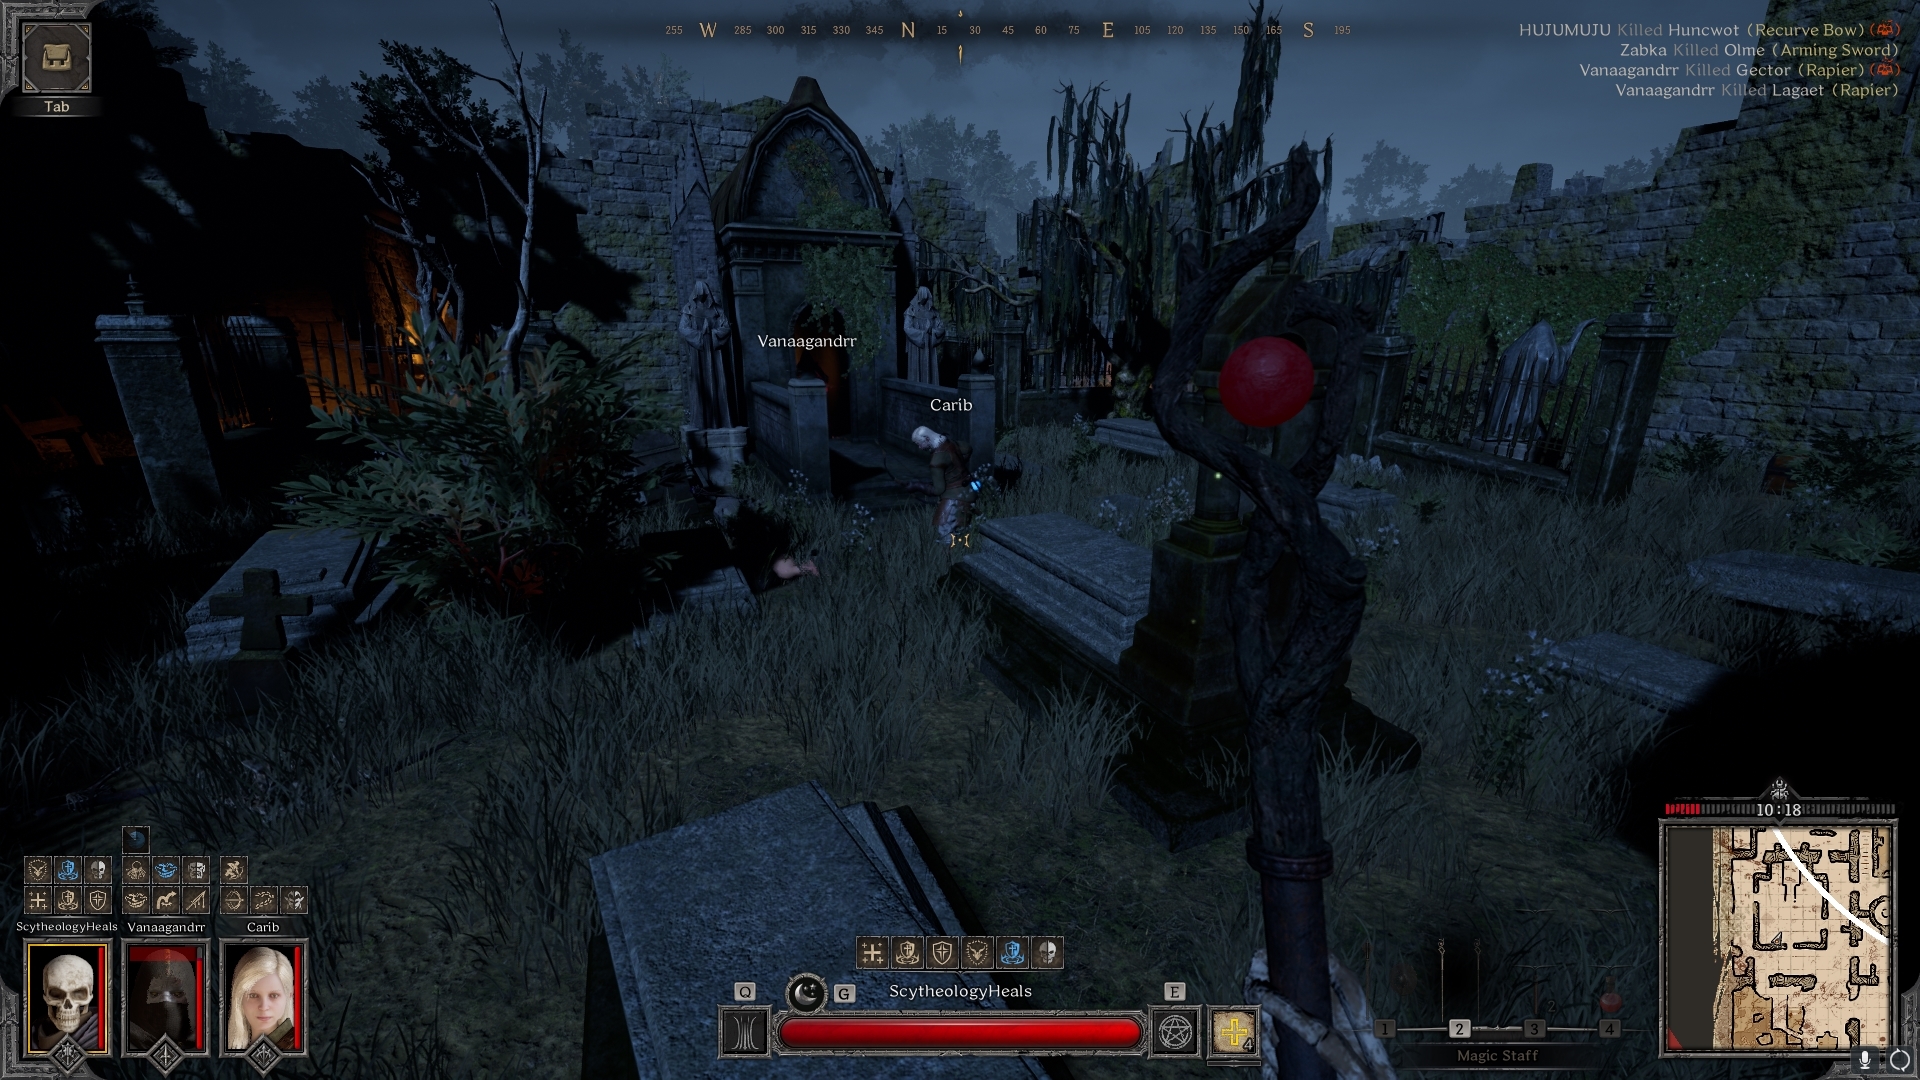
Graveyard
The Graveyard is a less-dangerous area of the Ruins, home to a few Skeletons and a Skeleton Mage. The location of the Graveyard is towards the bottom-left of the map.
The tombs within the Graveyard are great for loot due to the tombs counting as chests. The tombs can also be looted quickly too as a result of being so close together. This makes the Graveyard an easy route to take for quick loot.
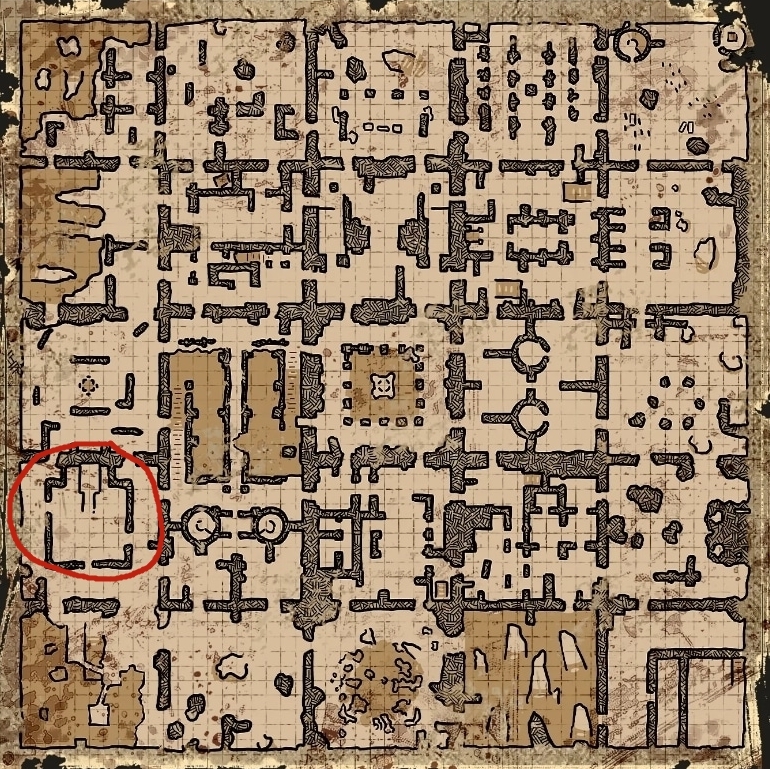
Underground Temple
As mentioned above, the Underground Temple is home to the Giant Spider monster. Locating it is as simple as heading to the red-circled area on the map above and heading down the stairs in that room. Head in and loot up the room and spawn the Spider! Something to note, however, is that sometimes the Spider does not spawn – instead a resurrection altar can!
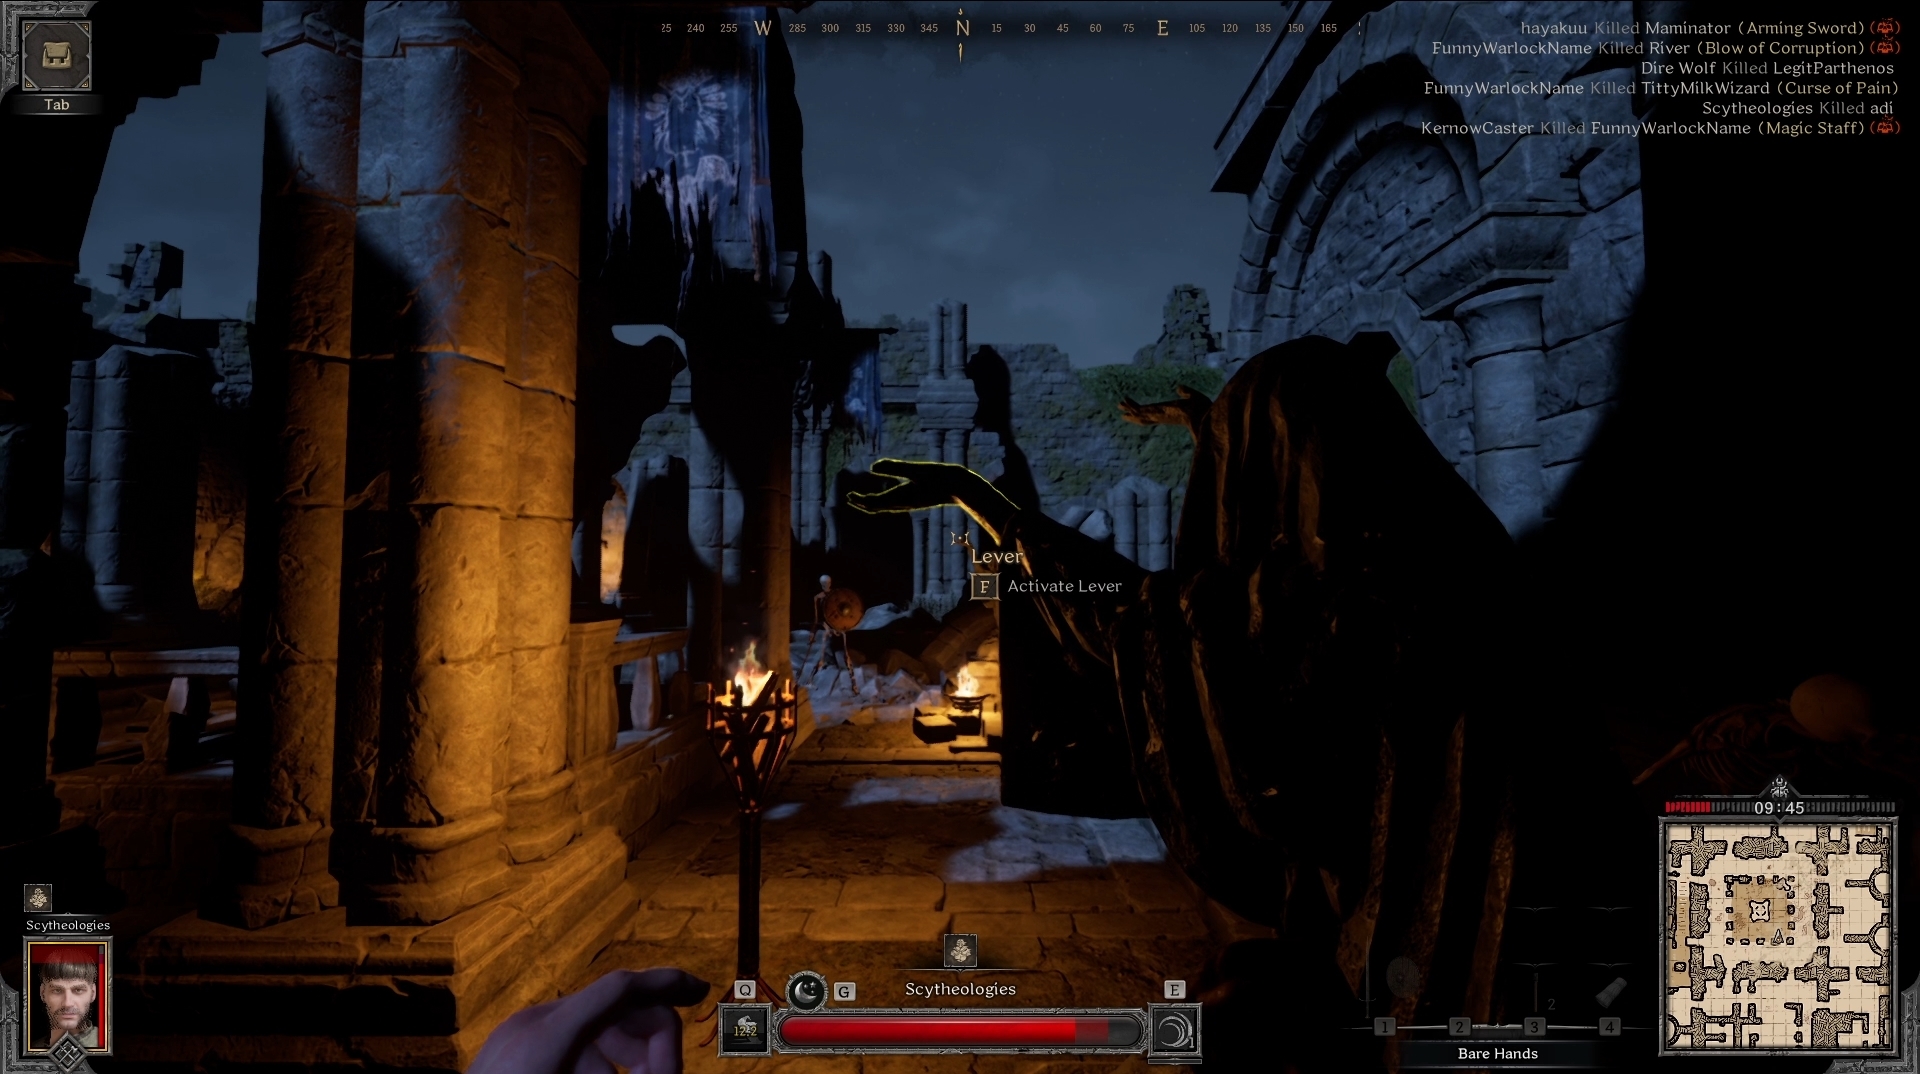
Center Room – Secret Underground Lever
As expected, the center area of the Dark and Darker Ruins contains the biggest gold potential. The room may not seem all that great, that is until you find the hidden lever! Look out for the four statues in each corner of the room, the statue with both hands attached will have a lever to interact with! The lever opens up a hidden drop passage into a tight square-shaped corridor. In this room you can find the Giant Worm, which is farmable for the Old Rusty Key.
Treasure Horde Room – Old Rusty Key
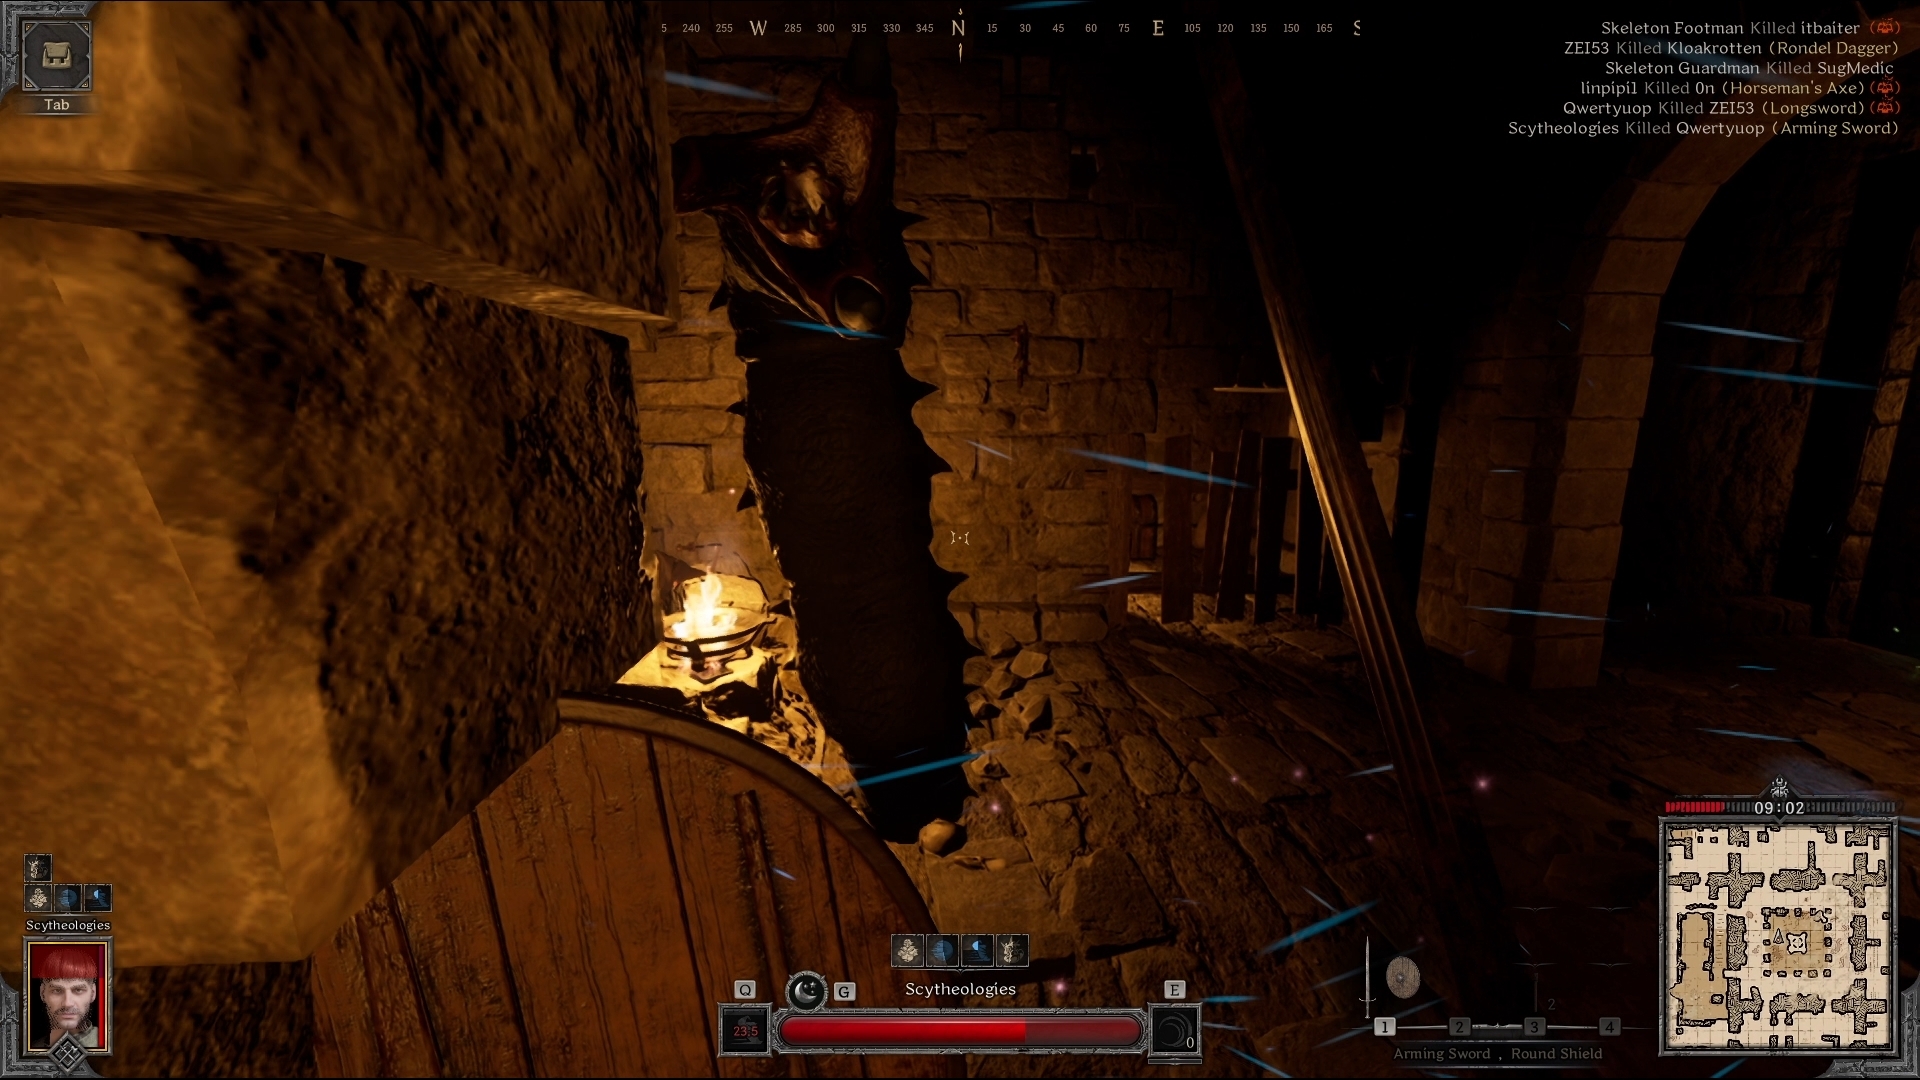
If you happen to loot the Old Rusty Key from the Worm or bought it from the Trade channel, head towards the bridge area of the map.
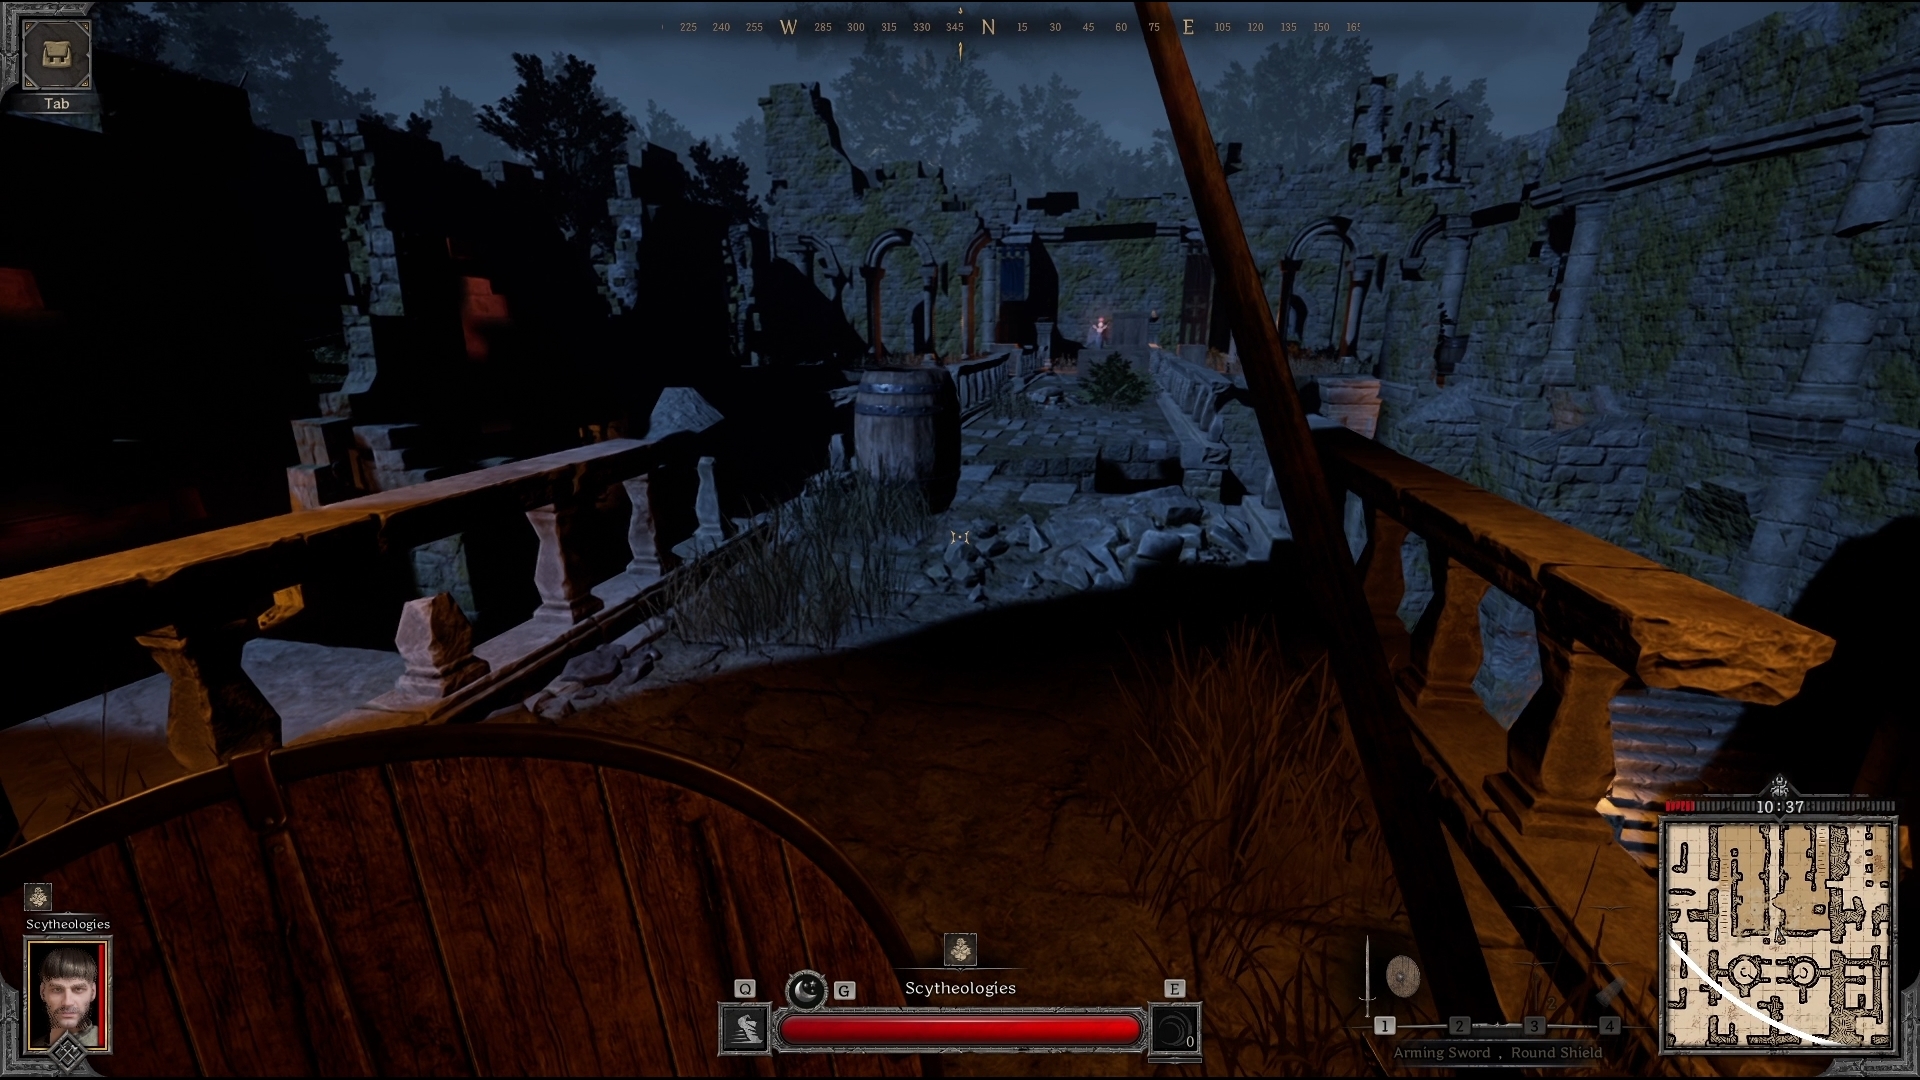
From here, you can drop down below it and into an underground room. There will be a few monsters here so be alert. Continue through the room until you find the Iron Door with the Treasure Horde and some chests behind it! Be careful of people trying to sneak up on you or hiding at the entrance when you arrive. There is a lot of dungeon delvers in the Dark and Darker Ruins ready to kill you.

Recommended Solo Classes
For Solo players, we currently recommend the following classes for the Ruins:
- Rogue: The Rogue has an incredible solo advantage on this map due to the many dark spots and high positions it can take with Double Jump.
- Warlock: The Warlock is an incredible solo class even without the full class kit. Hellfire allows you to clear rooms and elite monsters very fast while dueling solo players efficiently.
- Bard: The Bard is a pretty self-sufficient class keeping itself buffed up and de-buffing others. Sometimes you can make alliances as a Bard too as some people underestimate the class alone!
Conclusion
That concludes our Dark and Darker Ruins Guide. This is a new map and we will make sure to keep it up-to-date with new additions, so check back when you can! To see more of our Dark and Darker guides and builds, click here.