
Welcome to our Butchers Canyon dungeon guide for Throne and Liberty. In this guide, we’ll cover the key sections of this particular Paola’s Dimension Dungeon – including bosses and their mechanics.
Drops


Other Drops (Materials)
- Precious Rubrix, Stalon, Emeret, Marind, Ore
- Precious Polished Crystal
- Rare Polished Stone
- Orc Heart and Mana Blood
First Section & Mini-Boss
Starting, the dungeon immediately begins with 3 mobs in front of an elevator. The Administrator mob holds the key to activating the elevator. As a result, kill them fast and head up on the elevator.
A quick way to clear this entire section before the first Mini-Boss is to utilize the first bridge you’ll cross over. Have your tank pull the mobs ahead of the bridge and bring them back to the bridge. Now, you and your party can kill priority mobs by knocking them off the bridge with Sword and Shield skills, killing them instantly! This strategy allows for a quick and easy way of dealing with everything. Once you’re finished with the mobs, continue through to the first mini-boss.
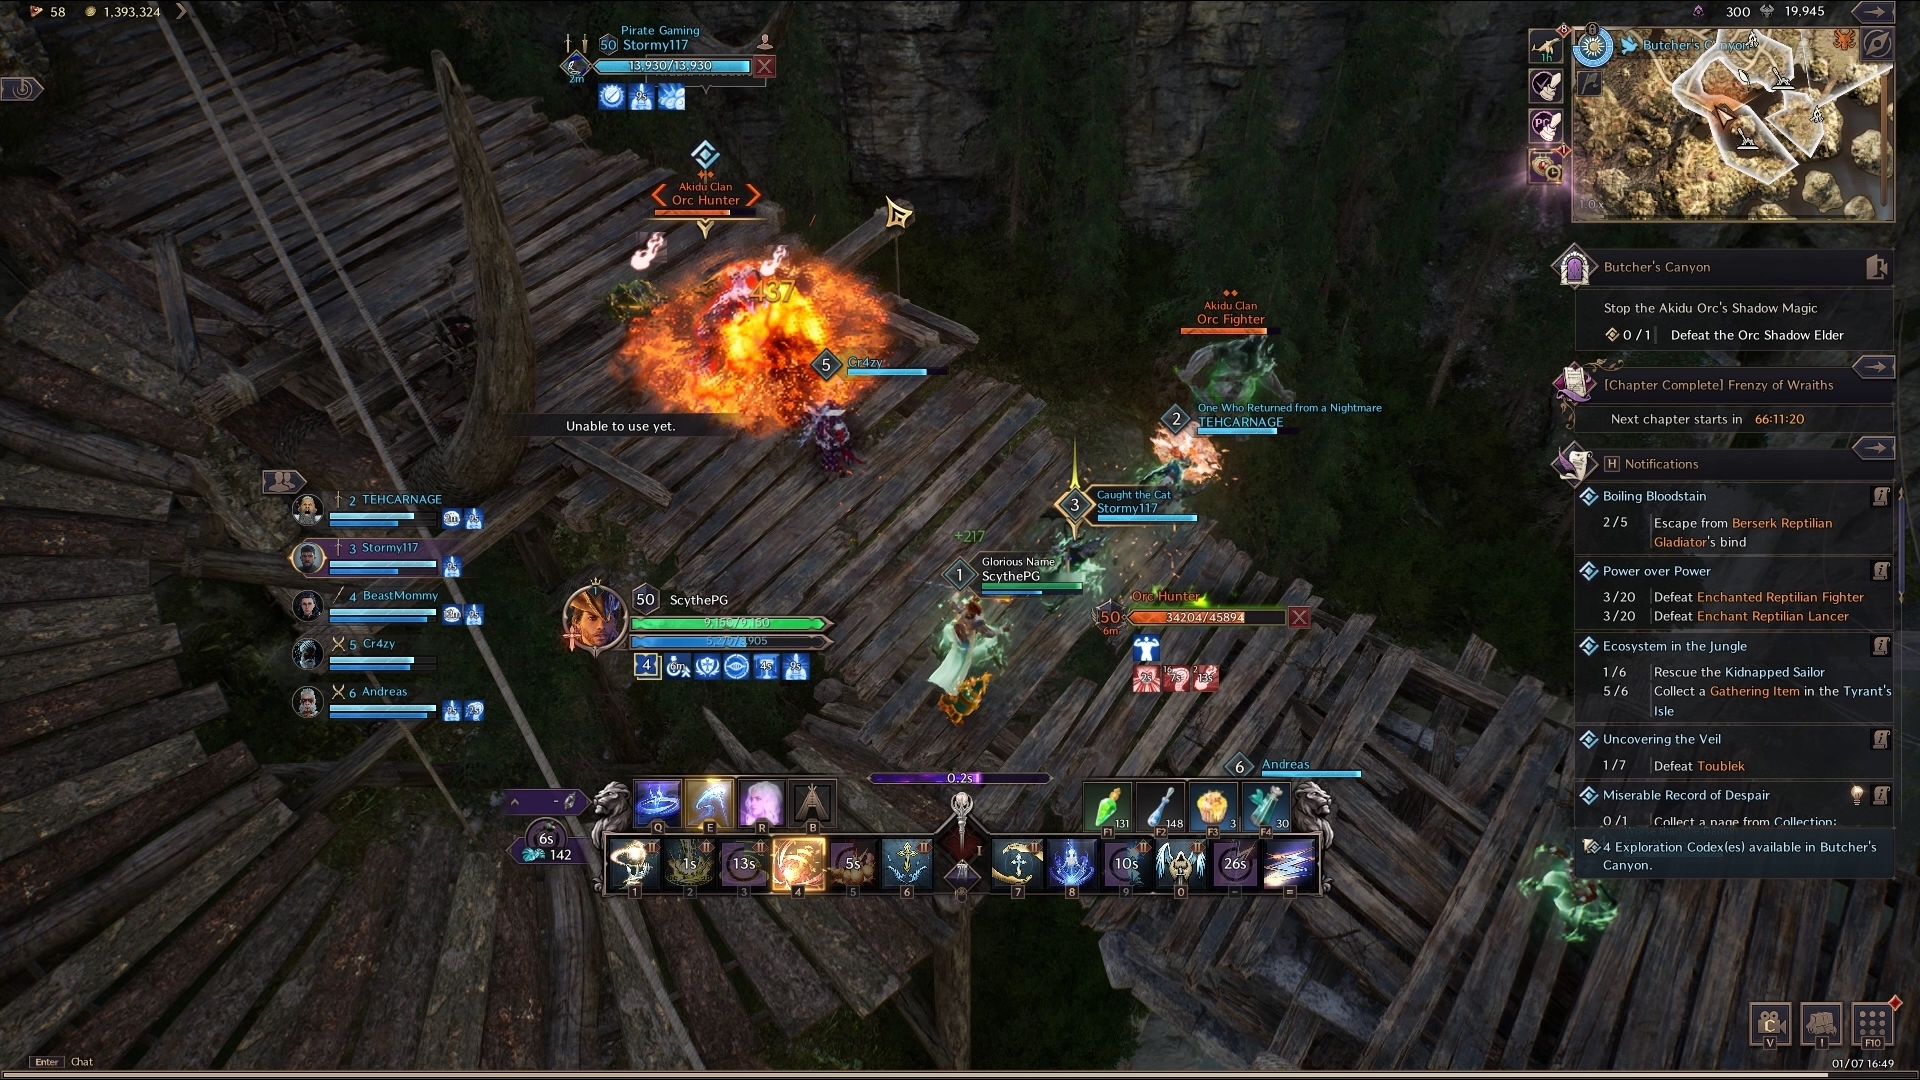
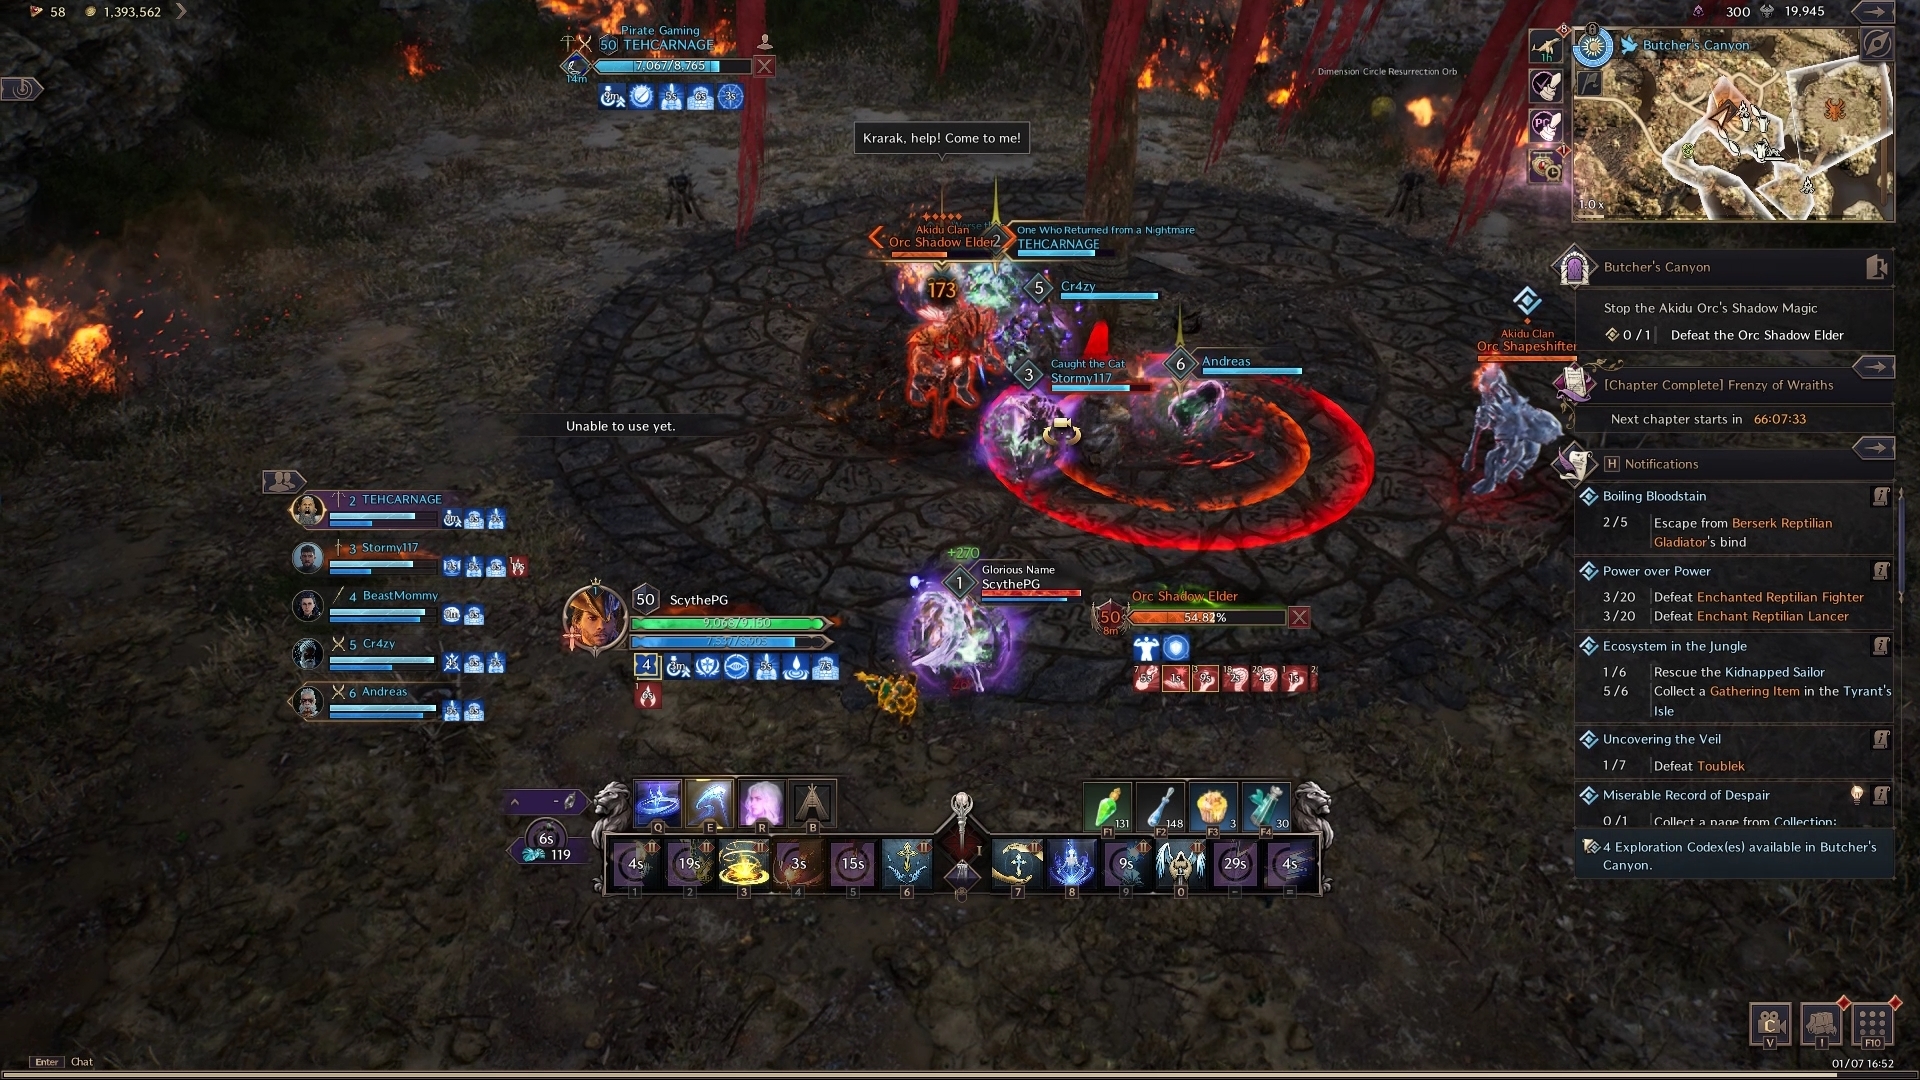
Mini-Boss 1: Orc Shadow Elder
The Orc Shadow Elder specializes in using flames to deal damage and summoning allies to assist it. The main mechanic to watch out for is when the Elder summons a Shapeshifter to help. Once the Shapeshifter is summoned, it turns one player into an explosive sheep! You only have a few seconds of being a sheep before you explode, to reset the timer, and pass it on to a friend by running onto them. After the Shapeshifter is killed, it drops a blue zone on the ground that cleanses the sheep after walking into it. With enough damage, you’ll kill the boss before any repeat mechanics happen – proceed onward after defeating the Elder.
Section 2 and Mini-Boss 2
Most of the next section is just running towards the next mini-boss, however, there is another bridge to pull mobs to and knock off as you approach. Up ahead, you’ll see a structure surrounded by three mobs with blue tethers attached to them – this is the next mini-boss.
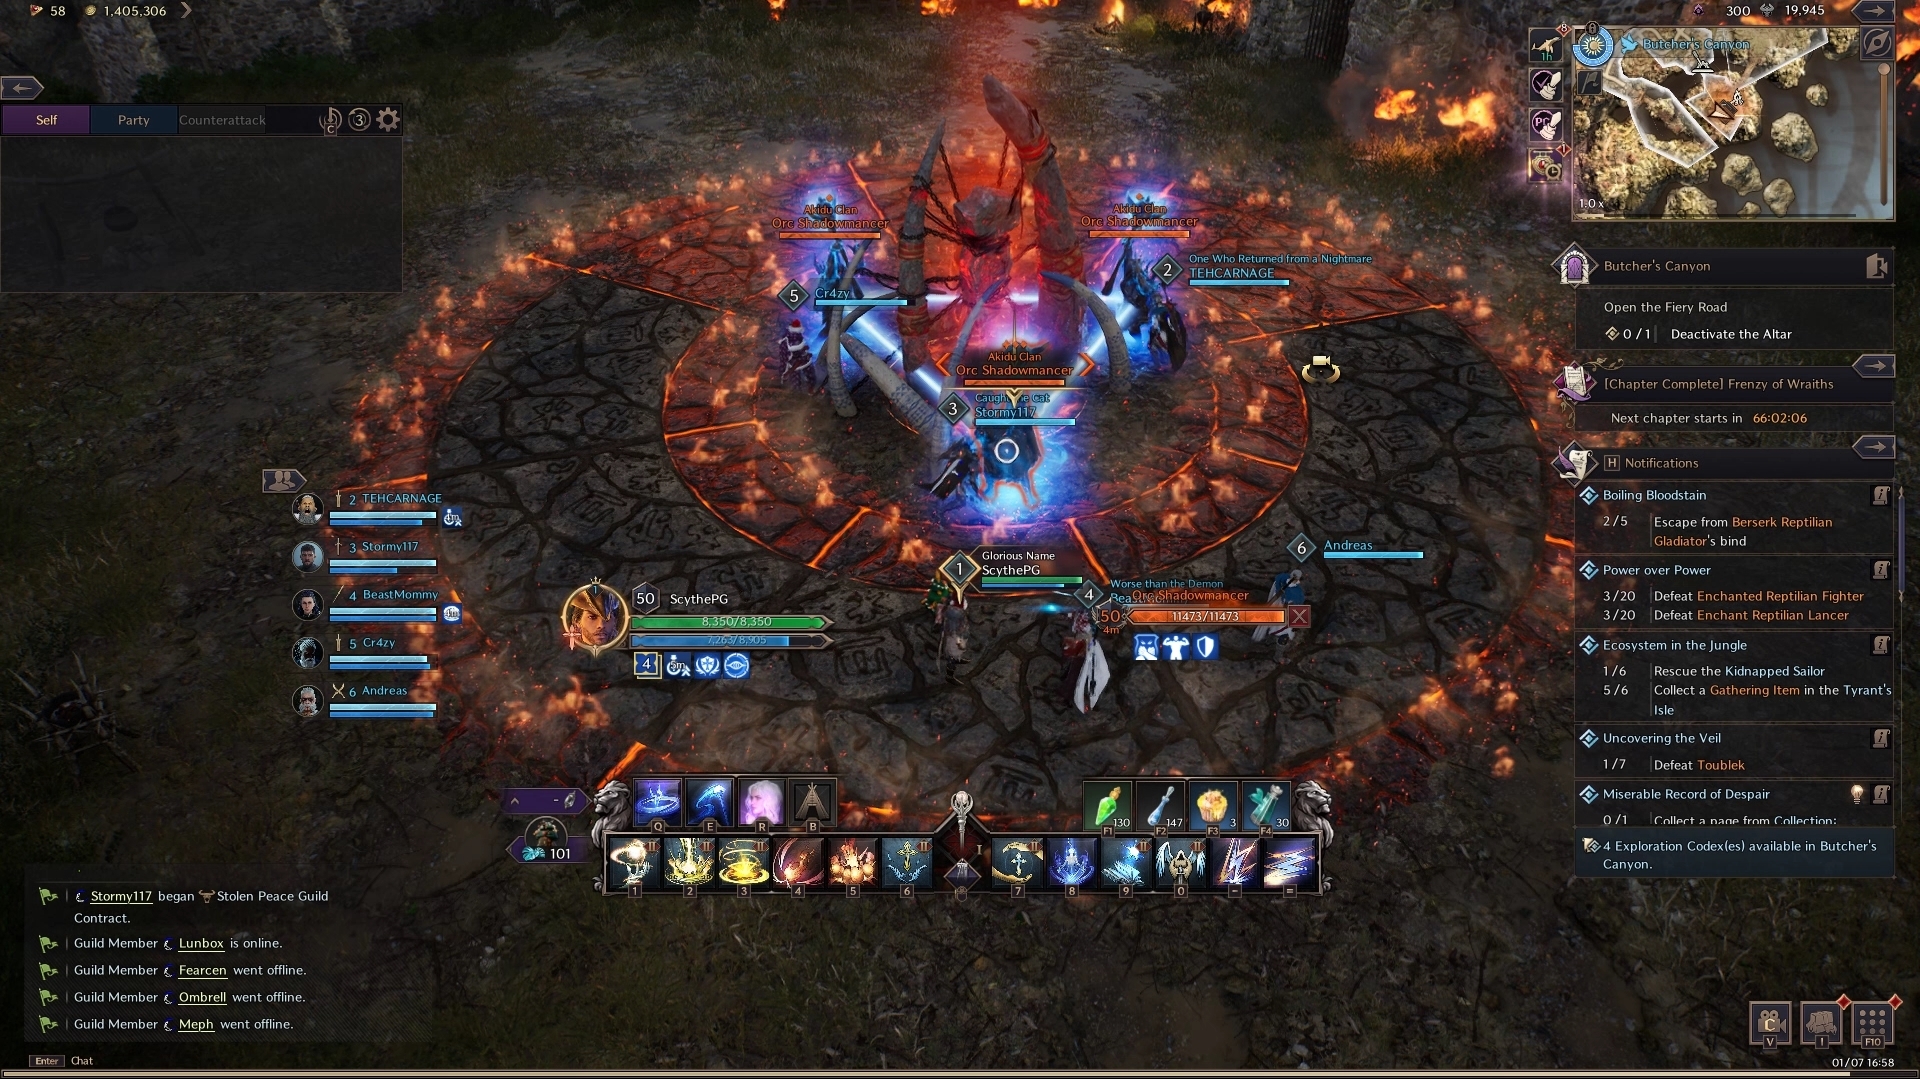
The Orc Shadowmancer trio are invincible while tethered by the blue light. As a result, this gimmicky mini-boss requires the party to time hard crowd controls on each of the Shadowmancers to break the tethers and kill the mobs quick enough. That is pretty much it for this particular mini-boss! Next is one final bridge to pull and kill some mobs on, then the final boss – Magna Duke.
Final Boss: Magna Duke
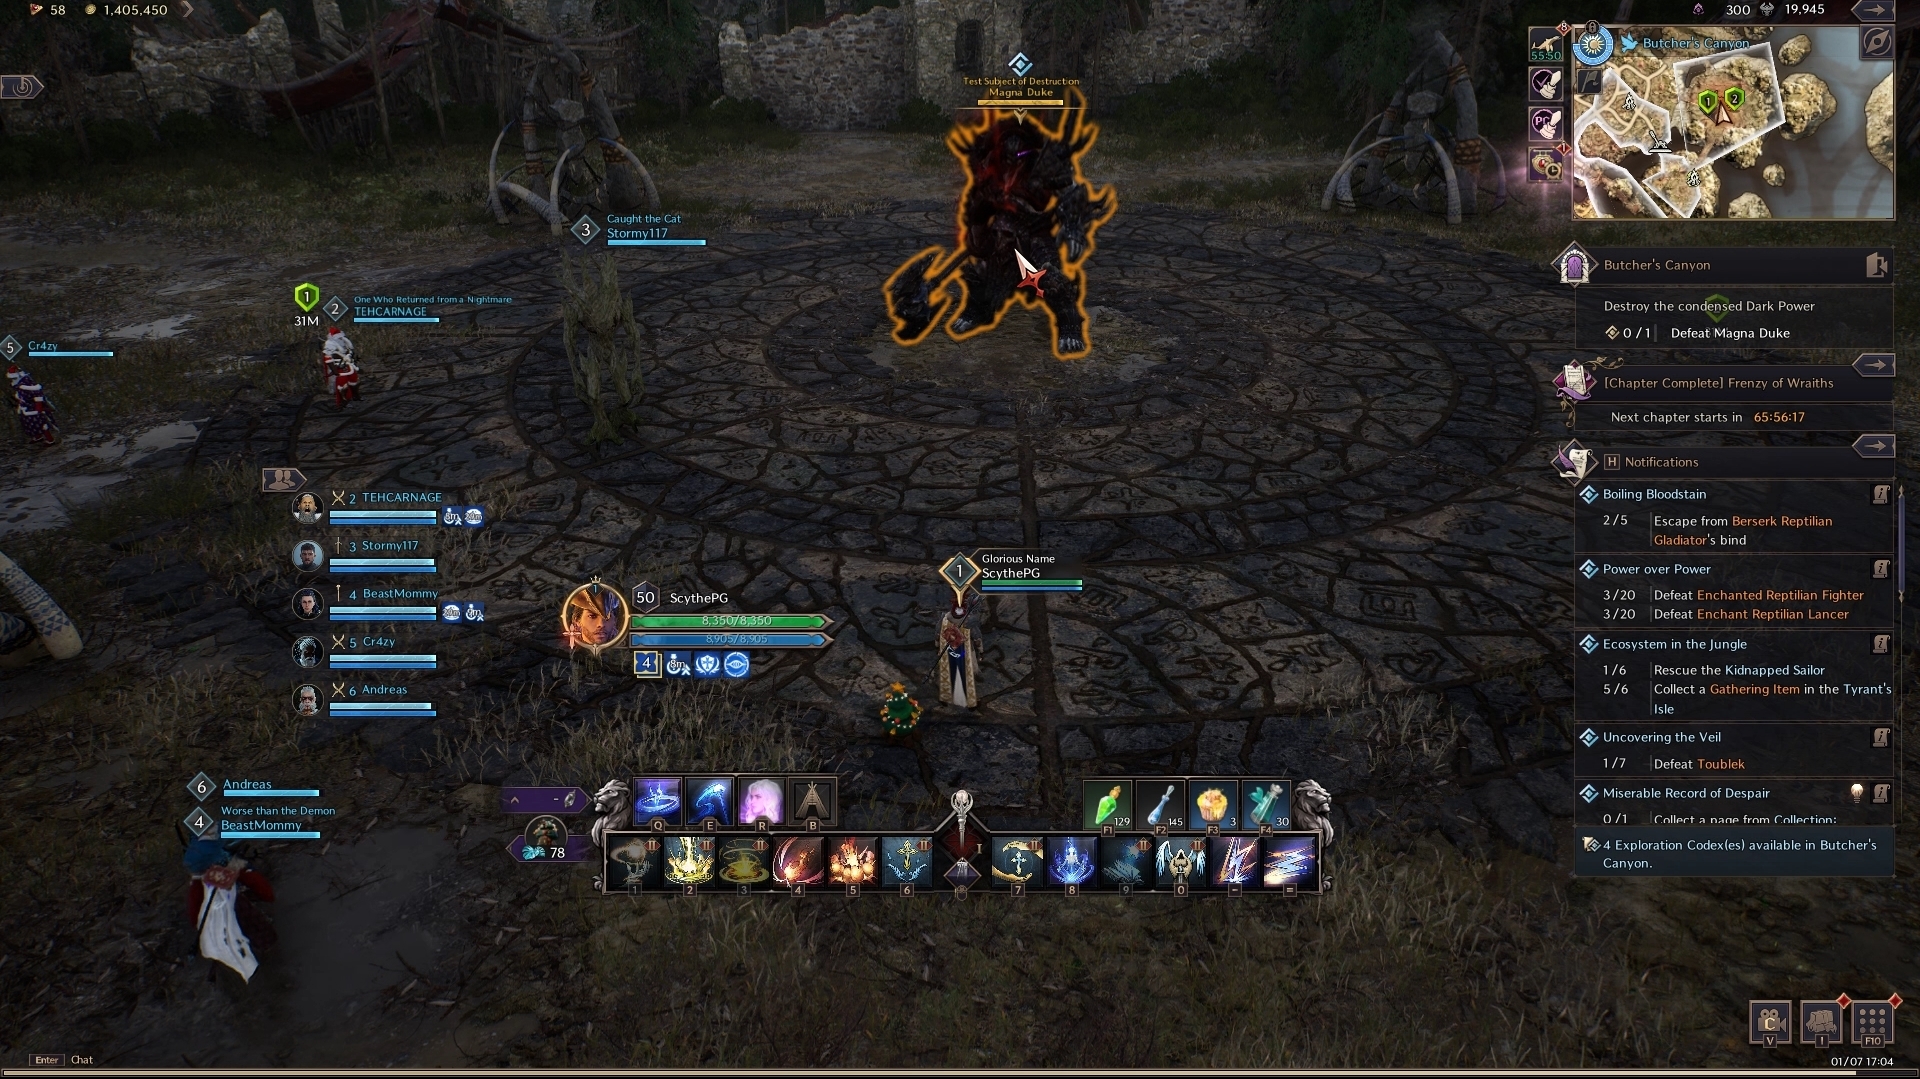
Phase 1
Phase 1 consists of a set pattern of attacks that Magna Duke uses between each phase switch. The pattern is as follows:
- Blockable AoE Fury Attack
- Summons meteors on top of players that they must avoid landing on them
- Second blockable AoE Fury Attack
- Stomps on the ground causing an arena-wide wave of damage. To dodge this, players must jump at the correct time
- Third blockable AoE Fury Attack
- Second set of meteors
- Phase switch
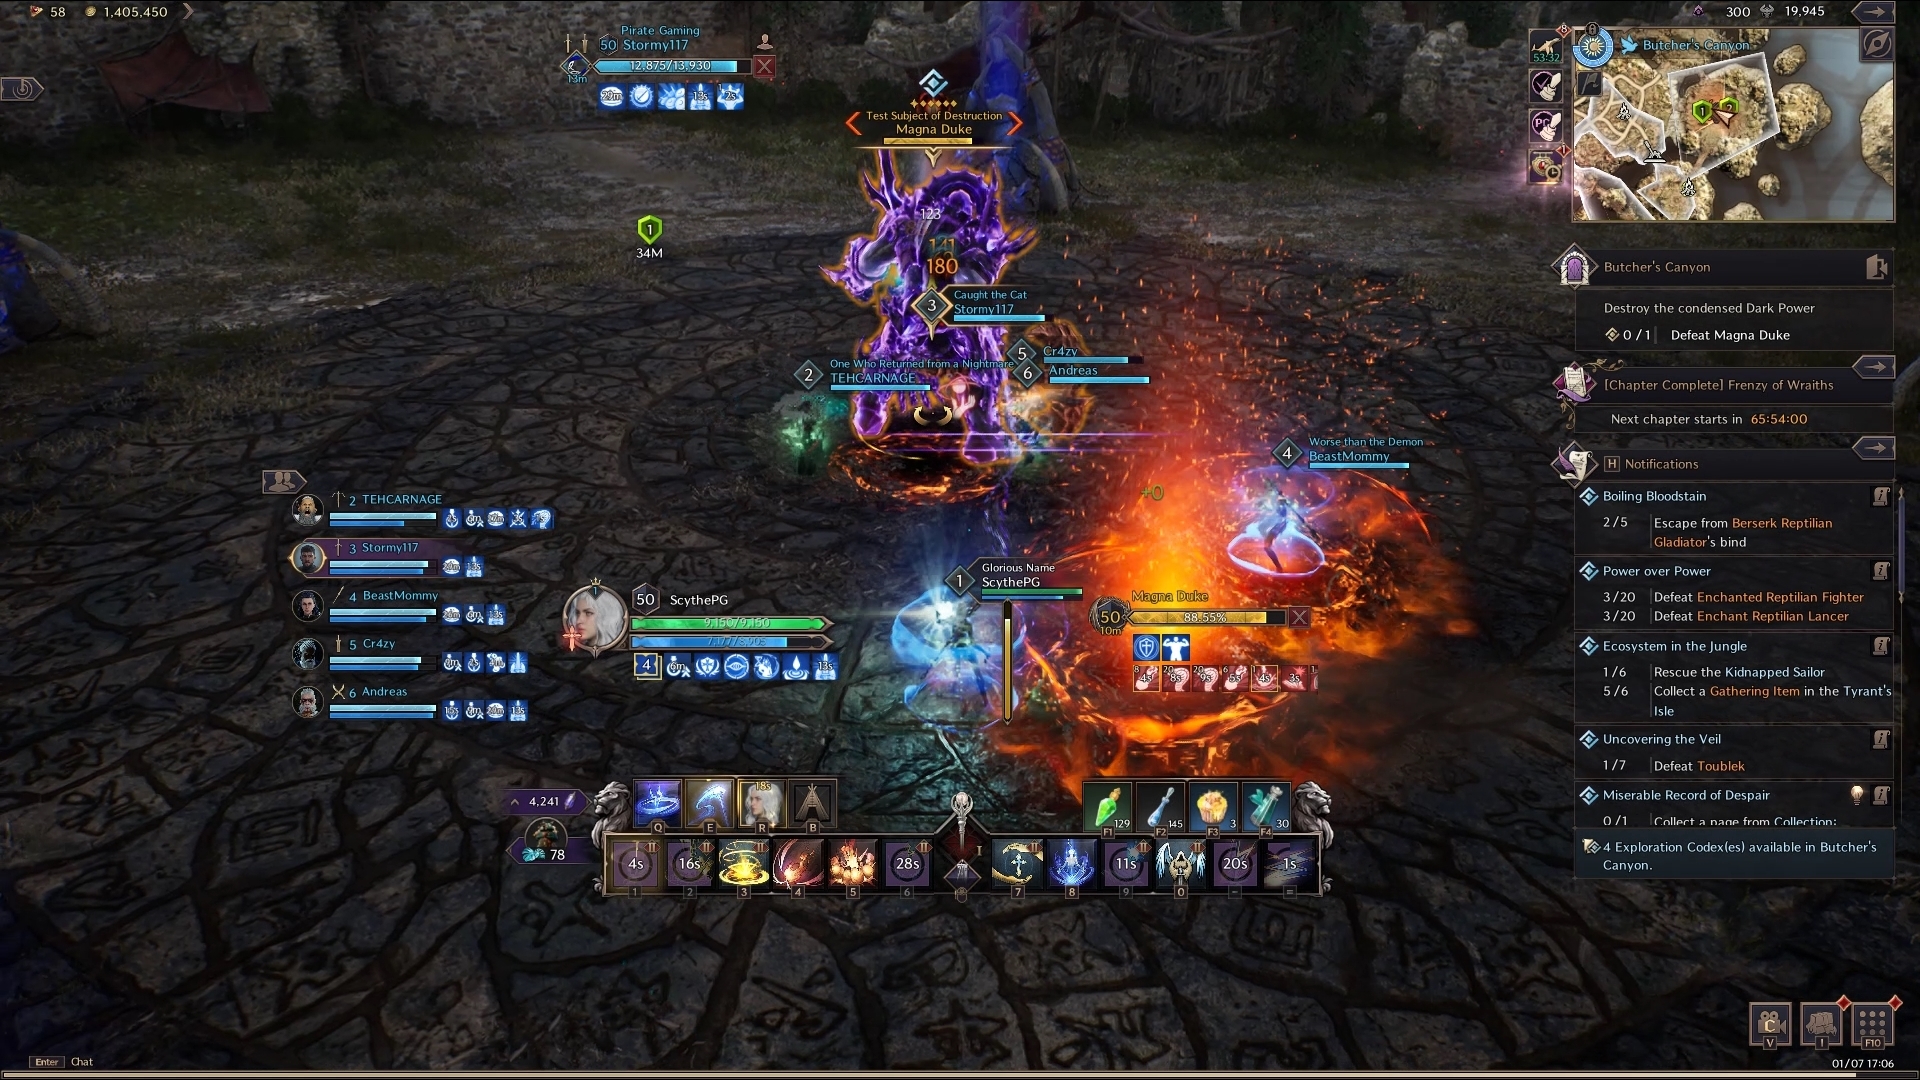
Phase 2
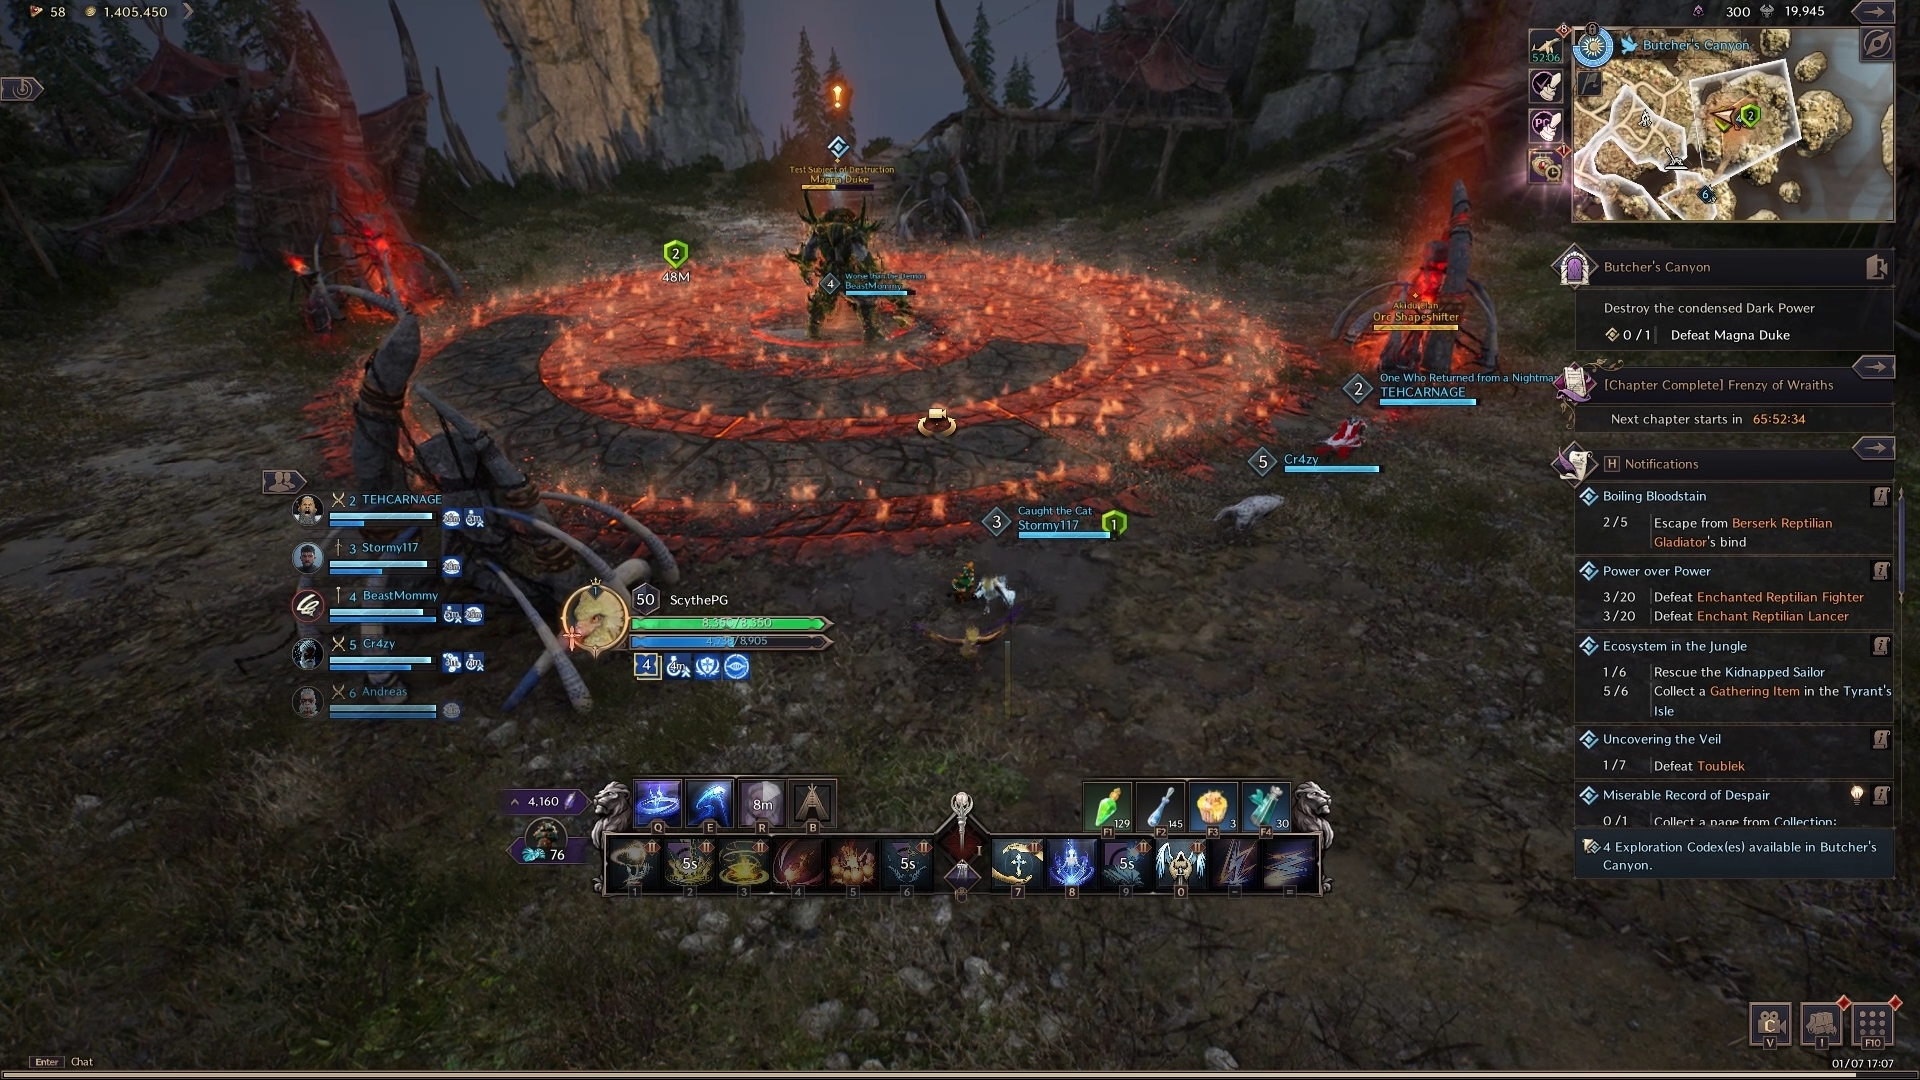
Magna Duke pulls the entire party into him, circling himself with fire throughout the arena. One player is put into a stunned state in the centre while the rest of the party is free. On the outside of the circle arena, four pillars can be located, showing two colors – red or blue. In this case, the party must split up to interact with the red pillars as quickly as possible. However, the party needs to be very careful with the flames surrounding the boss. If you touch the flames, you become rooted in place. As a result, jump over the flames to avoid it.
Once the pillars have been activated, the player trapped in the centre is free, allowing them to run out of the arena in time to avoid an instant death. Magna Duke falls down to one knee to catch his breath. This is a damage phase which resets back to Phase 1.
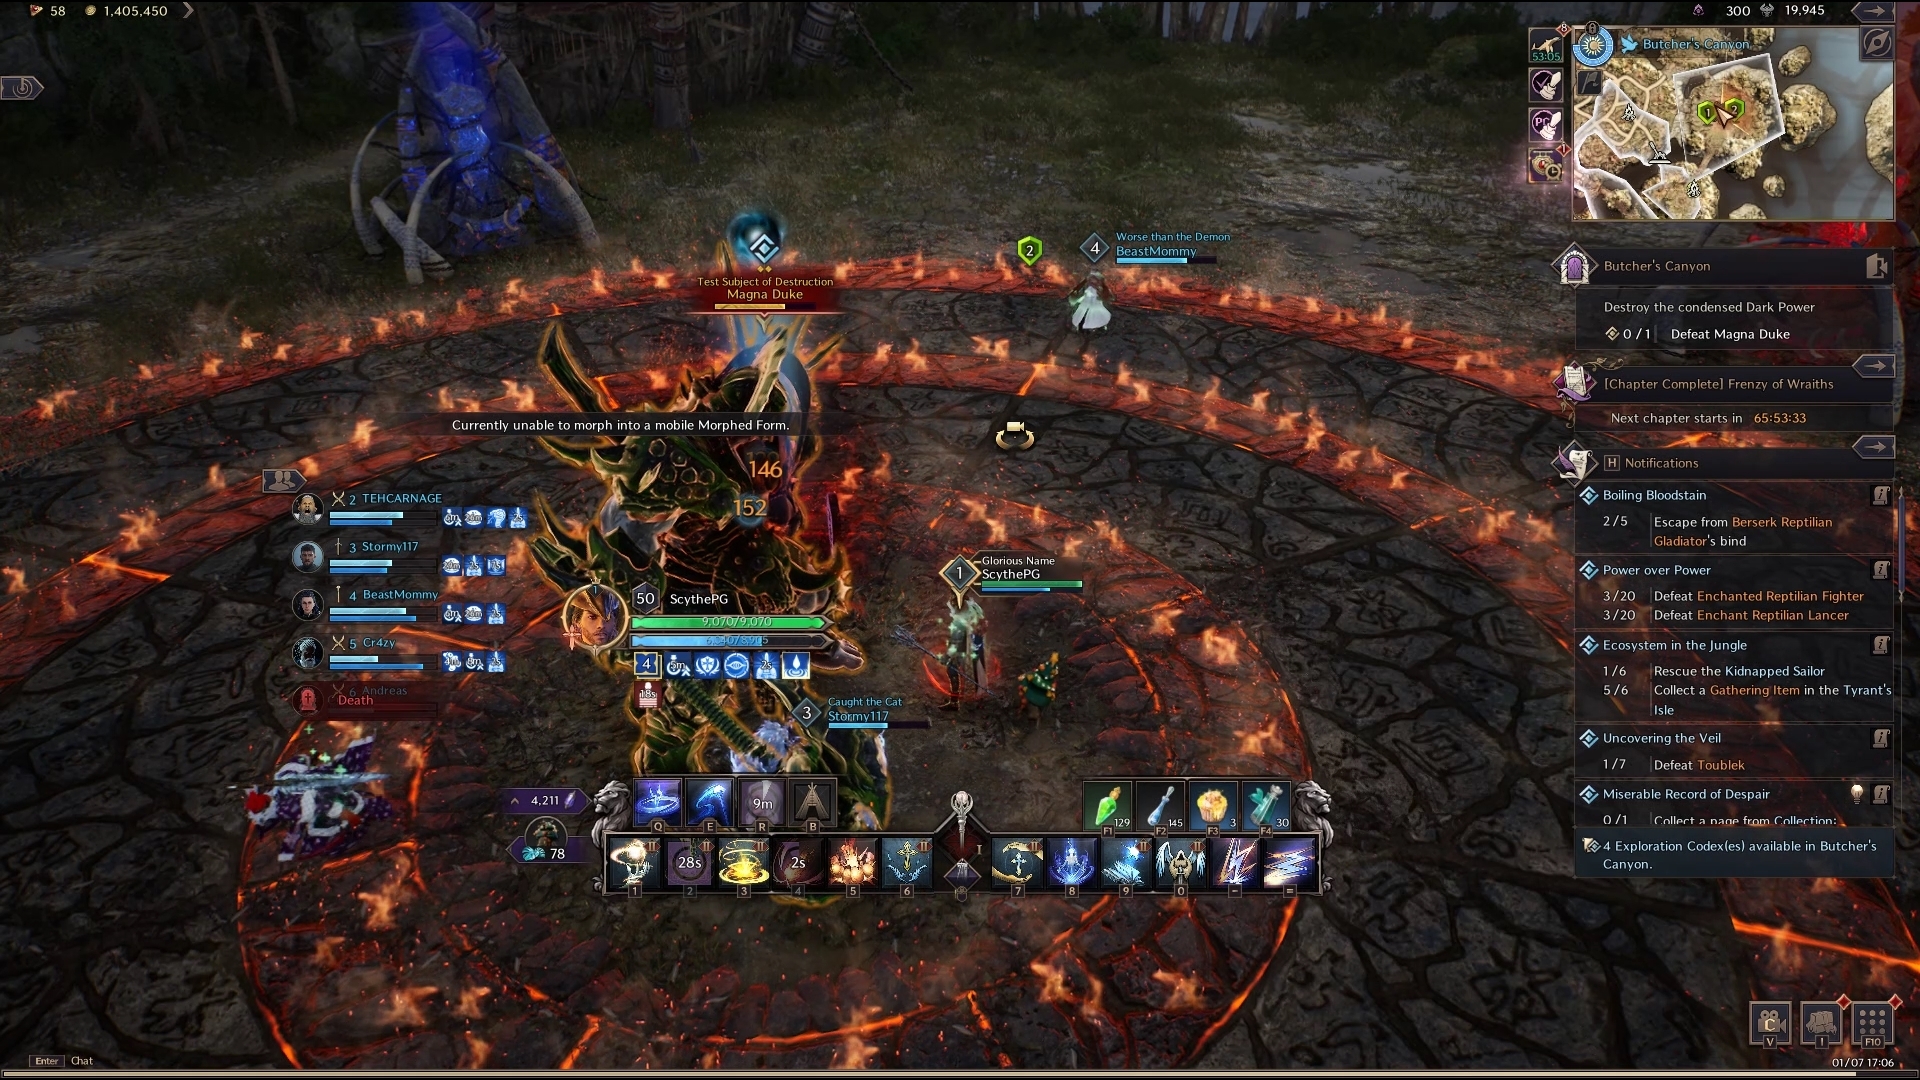
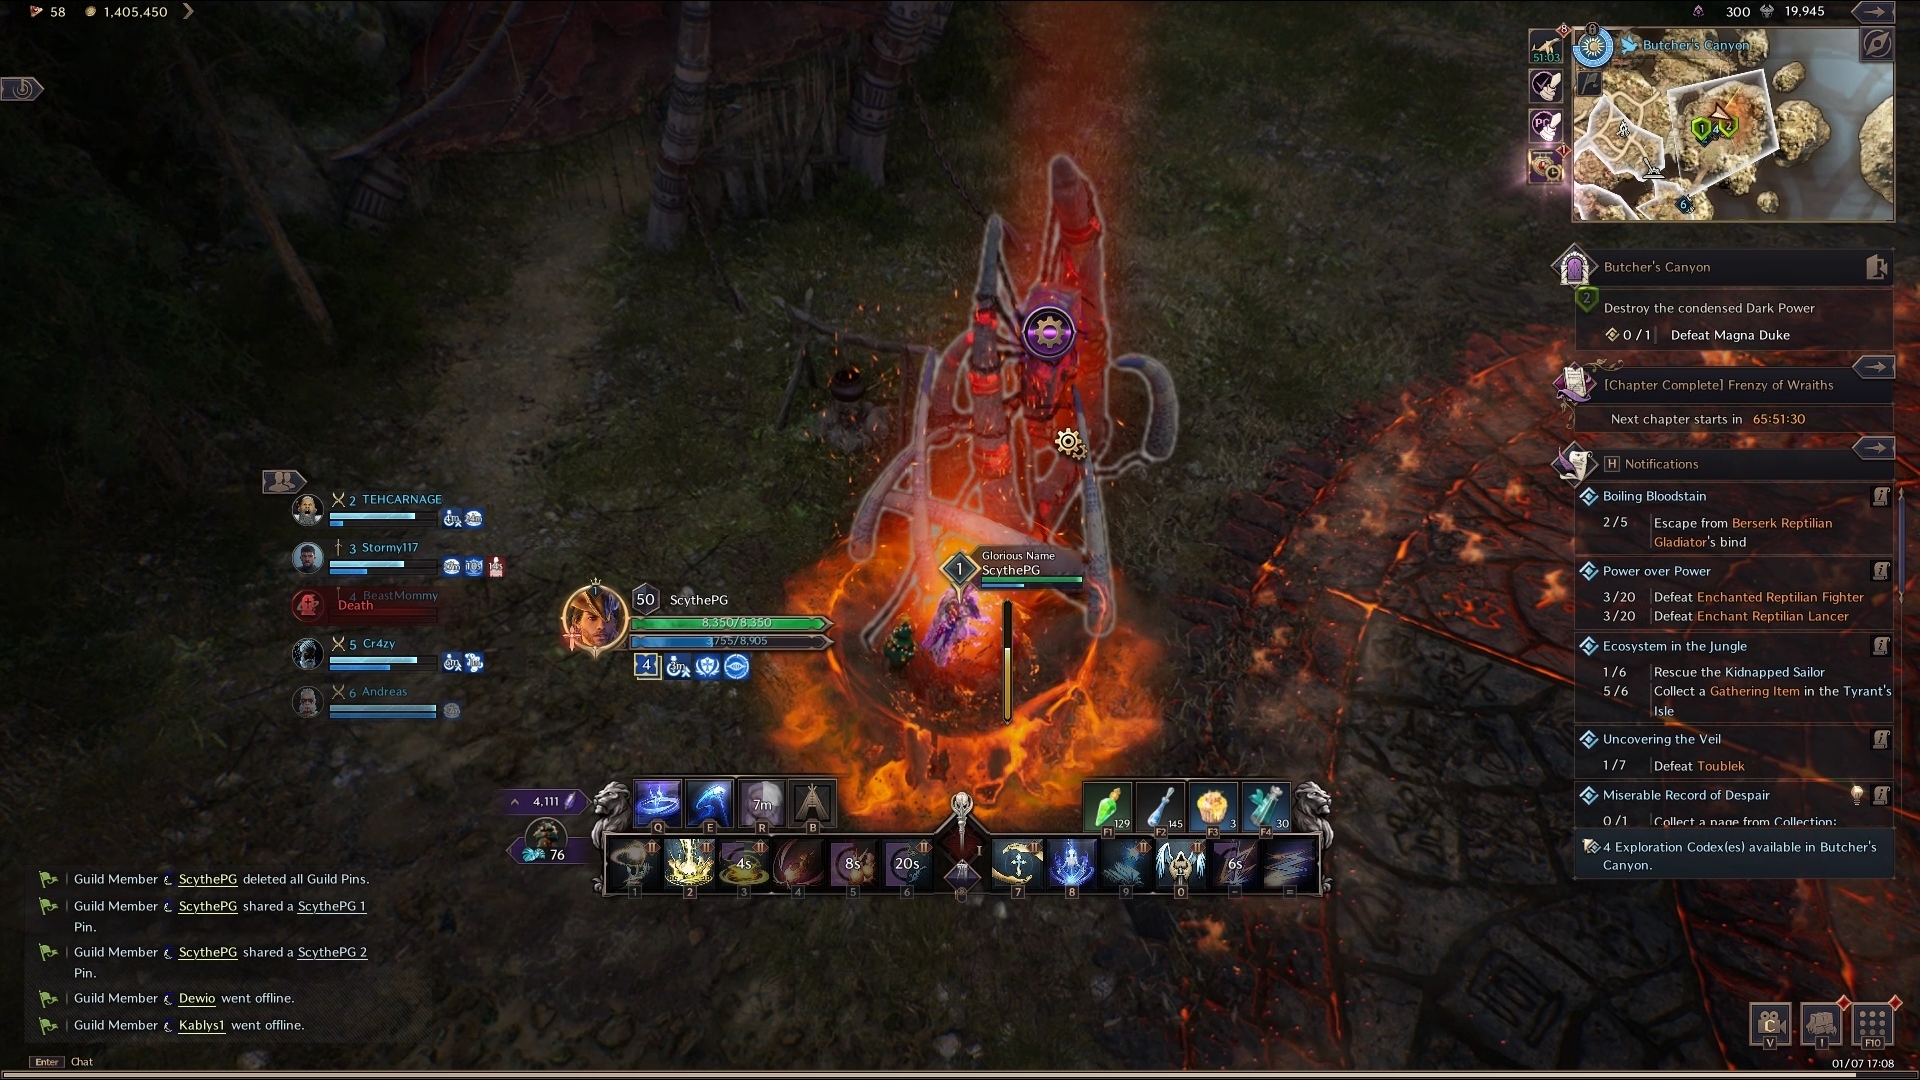
Phase 2.5 (Shapeshifters)
After the Phase 1 repeat is finished, the party is pulled in once more. This time, instead of jumping to the red pillars to activate them, Shapeshifters will spawn by the red pillars. In this phase, the player that gets stunned in the centre is transformed into an explosive sheep! However, the player cannot cross the fire in this form. As a result, the team has to work together to carefully pass the sheep mechanic along in a line to bring it outside the arena and to the Shapeshifter. Any player that has the sheep taken away from them is now free to move and escape the arena to kill the Shapeshifter. Finally, cleanse the sheep mechanic and enter Magna Duke’s second damage phase.
It is important to note too that the flame within the arena expands, cutting off some of the central area – be careful!
After the repeated phase 1 attacks, the next pull-in begins. This time, however, the flames are expanded much like the Shapeshifter phase, but the Shapeshifters do not spawn. As a result, players must navigate the expanded flame areas and activated the red pillars again as soon as possible to free the middle player. Finally, DPS the boss down until it is defeated!
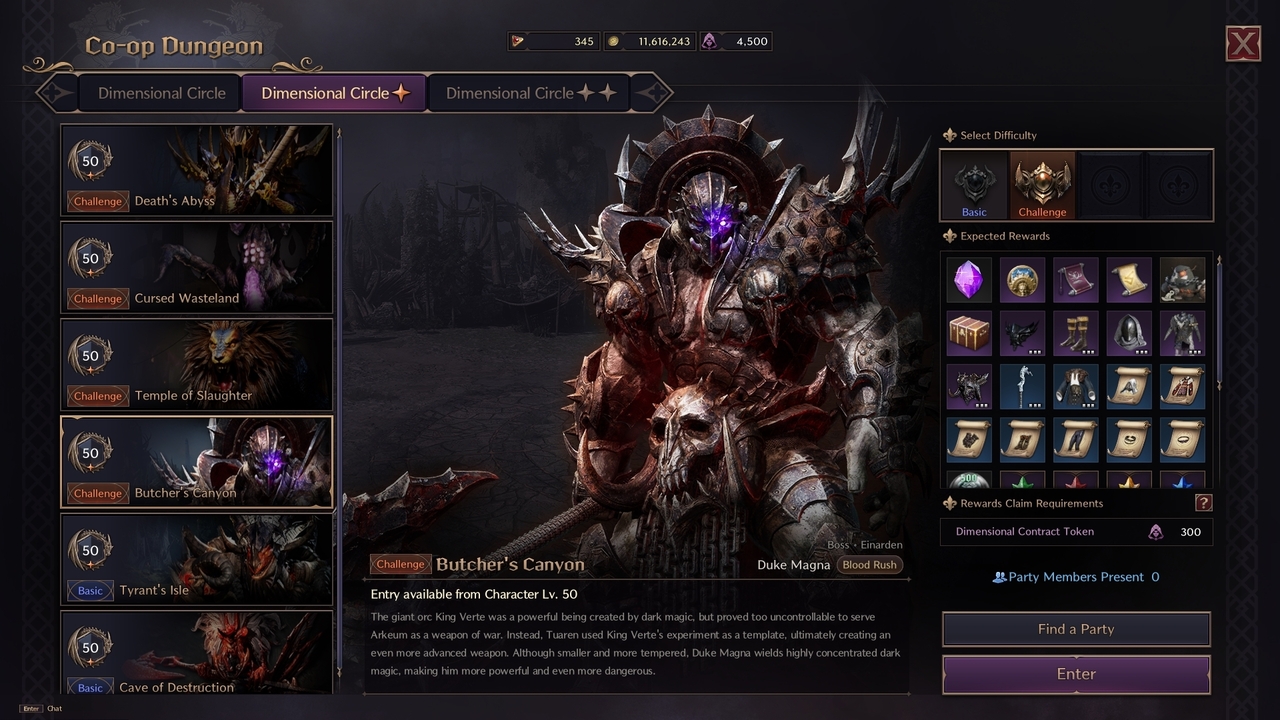
Challenge Mode
In Throne and Liberty’s Tier 1 Dungeons, you have access to two modes. The first mode is your “Basic” level of dungeon difficulty. However, an additional mode can be accessed – this is the Challenge mode difficulty.
Challenge mode in Tier 1 Dungeons act as a slight difficulty modifier that tasks you with completing a tougher dungeon, but with slightly better reward. For example, currently in the Challenge Mode dungeons, the only change to the Butcher’s Canyon dungeon is an increase in mob health and an increase in damage taken. As a result of these minor changes, however, it means you have to be careful of your mechanical failures and the fight durations themselves.
At the end of each Challenge mode Tier 1 Dungeon, on top of the usual reward you’ll have a chance of looting from the chest, you’ll gain a certain amount of “Almighty Parchment”. Almighty Parchment in Throne and Liberty is used to create Omnipotence Skill Books. The Omnipotence Skill Books serve two purposes:
- Used to grow and upgrade your Resistance Skill (for example, the Staff’s Inferno Meteor)
- Usable in any Epic-grade Skill growth
As a result, eventually switching up to Challenge difficulty is 100% worth it to gain the parchment to max out your skills. It is also worth noting you also gain a small amount of progress towards earning a piece of Tier 2 gear over time, too.
Butchers Canyon Dungeon Guide Conclusion
That concludes our Butchers Canyon Dungeon Guide for Throne and Liberty. For more information on Throne and Liberty, check out our official Home page!