
Welcome to our Deaths Abyss dungeon guide for Throne and Liberty. In this guide, we’ll cover the key sections of this particular Paola’s Dimension Dungeon – including bosses and their mechanics.
Drops


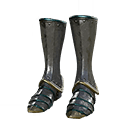
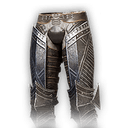
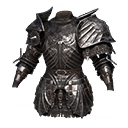


Other Drops (Materials)
- Precious Rubrix, Stalon, Emeret, Marind, Ore
- Precious Polished Crystal
- Rare Polished Stone
- Reaper’s Soul and Mana Blood
First Section and Mini-Boss
The entire first section is pretty straightforward and only contains a few trash mobs. The main trash mob to look out for is the Arbiters that patrol the dungeon rooms. An Arbiter once pulled jumps towards a player and charges a powerful multi-hit AoE attack. As a result, have a stun or hard crowd control at the ready to prevent a team wipe. Another priority mob you’ll encounter is the Healer – a no-brainer target to focus.
For most of the rooms leading up to the bosses, you can hug one side of the room to avoid most of the mobs with your team! Once you come across the first campfire and pass it, continue to hug a side of the room and deal with any Arbiter that catches you. You’ll eventually reach the first mini-boss of the dungeon, there is a few wizards surrounding the area, however, you can avoid those by going straight through the middle of the room toward the boss.
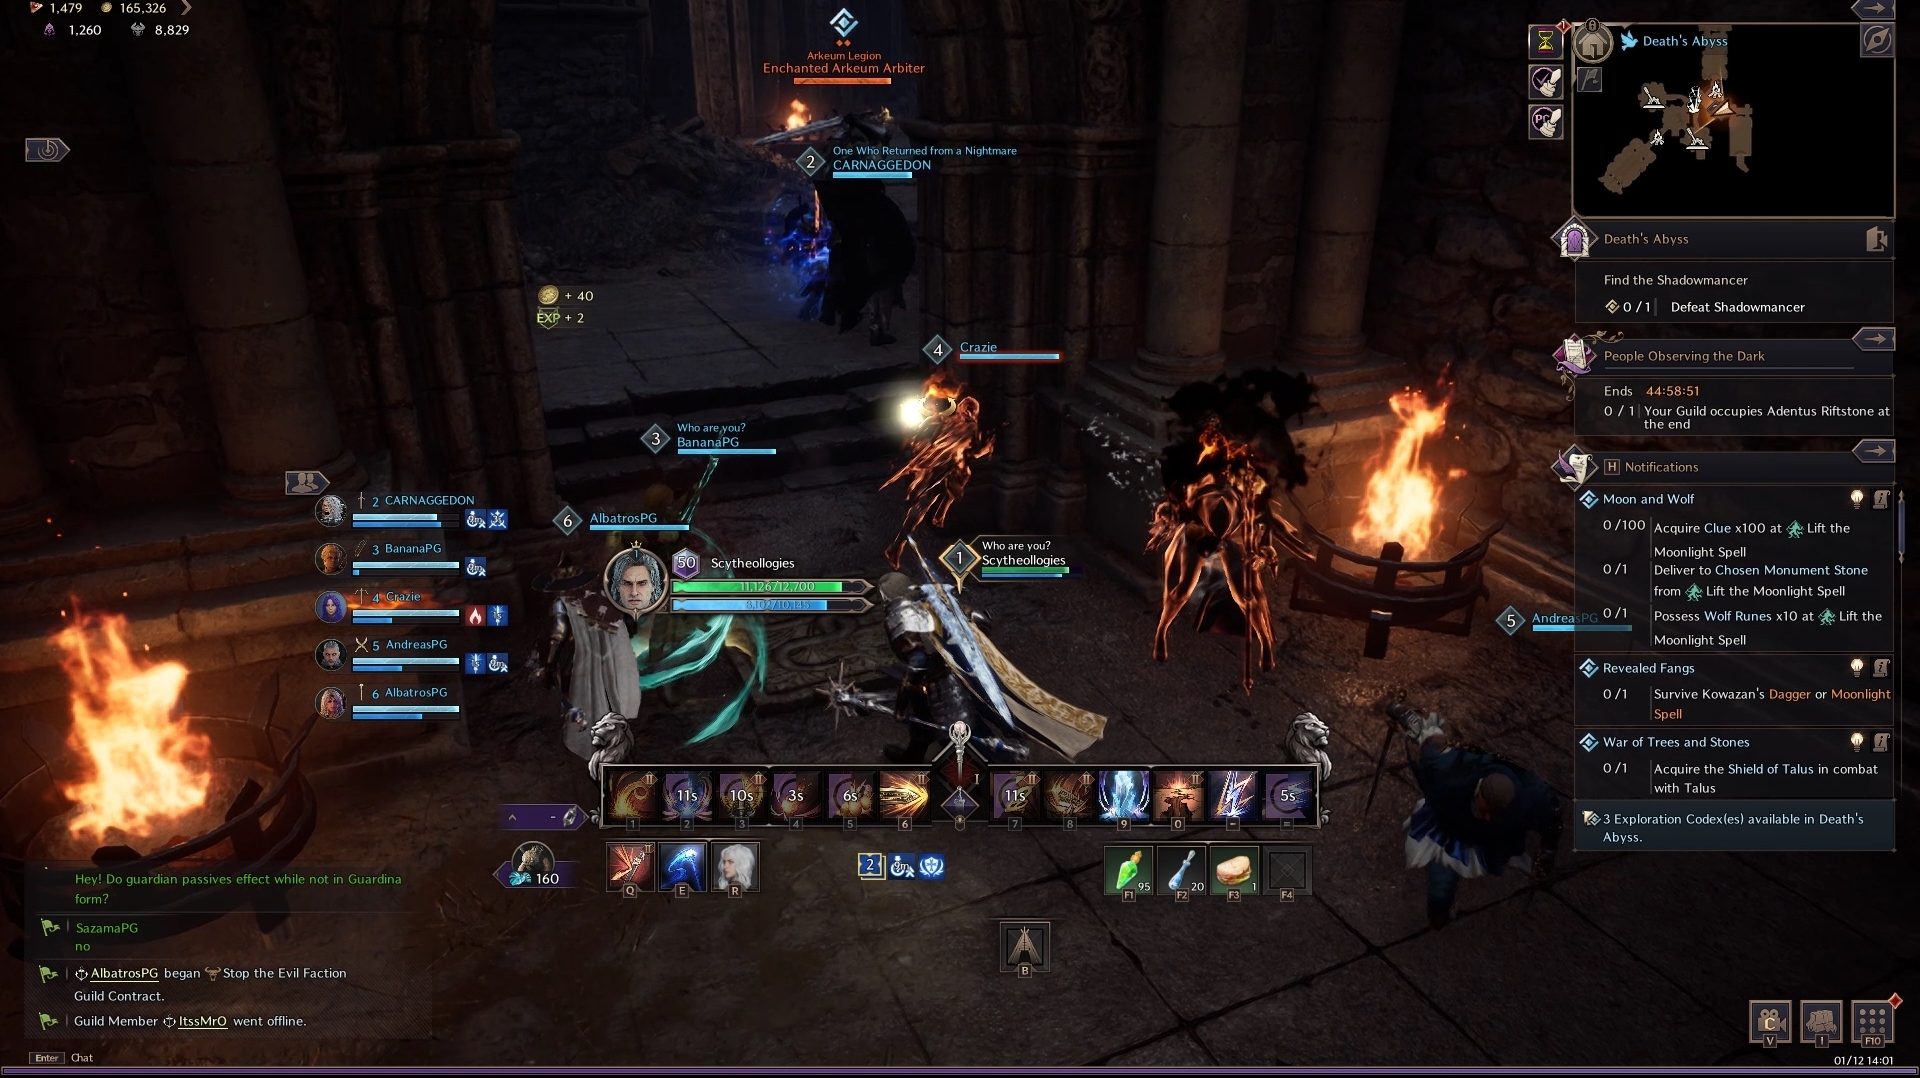
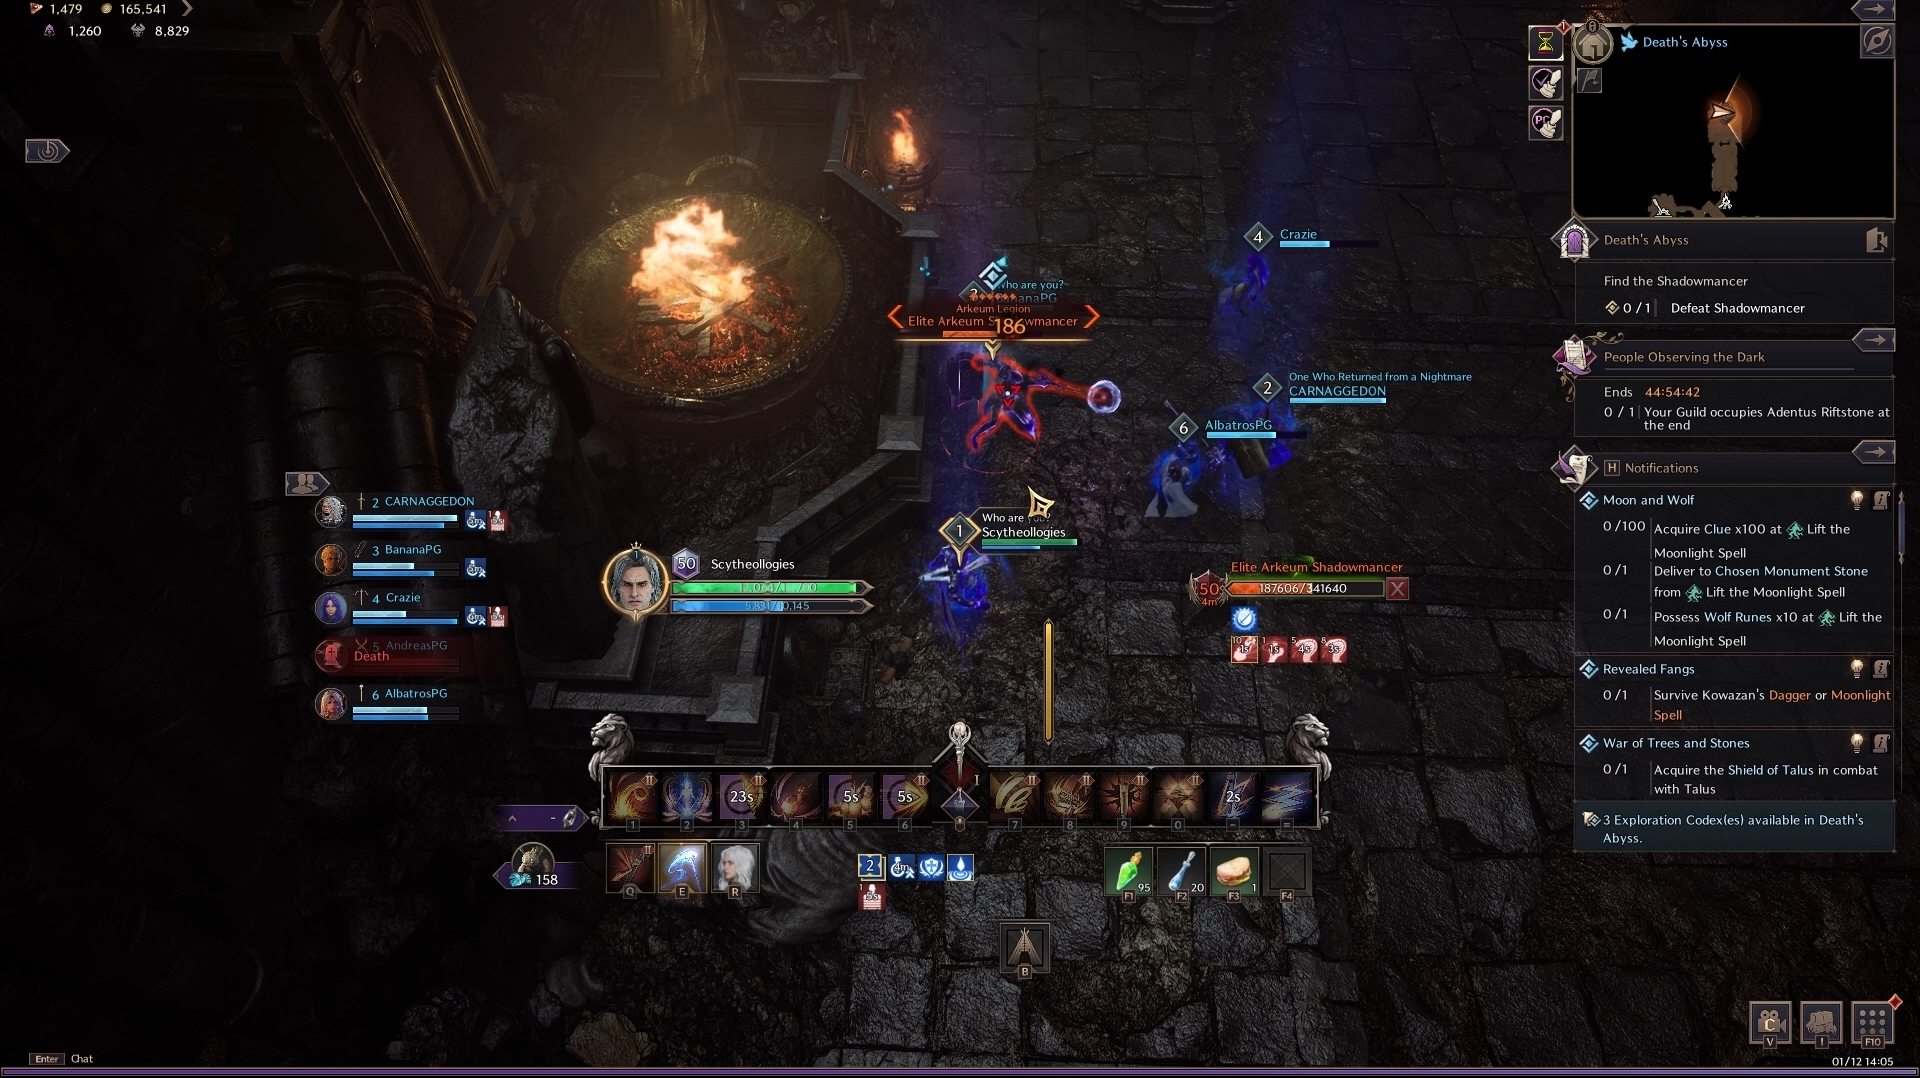
Mini-Boss: Shadowmancer
The Shadowmancer is the first mini-boss of Deaths Abyss in Throne and Liberty. Mechanically speaking the boss at normal difficulty does not do a whole lot. A couple of notable attacks include a set of small circles that damage you on the ground, then large circles that deal greater damage that stagger you. The main mechanic of this boss is the death grip, the boss screams out when it’s about to happen – have a player Stun or hard crowd control her as soon as this happens. If the mechanic is allowed, three players are lifted into the air and their life force drained until wiped.
Second Section and Mini-Boss 2
The second section of the dungeon splits into two paths with a central room between them, however, the middle room is blocked off. each side area has a lever that can be pulled that’ll both open a gate and remove one de-buff from the middle room. A quick way to complete this section is to send one player to one room, and the rest to the other. Once the solo player manages to pull the lever in their room, they can purposely die and reset. After, the whole party reunites in the final lever room to clear the mobs and pull the lever – leading into the second boss room.
Mini-Boss 2: Riot Squad Captain
Riot Squad Captain is a large sword & shield boss mob that is similar to a boss fought in the MSQ. An attack to be aware of immediately is a large swing downward by the boss that sends three lines of fire in front of itself and to the left and right. After a few standard attacks, a shield bash move and the three-line cone attack, the boss begins a mechanic.
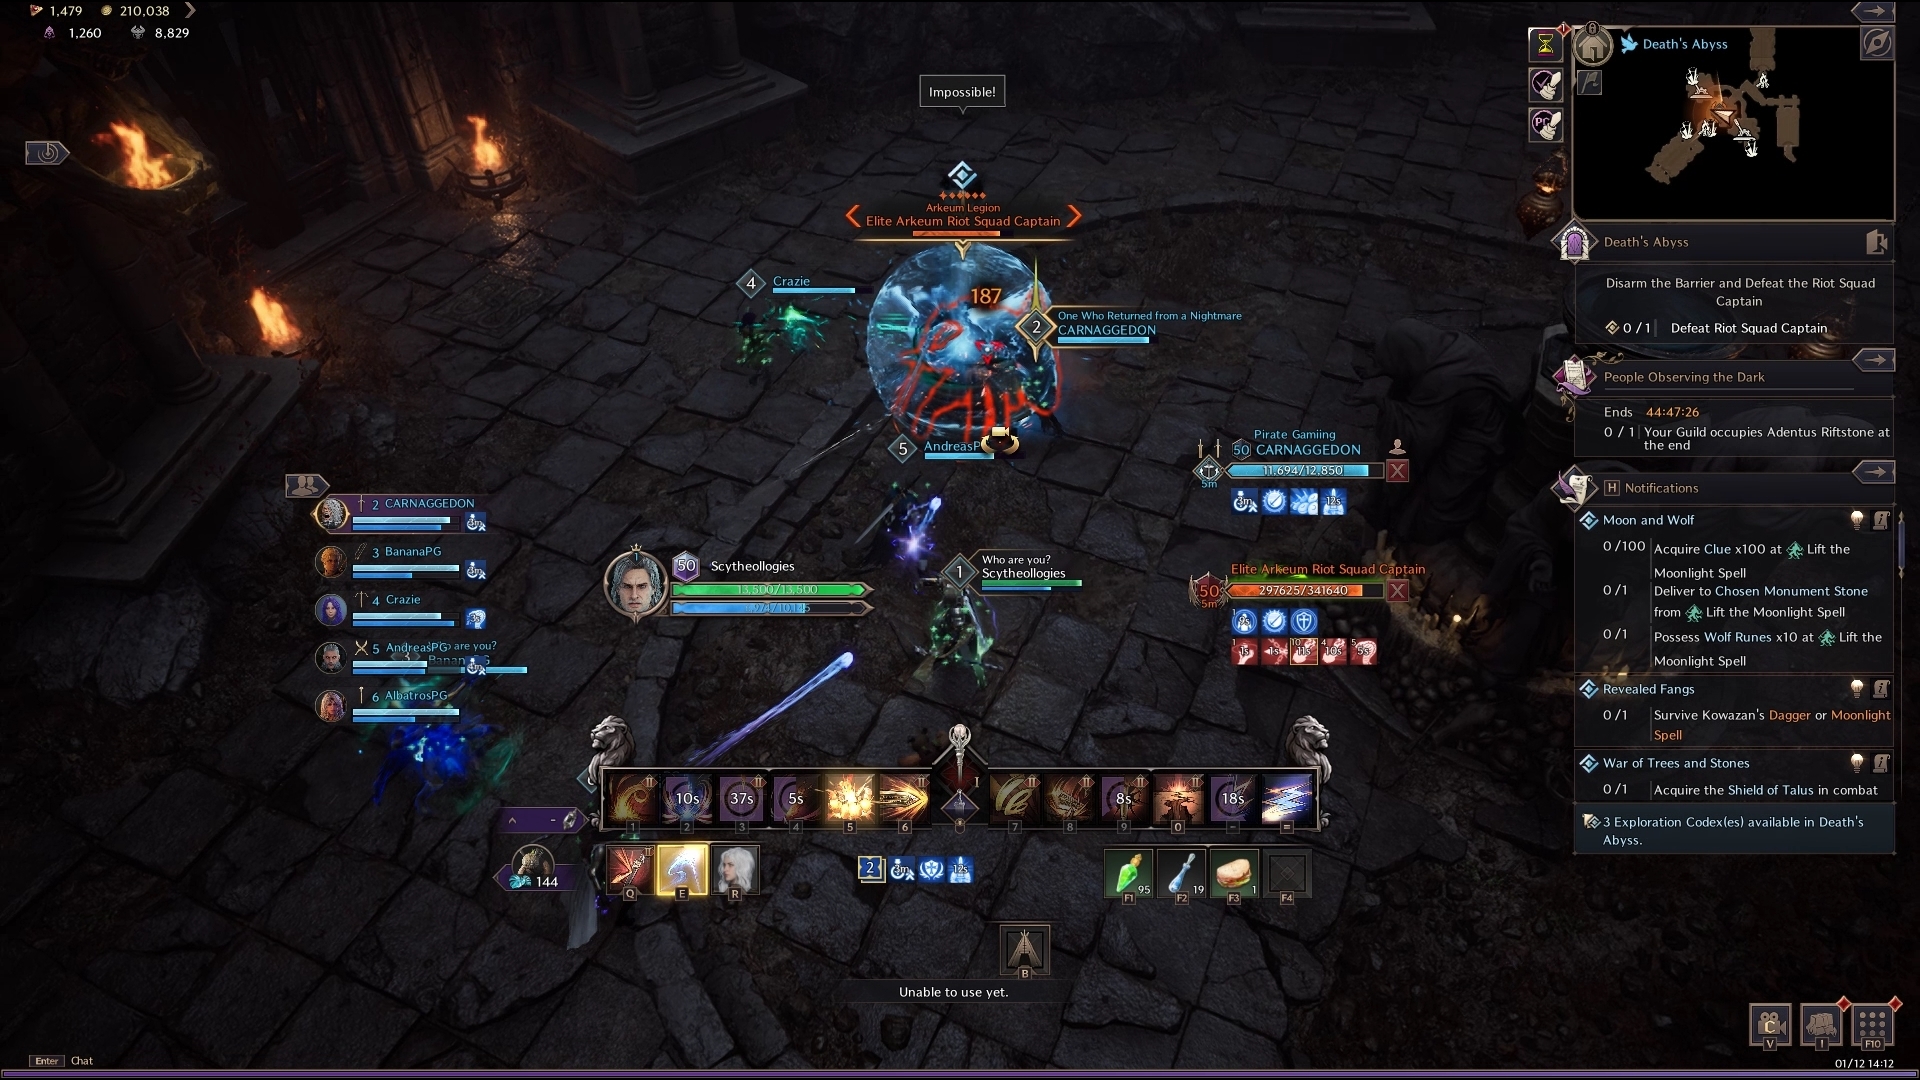
The Riot Squad Captain calls out and a blue shield surrounds him. Once this shield turns red, this is your queue to use a Fury Attack skill to break the shield. As a result of breaking the shield, the boss can be crowd controlled which prevents a full team wipe. The boss repeats these steps until dead! Head to the final campfire that’s just before the final boss of the dungeon.
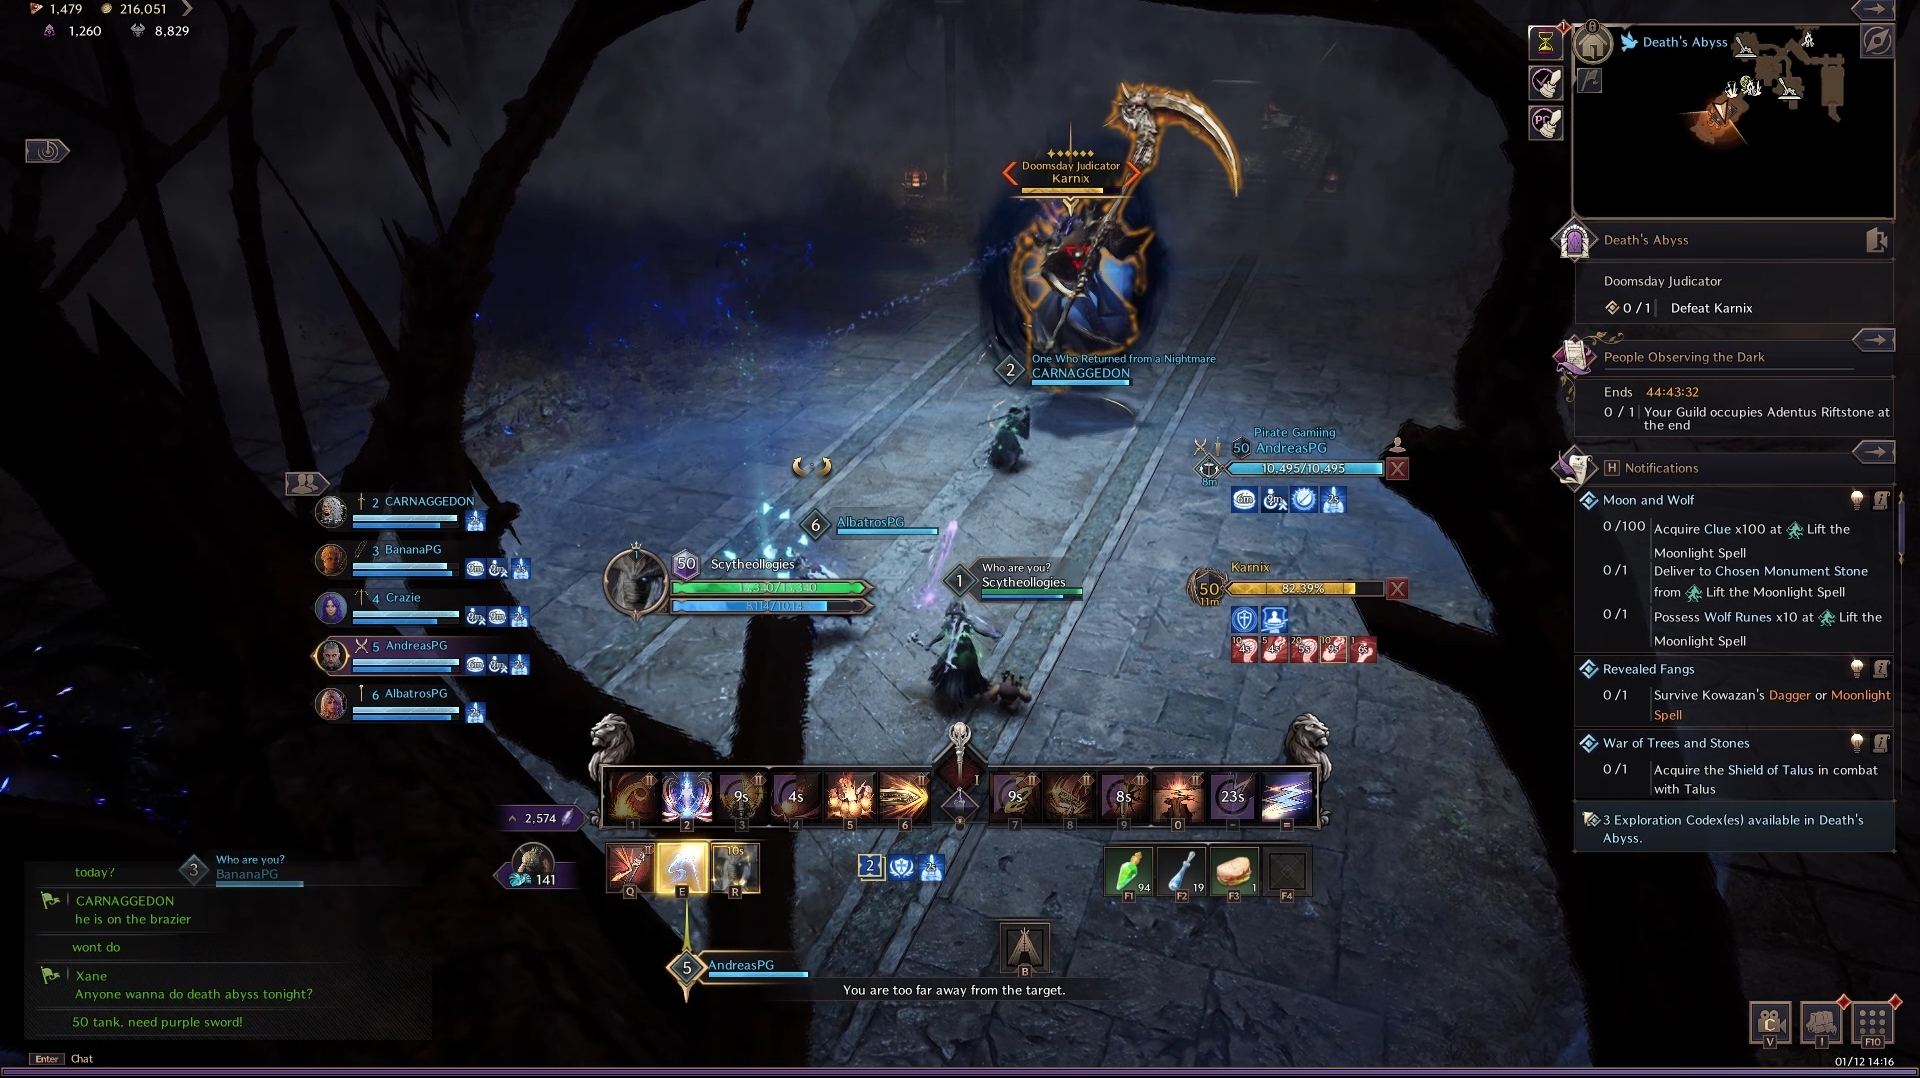
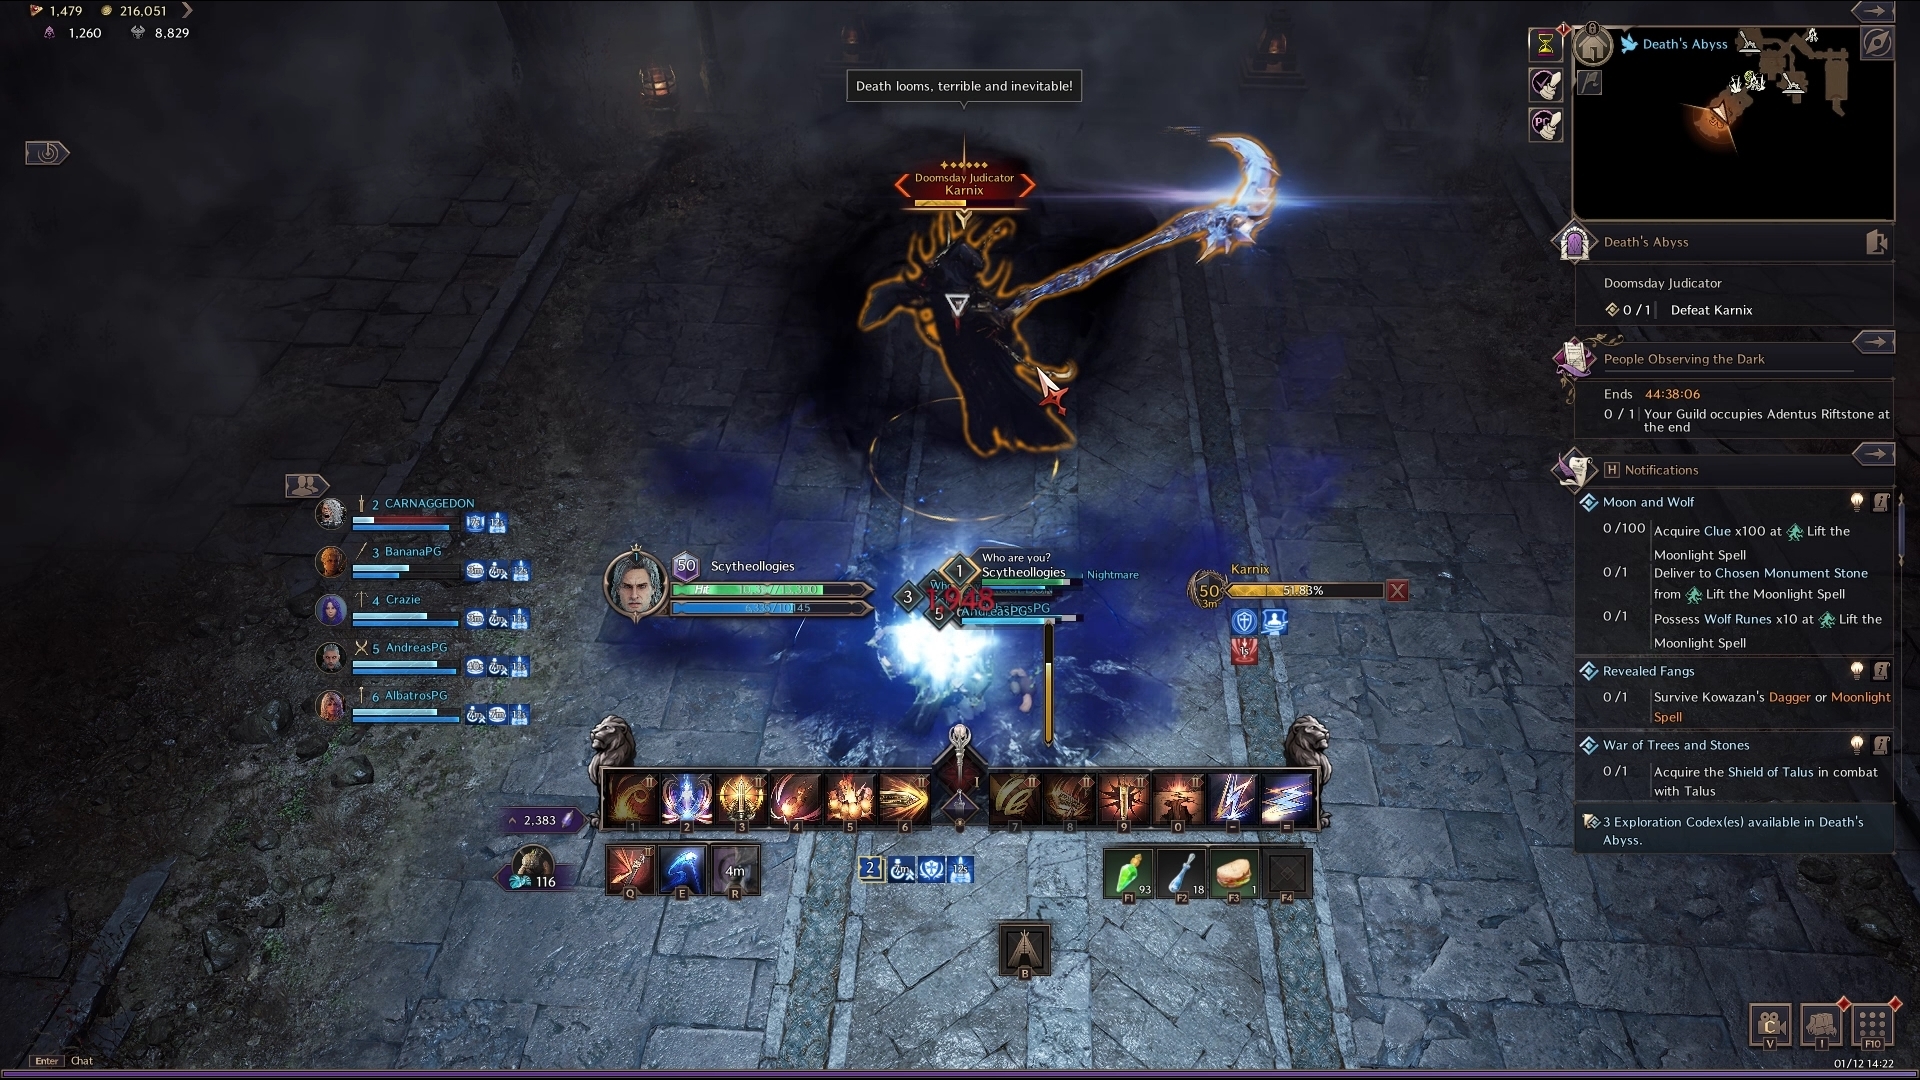
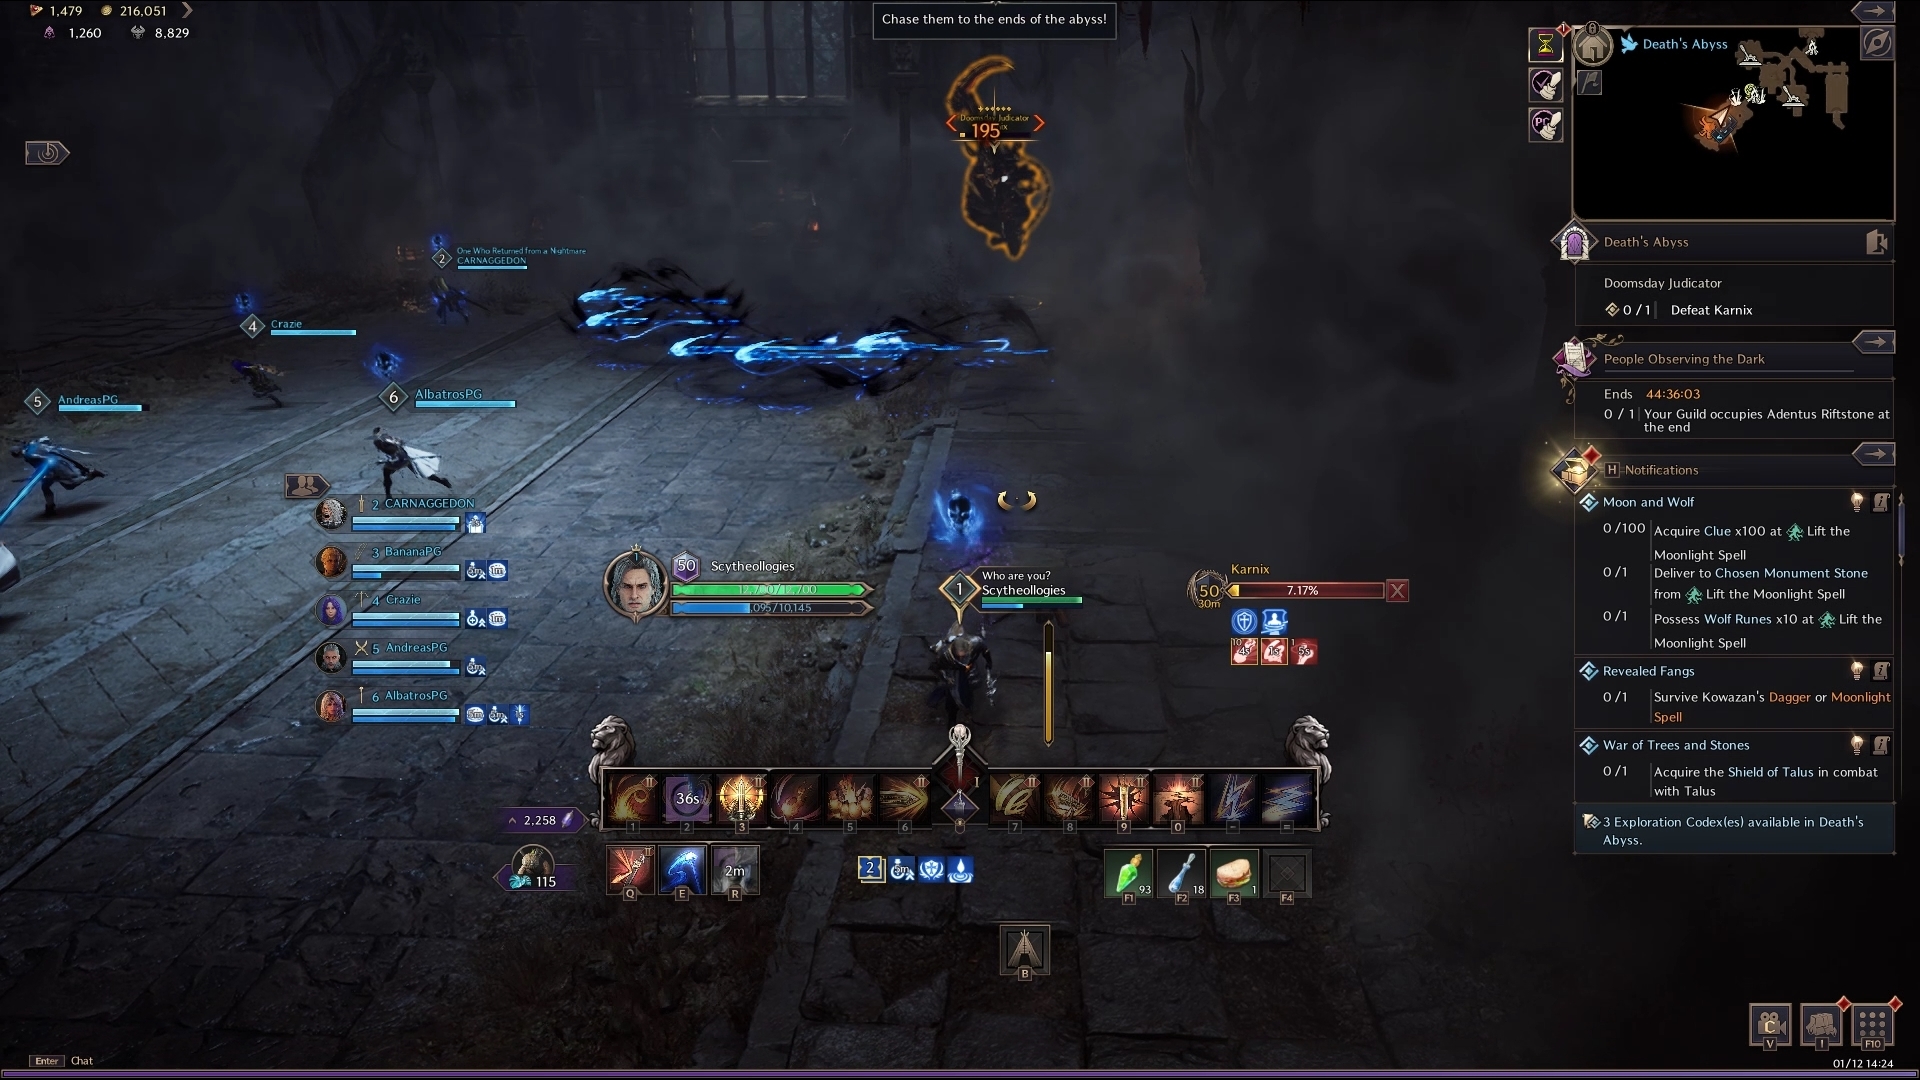
Final Boss: Karnix
Karnix is a huge scythe-wielding reaper plated in gold. The boss has monstrously large attacks and can be very unpredictable during your first attempt. Karnix starts by smashing the ground, sending out a large cone in the direction of the attack. The cone attack knocks up anyone in its path. As a result, it’s important for the tank to aim the boss away from the party.

During each beginning of a phase, a few cone attacks are thrown out, shortly followed by a sequence of two teleports from Karnix. First, Karnix teleports to the furthest player from him. Then, Karnix teleports to the new furthest player, followed by a third teleport and stun attack on the same player – this attack is blockable. To make life easier for the party, nominate one player to be the furthest player from the tank, so Karnix jumps to that player then back to the tank.
Teleport Phase
Each teleport has a cone attack attached to it, so make sure to face it away from the party. After a large blockable AoE attack, Karnix targets three players and launches spinning scythes at them. The goal here is to run the scythes around while dodging other teammates and avoiding cone attacks. Typically, it is easier for the scythe runners to run around the middle, while the others bait Karnix to teleport to them.
Scythe Phase 1
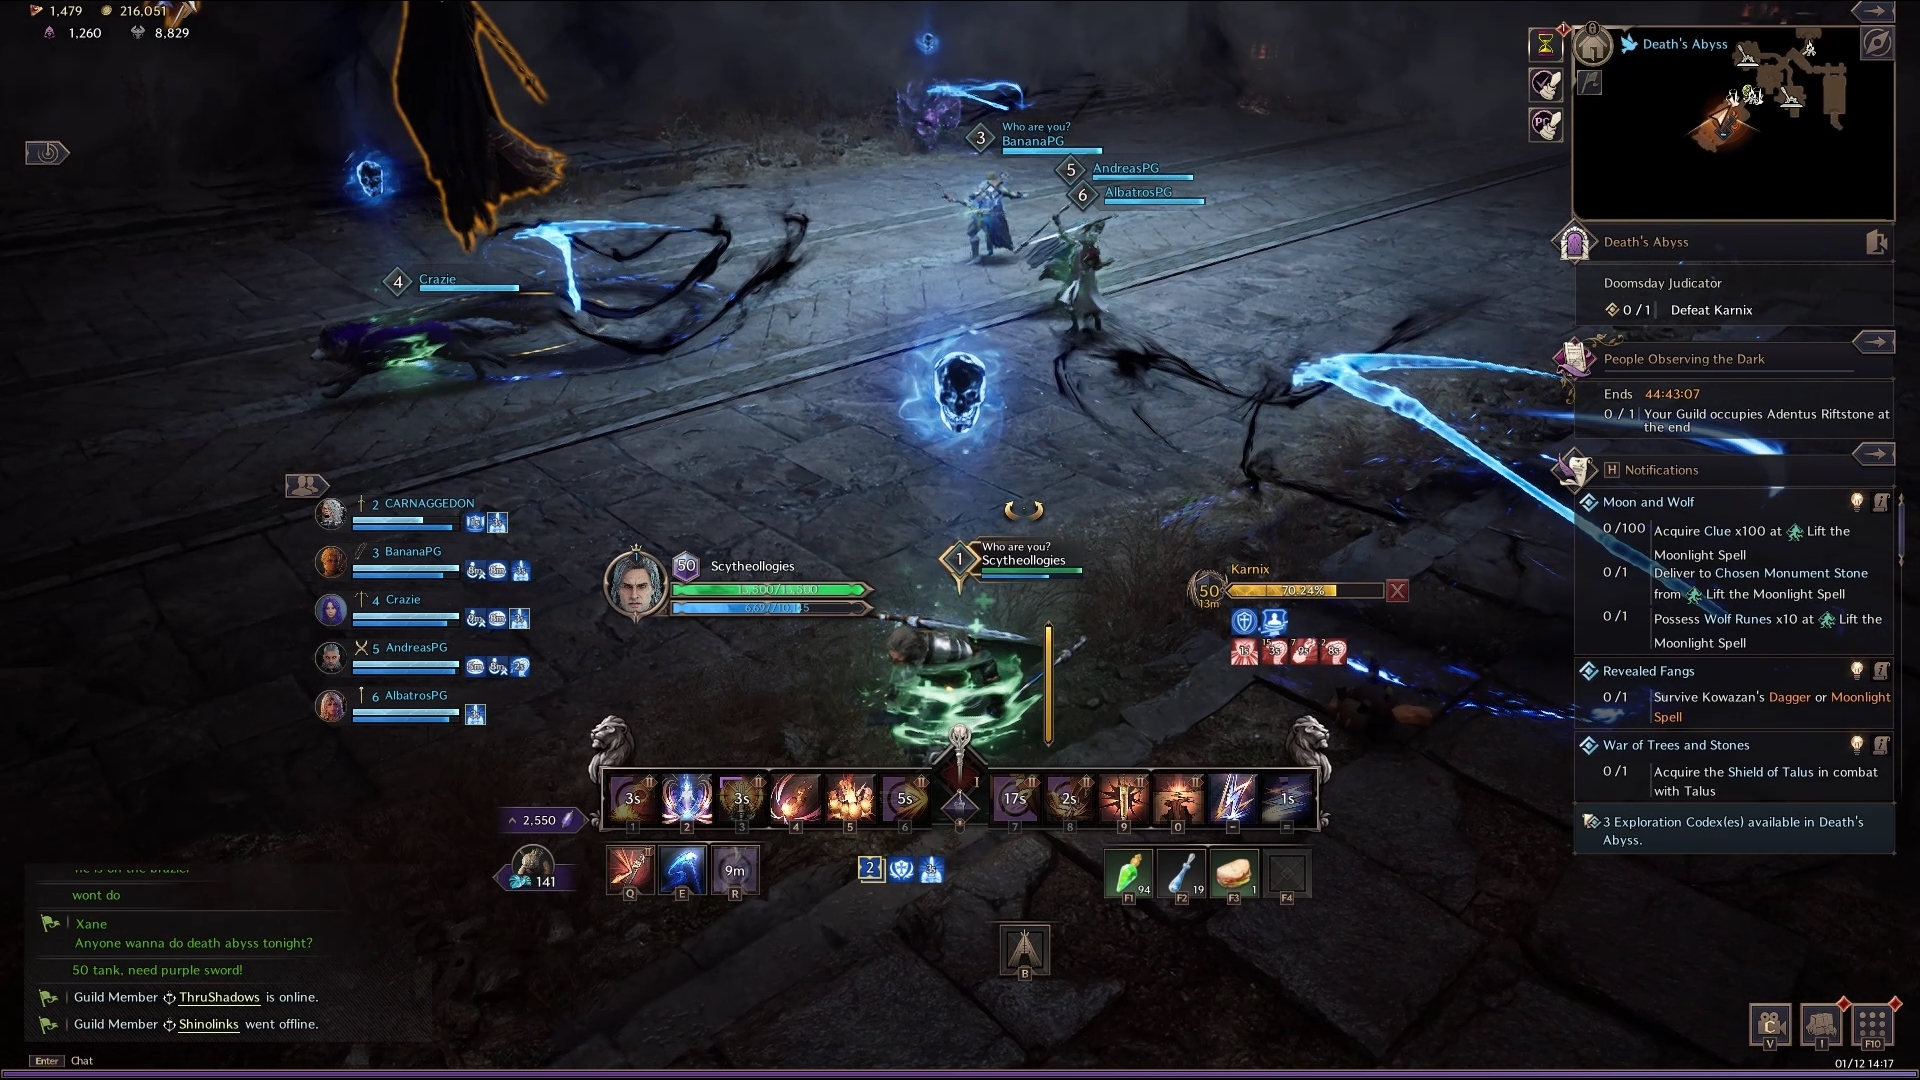
Right after this phase, Karnix targets one player and places a bubble on them. The party must now meet in the middle of the room and stack inside the target with the bubble to soak the mechanic. If everyone is in the bubble, Karnix then teleports towards the bubbled player and swings his scythe, dealing party-wide damage. If all players within the party to not stack inside the bubble beforehand, the party takes increased damage and likely wipes.
Bubble Soak
The phase now resets to the opening of the fight, however, the scythe phase below 30% boss HP changes. Instead, Karnix now targets five players with spinning scythes. This can be a little tricky to manage, although you can find enough space to run the scythe around in. The second bubble soak phase will occur after as usual, resetting the fight phase.
Scythe Phase 2
Finally, the fight resets and you get your short full damage window – finish the boss and you’re done!
Challenge Mode
In Throne and Liberty’s Tier 1 Dungeons, you have access to two modes. The first mode is your “Basic” level of dungeon difficulty. However, an additional mode can be accessed – this is the Challenge mode difficulty.
Challenge mode in Tier 1 Dungeons act as a slight difficulty modifier that tasks you with completing a tougher dungeon, but with slightly better reward. For example, currently in the Challenge Mode dungeons, the only change to the Death’s Abyss dungeon is an increase in mob health and an increase in damage taken. As a result of these minor changes, however, it means you have to be careful of your mechanical failures and the fight durations themselves.
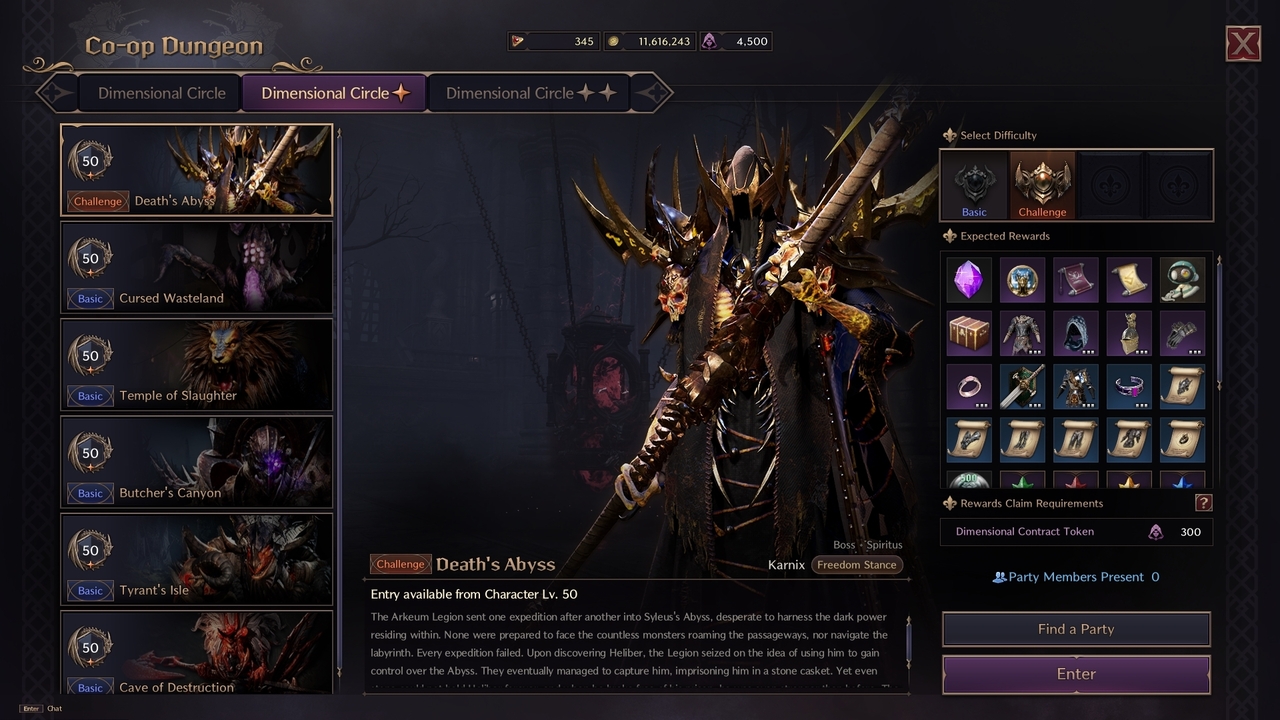
At the end of each Challenge mode Tier 1 Dungeon, on top of the usual reward you’ll have a chance of looting from the chest, you’ll gain a certain amount of “Almighty Parchment”. Almighty Parchment in Throne and Liberty is used to create Omnipotence Skill Books. The Omnipotence Skill Books serve two purposes:
- Used to grow and upgrade your Resistance Skill (for example, the Staff’s Inferno Meteor)
- Usable in any Epic-grade Skill growth
As a result, eventually switching up to Challenge difficulty is 100% worth it to gain the parchment to max out your skills. It is also worth noting you also gain a small amount of progress towards earning a piece of Tier 2 gear over time, too.
Deaths Abyss Dungeon Guide Conclusion
That concludes our Deaths Abyss Dungeon Guide for Throne and Liberty. For more information on Throne and Liberty, check out our official Home page!