
Introduction
PLEASE NOTE: THIS GUIDE IS RELEVANT FOR THE OPEN WORLD AND GUILD RAID VERSIONS OF NIRMA
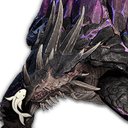
Welcome to our Nirma Guild Boss guide. In Throne and Liberty, multiple Raid Bosses appear throughout the open world and in Guild Raid activities. Each boss is a different level and bring their own unique mechanics. The final boss in the Guild Raid list and potentially the most dangerous – is none other than Nirma. Nirma in the open world is found deep within Syleus Abyss, the open world Dungeon. However, once your Guild hits level 17, you can take on Nirma with your Guild via the Guild Hall.
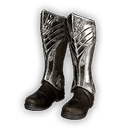
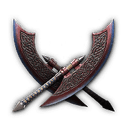
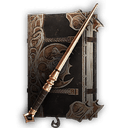
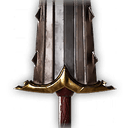
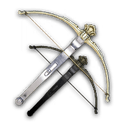
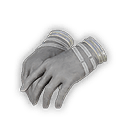
Nirma Drops


Nirma Boss Fight [Normal Difficulty]
Phase 1
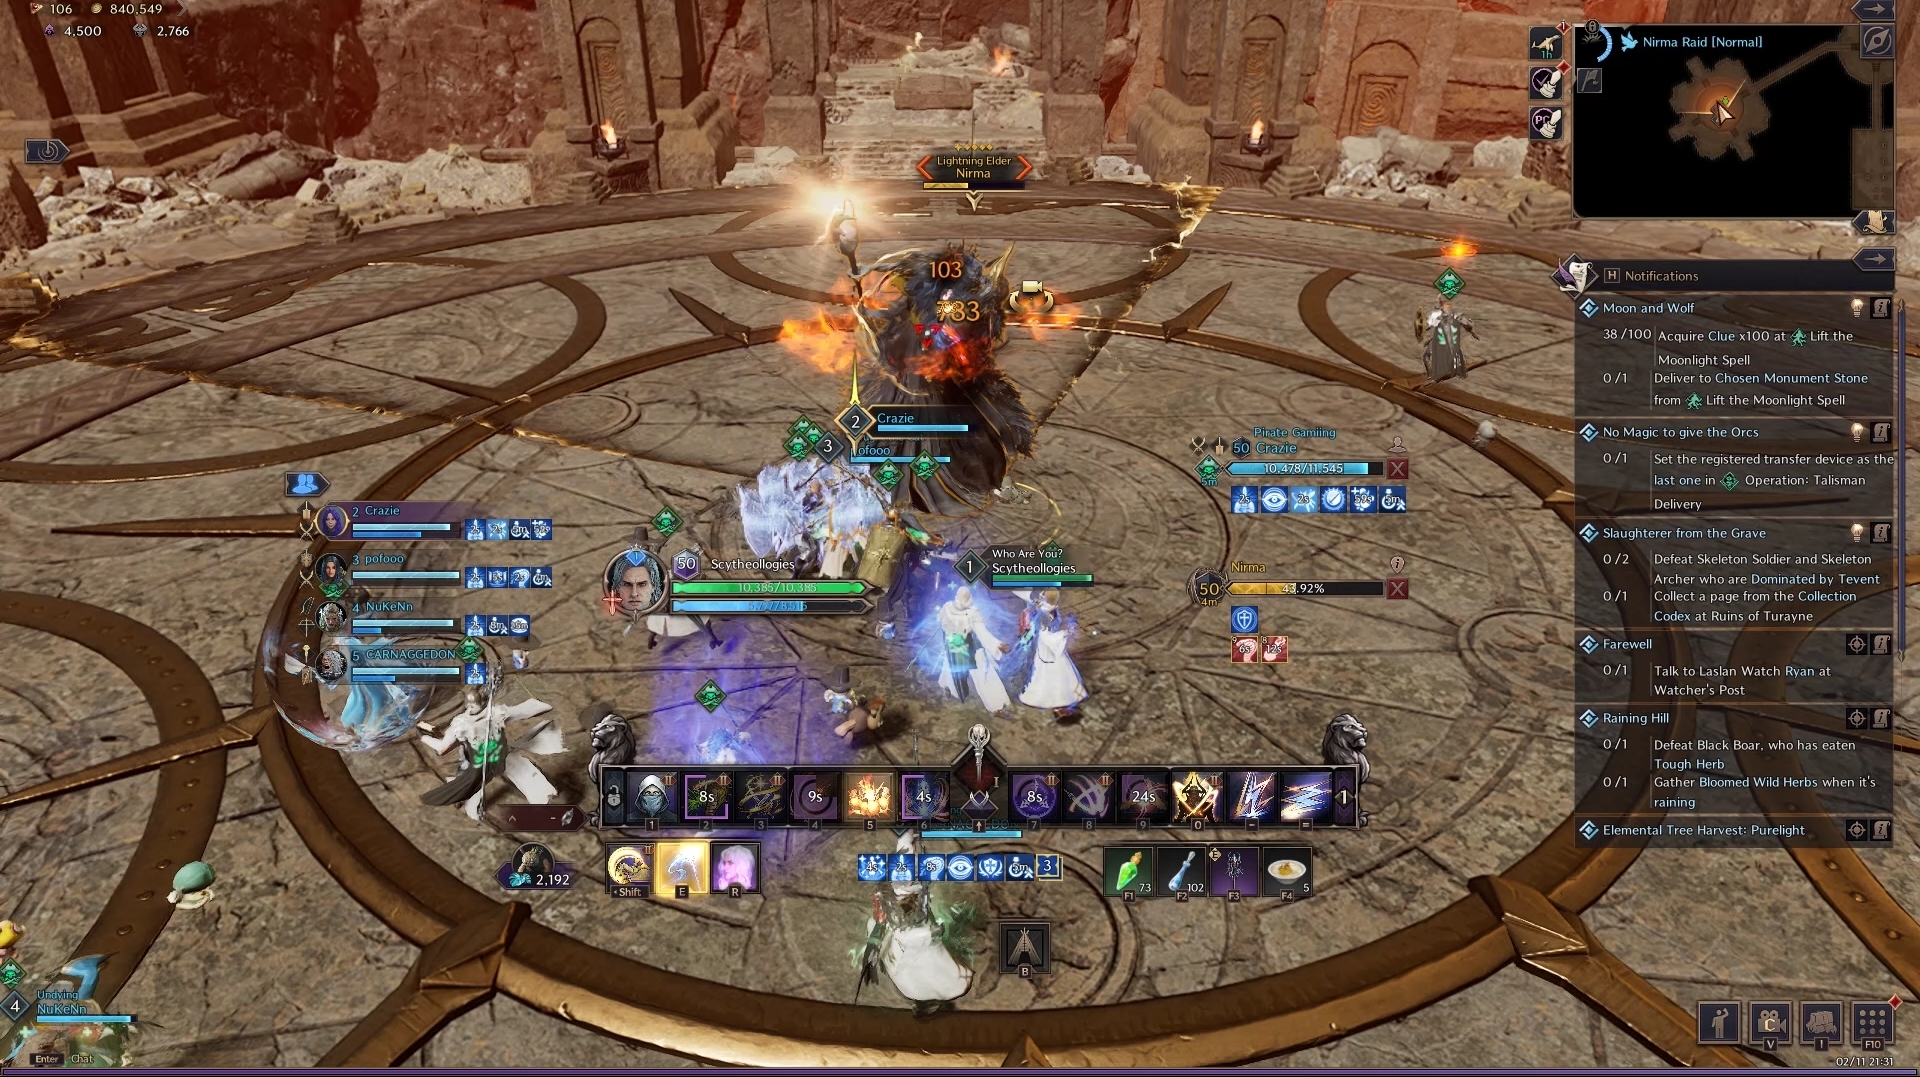
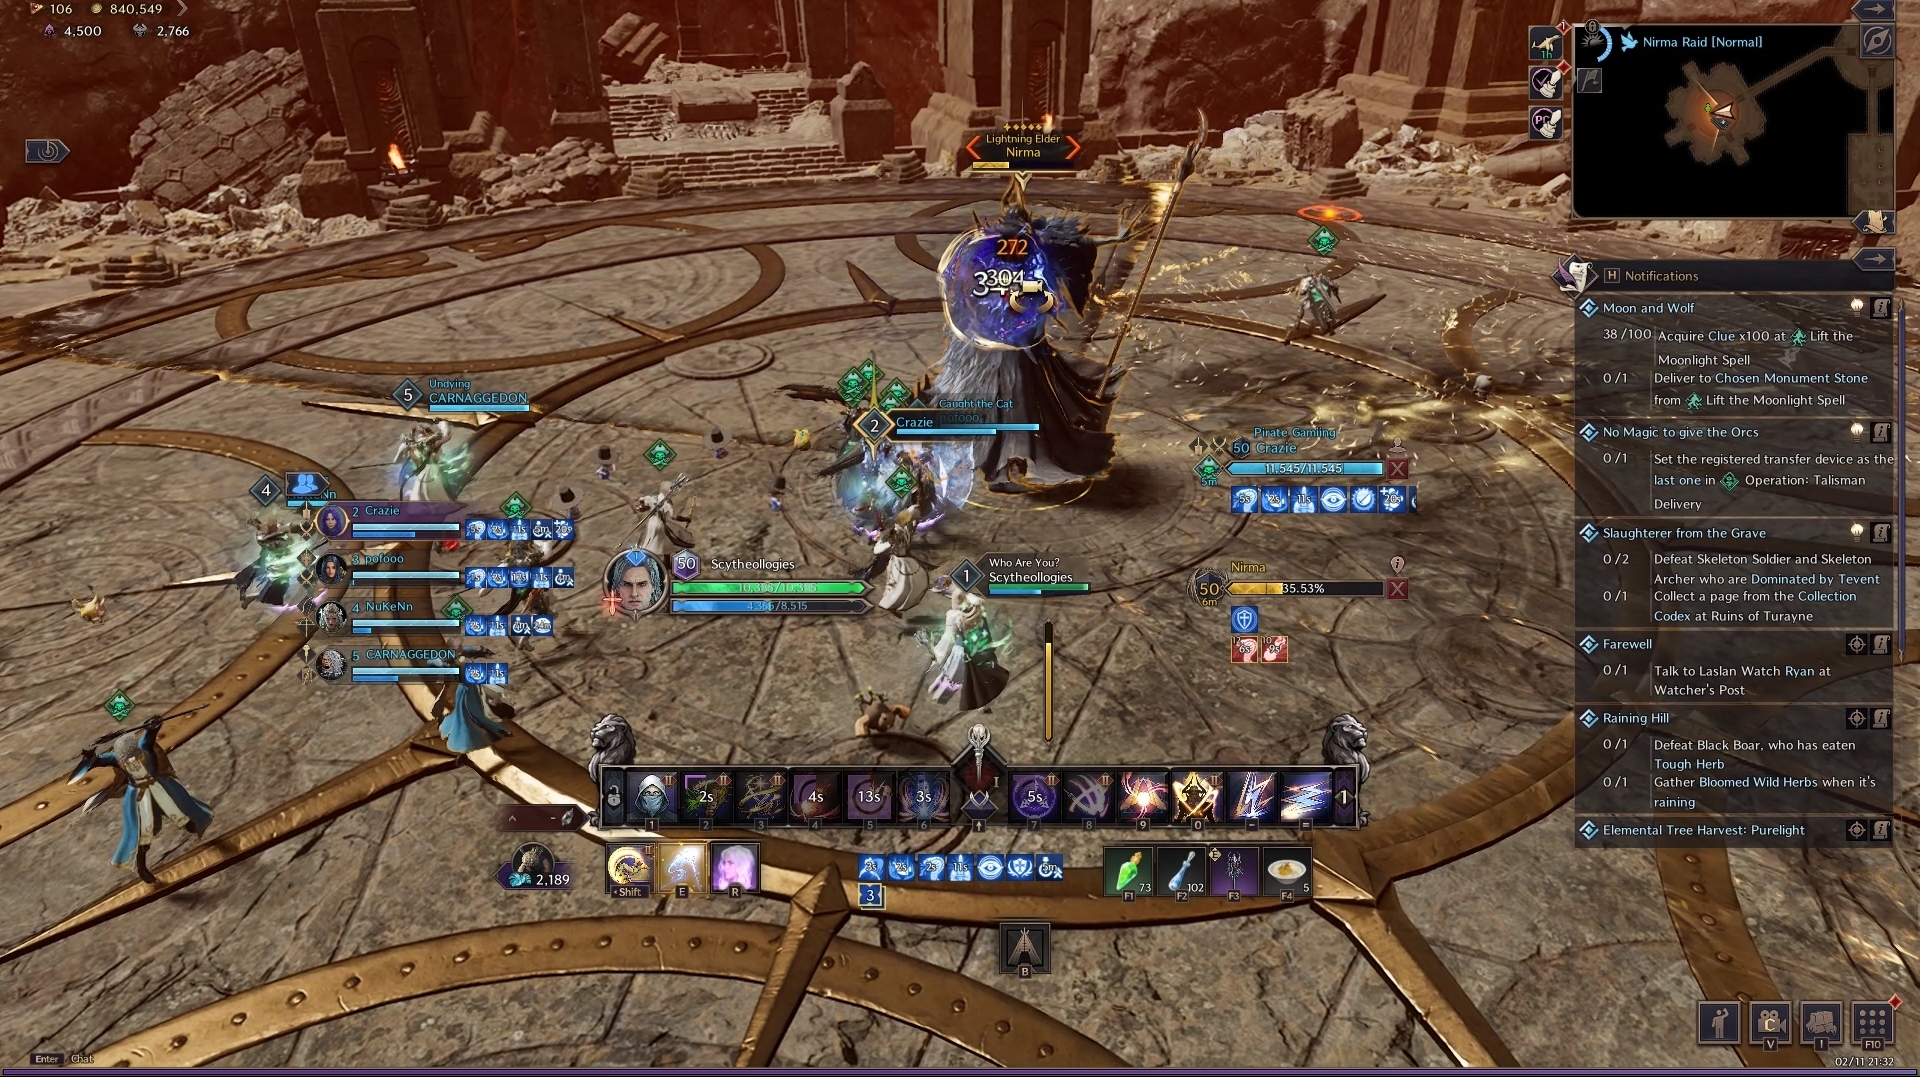
During Phase 1 and the start of the fight, Nirma selects the furthest visible target within the arena as their focus. As long as this player lives, the target does not change throughout the fight – this is important so keep that in mind. You can identify who is targeted by checking for a large glowing ring above the players head.

Nirma continues to throw ranged attacks at the target. Which allows every other player in the raid to stand behind the boss and DPS it. Another key part of Nirma’s mechanics to keep an eye on is the giant “pizza slice” lightning section covering a portion of the arena. This section is also connected to Nirma’s target location. As a result, if the targeted player moves too much, it’ll also move the lightning zone.
Phase 2
Nirma lifts their staff and calls out at the players. This indicates the next phase of the fight. Nirma begins casting a large lightning cone spell, dealing huge lingering damage. These cones get unleashed at Nirma’s main target, as a result, the target can move opposite to where the rest of the guild is. Remember that the target strafing out of the cone damage moves the lightning zone too. Next, have your guild members slowly head towards where the targeted player originally was. The main thing to watch out for is the lingering zone the cone attacks leave. Eventually, they disappear, allowing the guild members to move across some more while the target pushes further away. Repeat this until the phase reverts back to phase 1, resetting the guilds position to be behind the boss – the target in front.
One other major attack to watch out for, is an attack that fills the entire arena with visible lightning. As soon as Nirma is about to unleash the attack, the whole raid has to jump to avoid the attack. If you’re hit by this attack, you can easily lose around 40-50% of your HP.
Nirma Guild Boss Guide Conclusion
That concludes our Throne and Liberty Nirma Guild Boss guide. For more information on Throne and Liberty, check out our official Home page!