
Introduction
Welcome to our Cursed Wasteland dungeon guide. In this guide, we’ll take you through everything you need to know to complete the Cursed Wasteland Dimension dungeon. The dungeon is without a doubt one of the trickier to complete, we’re here to help with that!
Drops


Other Drops (Materials)
- Precious Rubrix, Stalon, Emeret, Marind, Ore
- Precious Polished Crystal
- Rare Polished Stone
- Reaper’s Soul and Mana Blood
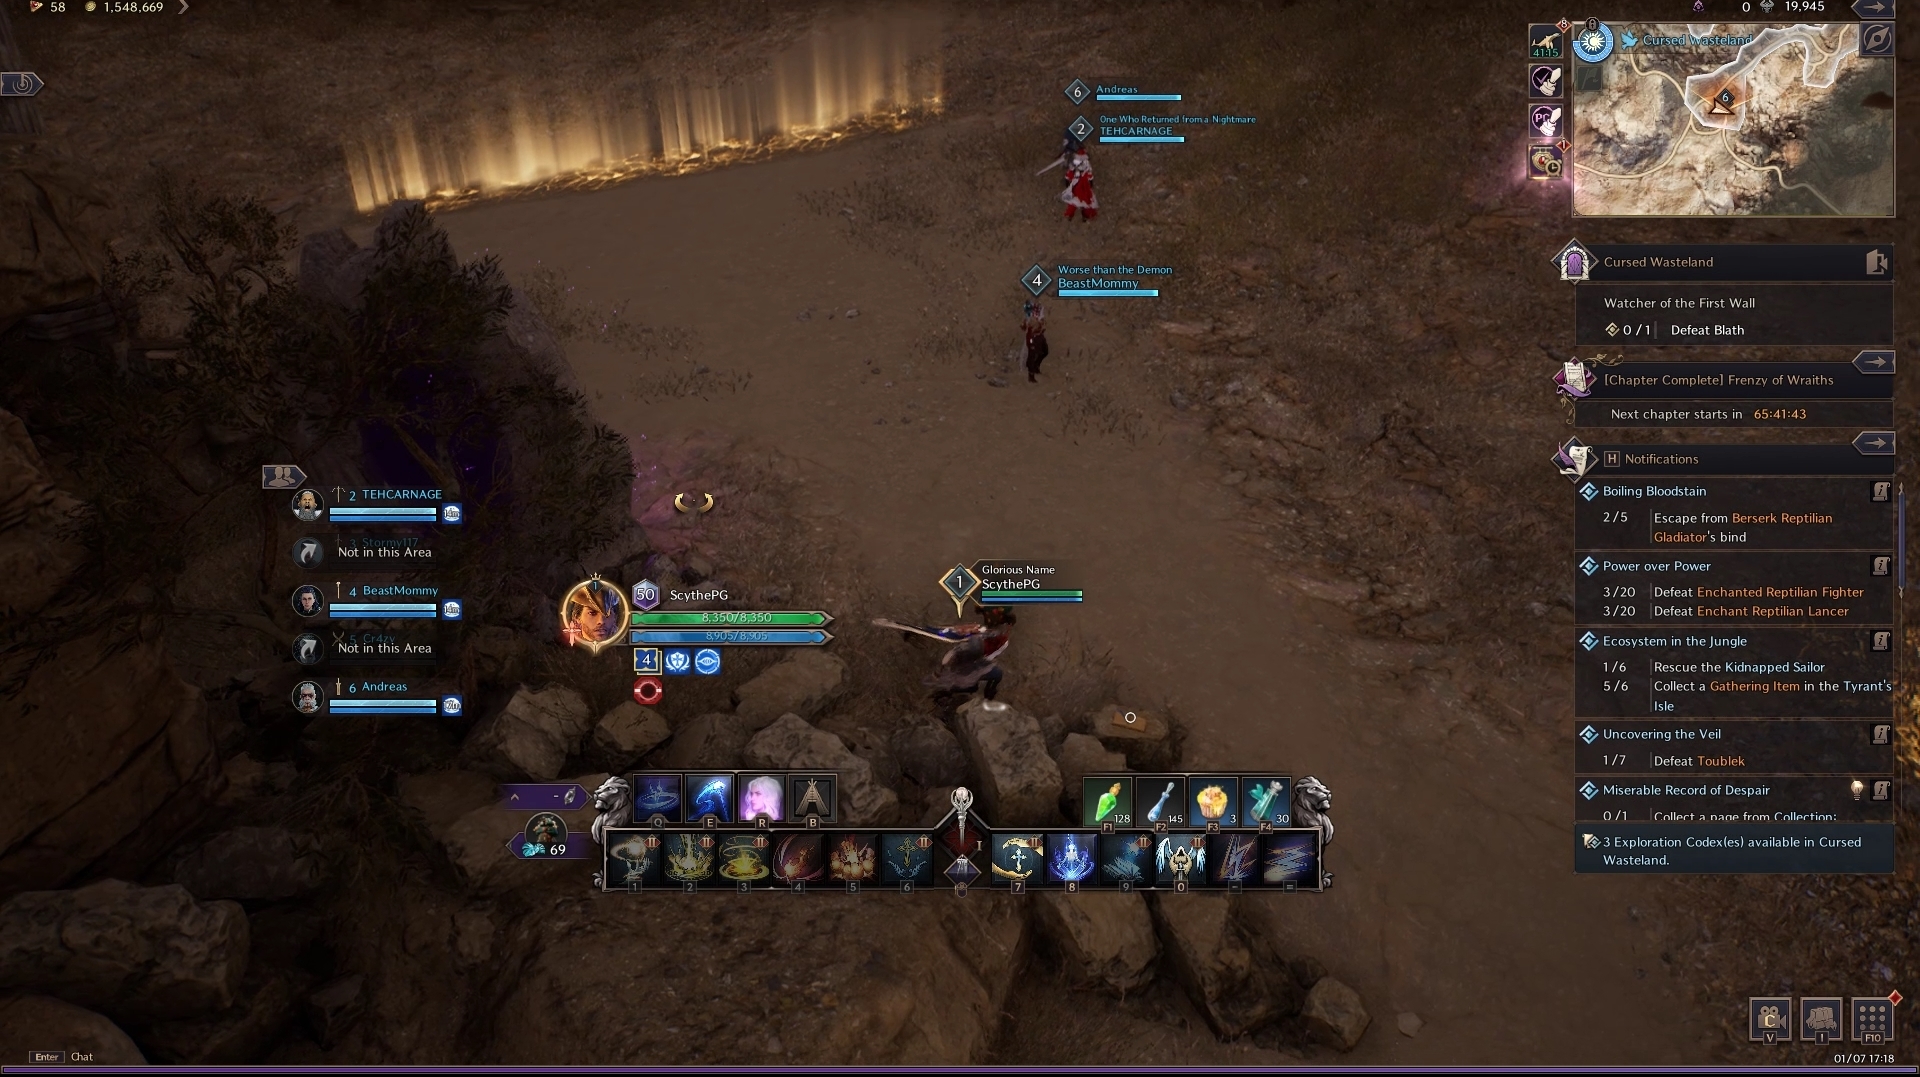
First Section
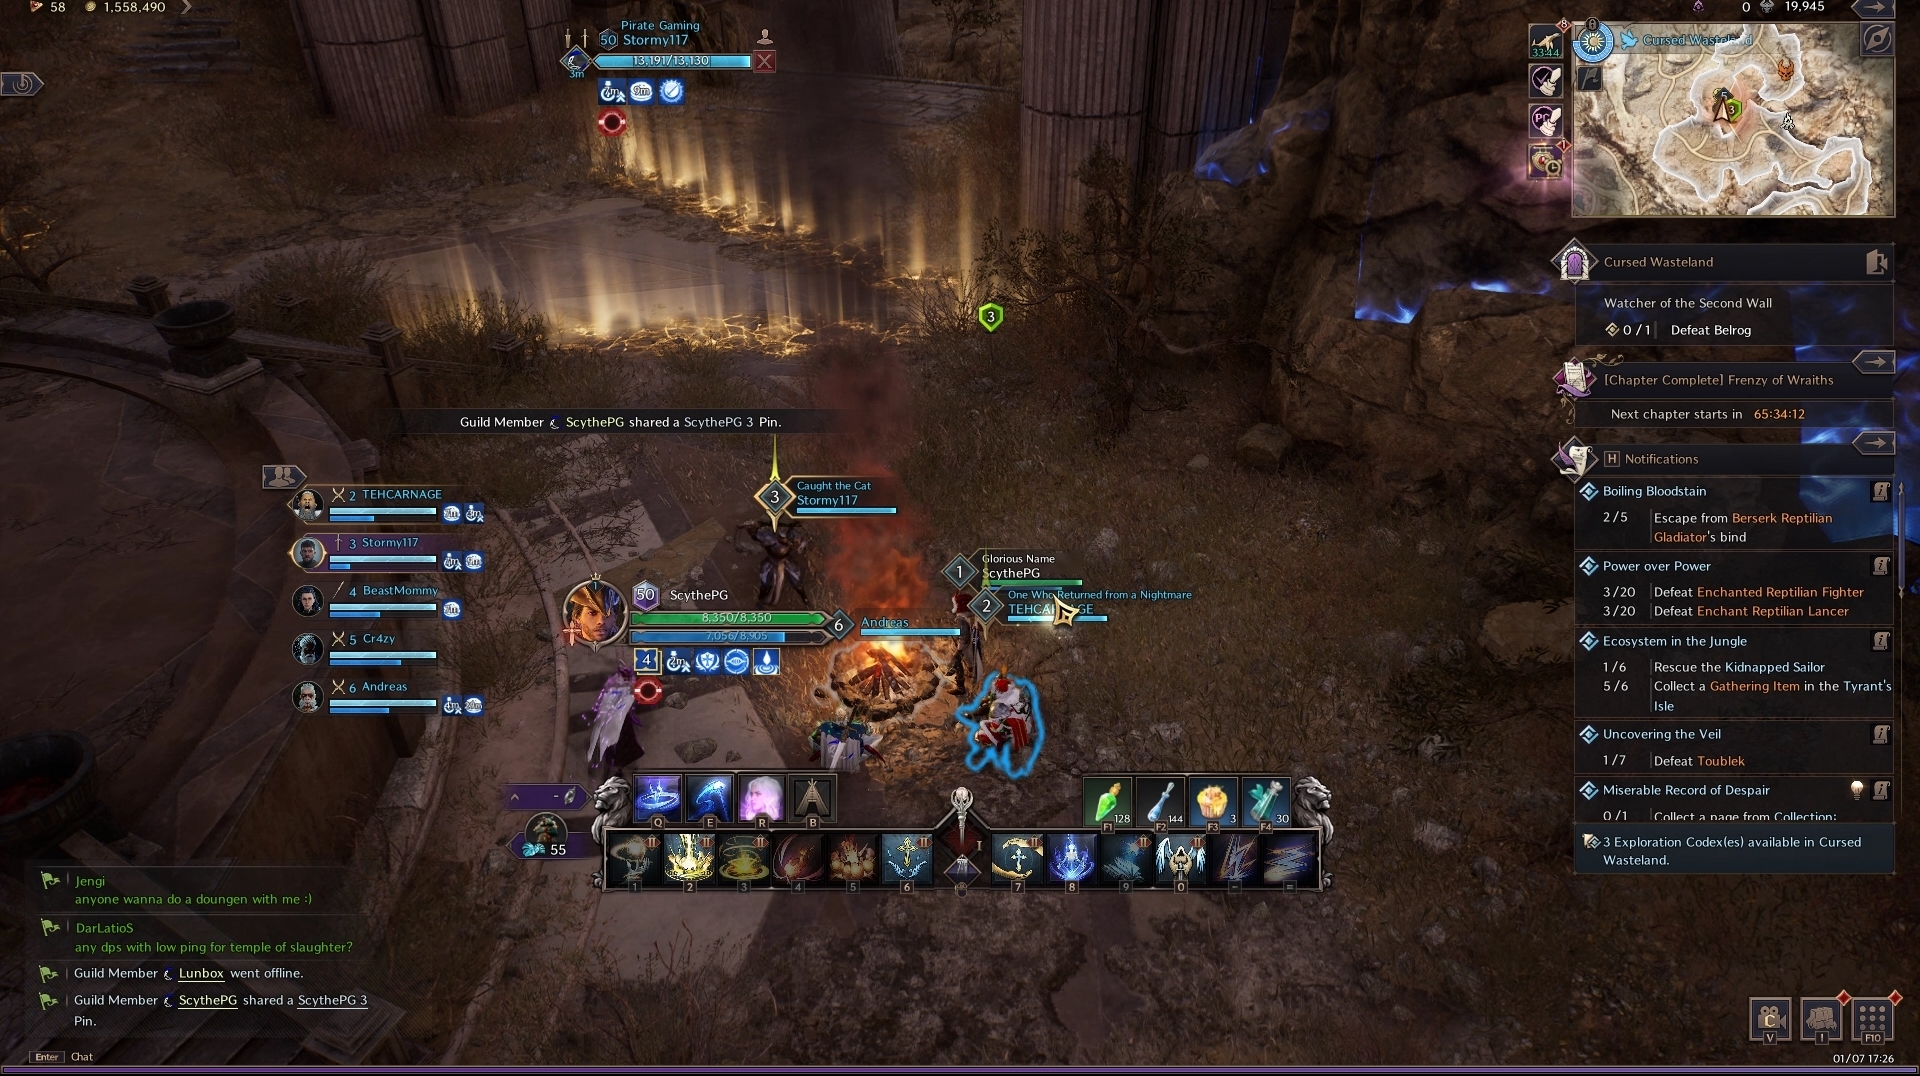
Within the first section of the dungeon, you’ll immediately notice the large glowing breaches over the ground. These breaches inflict large damage and stun you should you walk into them. As a result, it is important to be careful of the environment throughout the dungeon. A good place to start in Cursed Wasteland if it’s your first time, is to look behind you as you port in – there’s a collectable book there that completes a quest granting some Epic rarity books!
As you progress up past the breaches on the ground, you’ll encounter several monsters. As usual in a dungeon, take them out quickly while keeping a close eye out for any elemental versions of the monsters. The elemental versions of the monsters are the highest priority to take down or crowd control – they deal a TON of damage. Follow the path along clearing mobs until you reach the first bonfire of the dungeon.
Second Section & Mini-Boss
After resting at the bonfire, head up and following the next section along while clearing mobs. The first mini-boss arena is just up ahead, however, it has two elemental monsters guarding the entrance. We recommend taking down one as a focus while keeping the second crowd controlled.
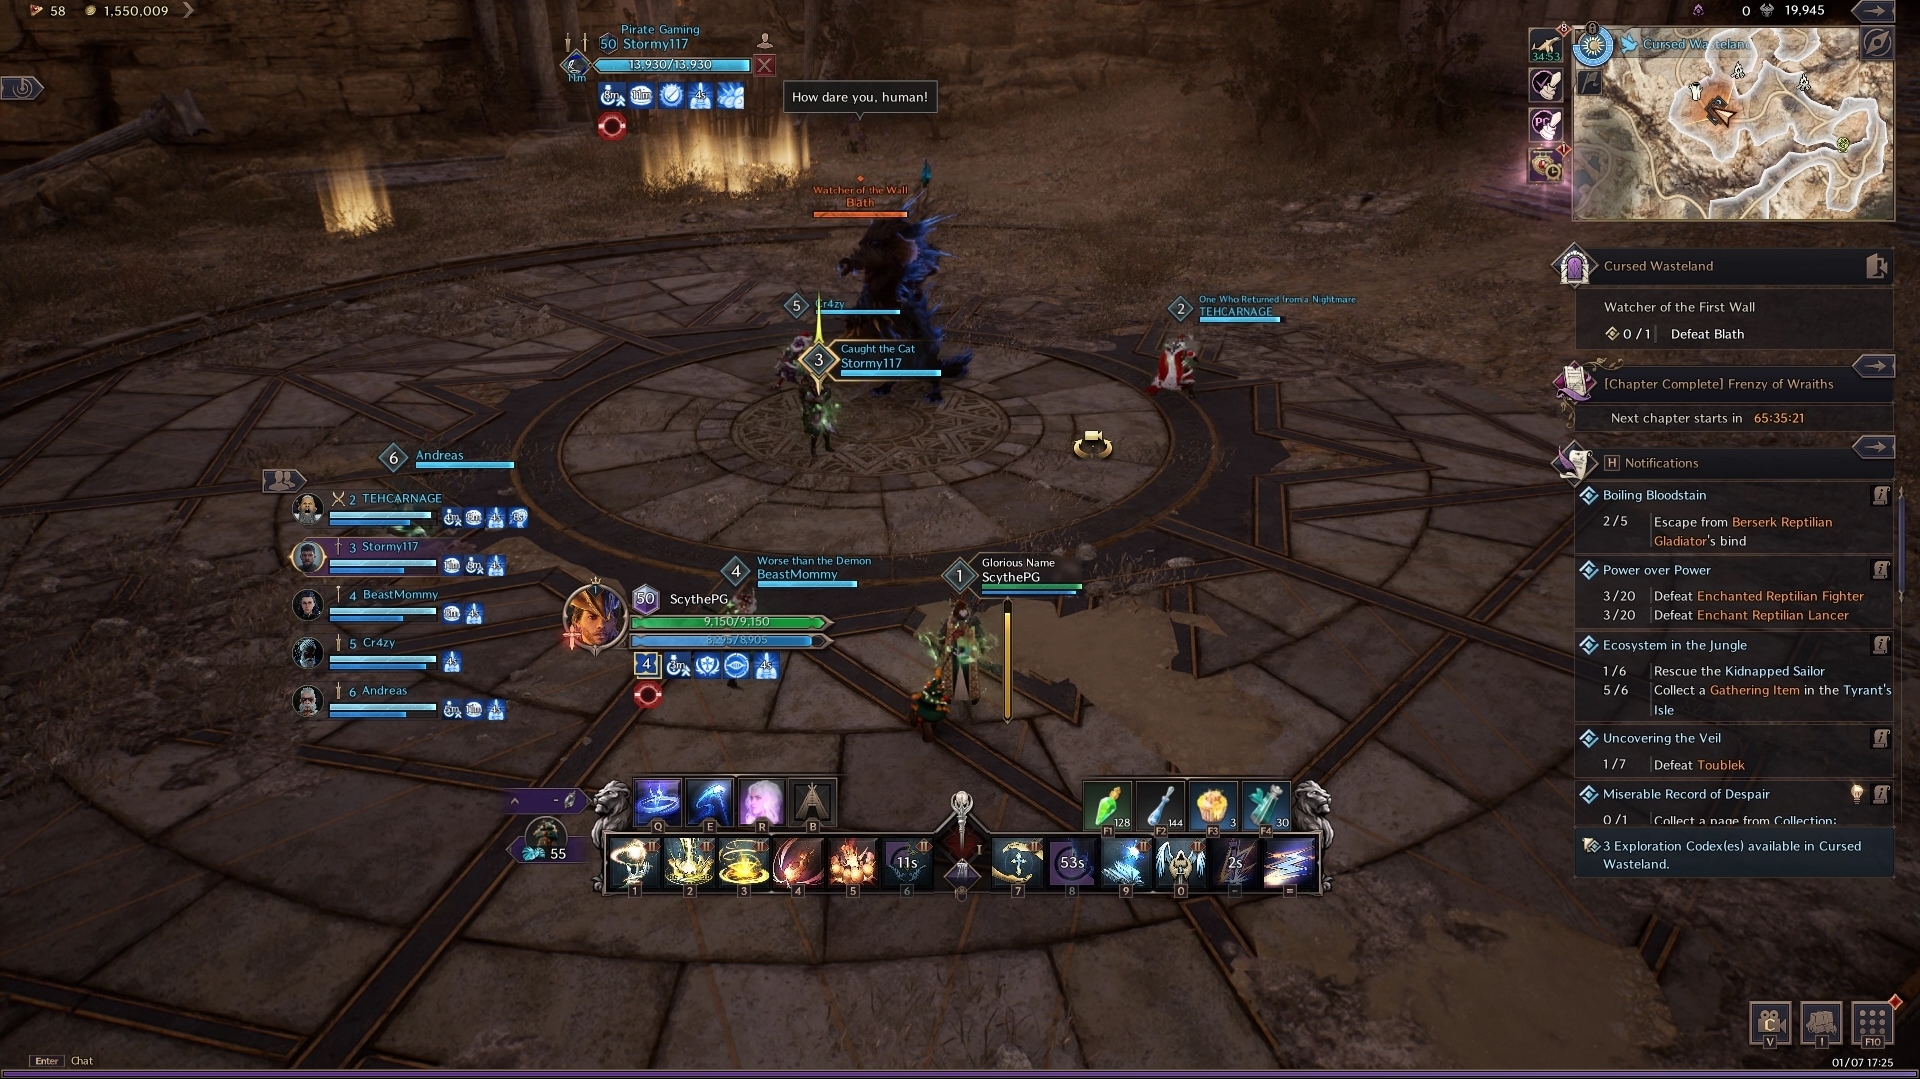
Mini-Boss: Blath
Head into the arena and when you’re ready, interact with the purple orb in the centre to start the encounter. Blath spawns and immediately begins hitting fairly hard with auto-attacks. The main moment to watch out for with this boss is if it pulls you and your party in. Once you’re pulled in, the boss will spawn multiple maze-like breaches surrounding you. Make sure to wait a moment before moving otherwise you’ll get caught by a spawning wall, head out of the area as soon as you can to avoid a creeping wipe mechanic in the arena.
That is pretty much the only mechanic you have to deal with in this fight, repeat the beginning until the boss is down!
Third Section & Mini-Boss 2
Up ahead is the second bonfire of the dungeon, as a result, heal up and prepare for the next section. Right next to the bonfire, you’ll find the second codex book for the Exploration Questline in Cursed Wasteland. It’s wedged between two breaches though – so be careful! The book is on the green “3” pin below.
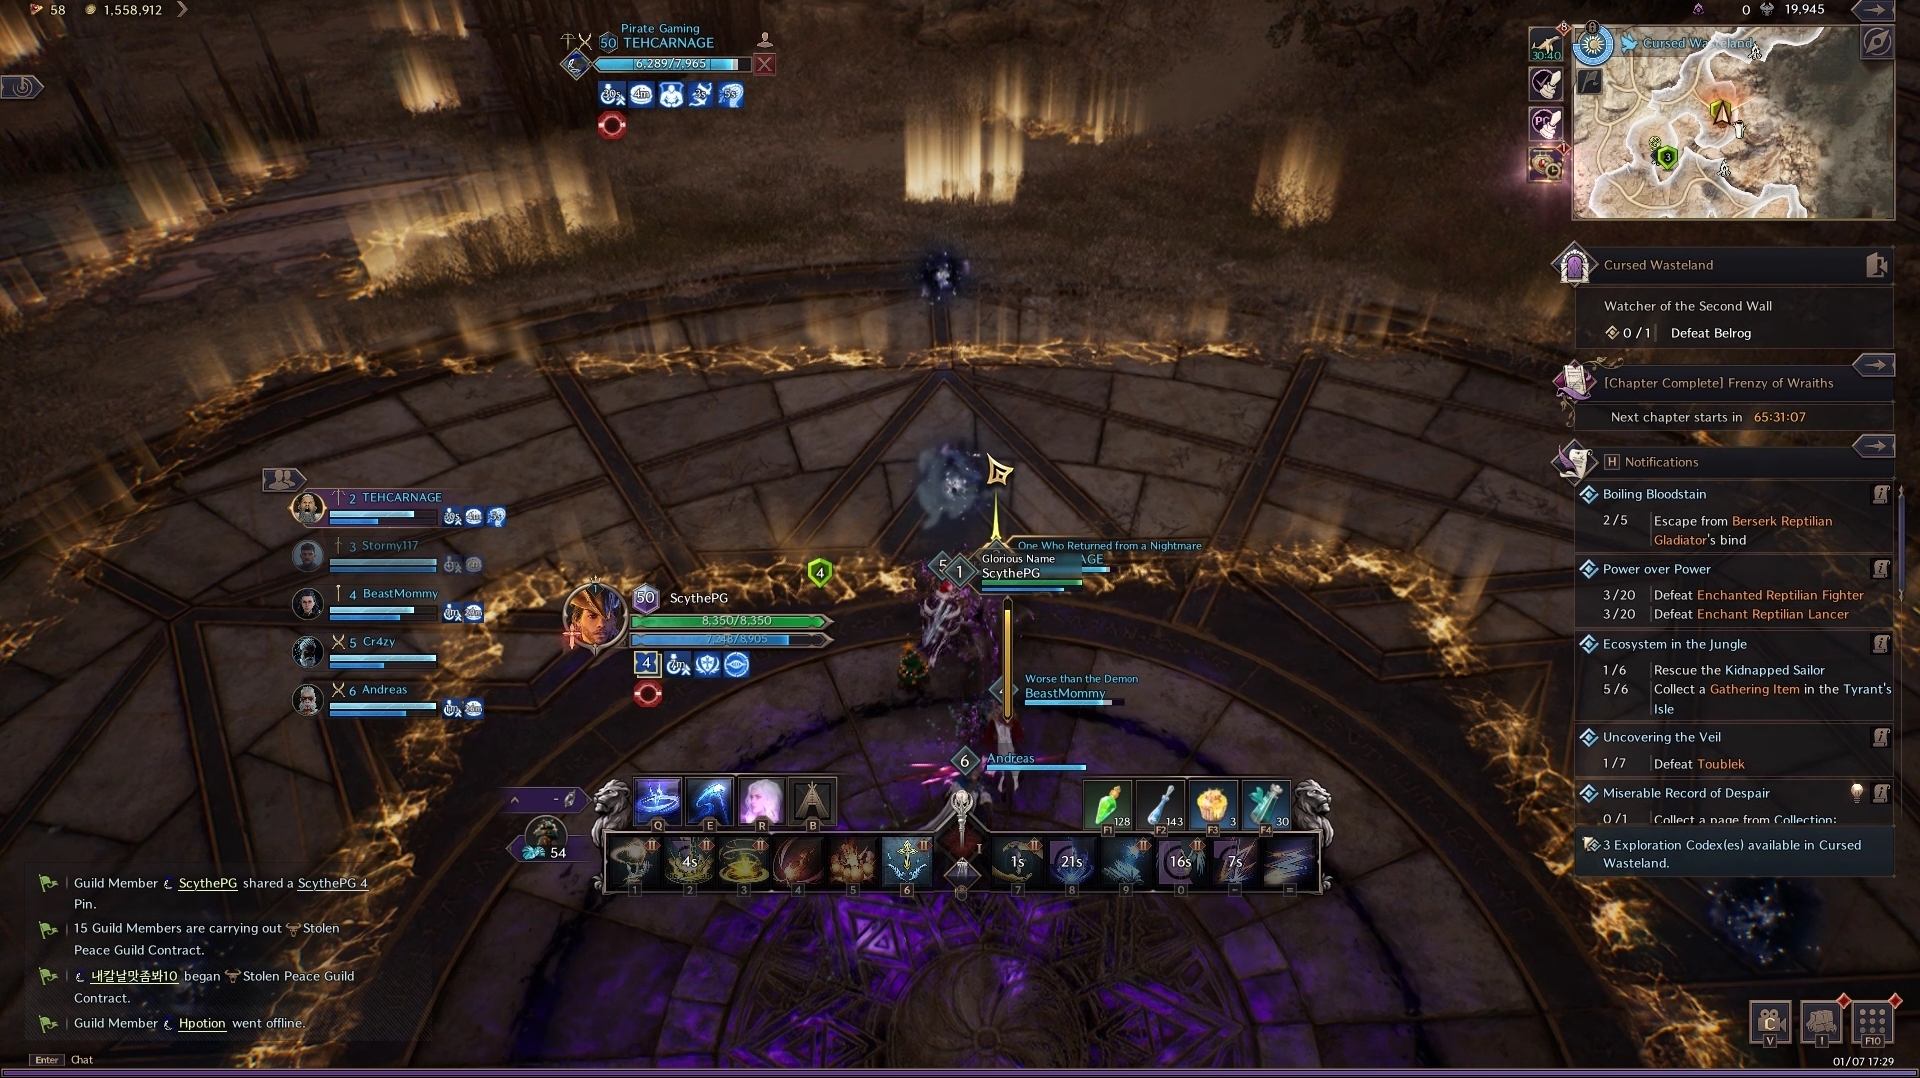
Mini-Boss 2: Belrog
If you’re done finding the book and healing up, it’s time to move on and kill the two elemental mobs just before the boss room. The tactic for those is similar to earlier, just crowd control one and focus the other. Head into the arena and interact with the purple orb to start the second mini-boss fight.
Belrog is pretty similar to Blath in that there is only one mechanic and not much else going on. However, Belrog’s mechanic works very differently. Belrog pulls you into the centre of the arena and creates a square wall of breaches around you and your party. Your task is to pick one wall to run towards with your team and de-activate the wall by interacting with it. If you do this fast enough, your team will get out unharmed. The square has three layers to it. Repeat this as much as needed until the boss is down! Next, head up to the final bonfire and the final boss room!
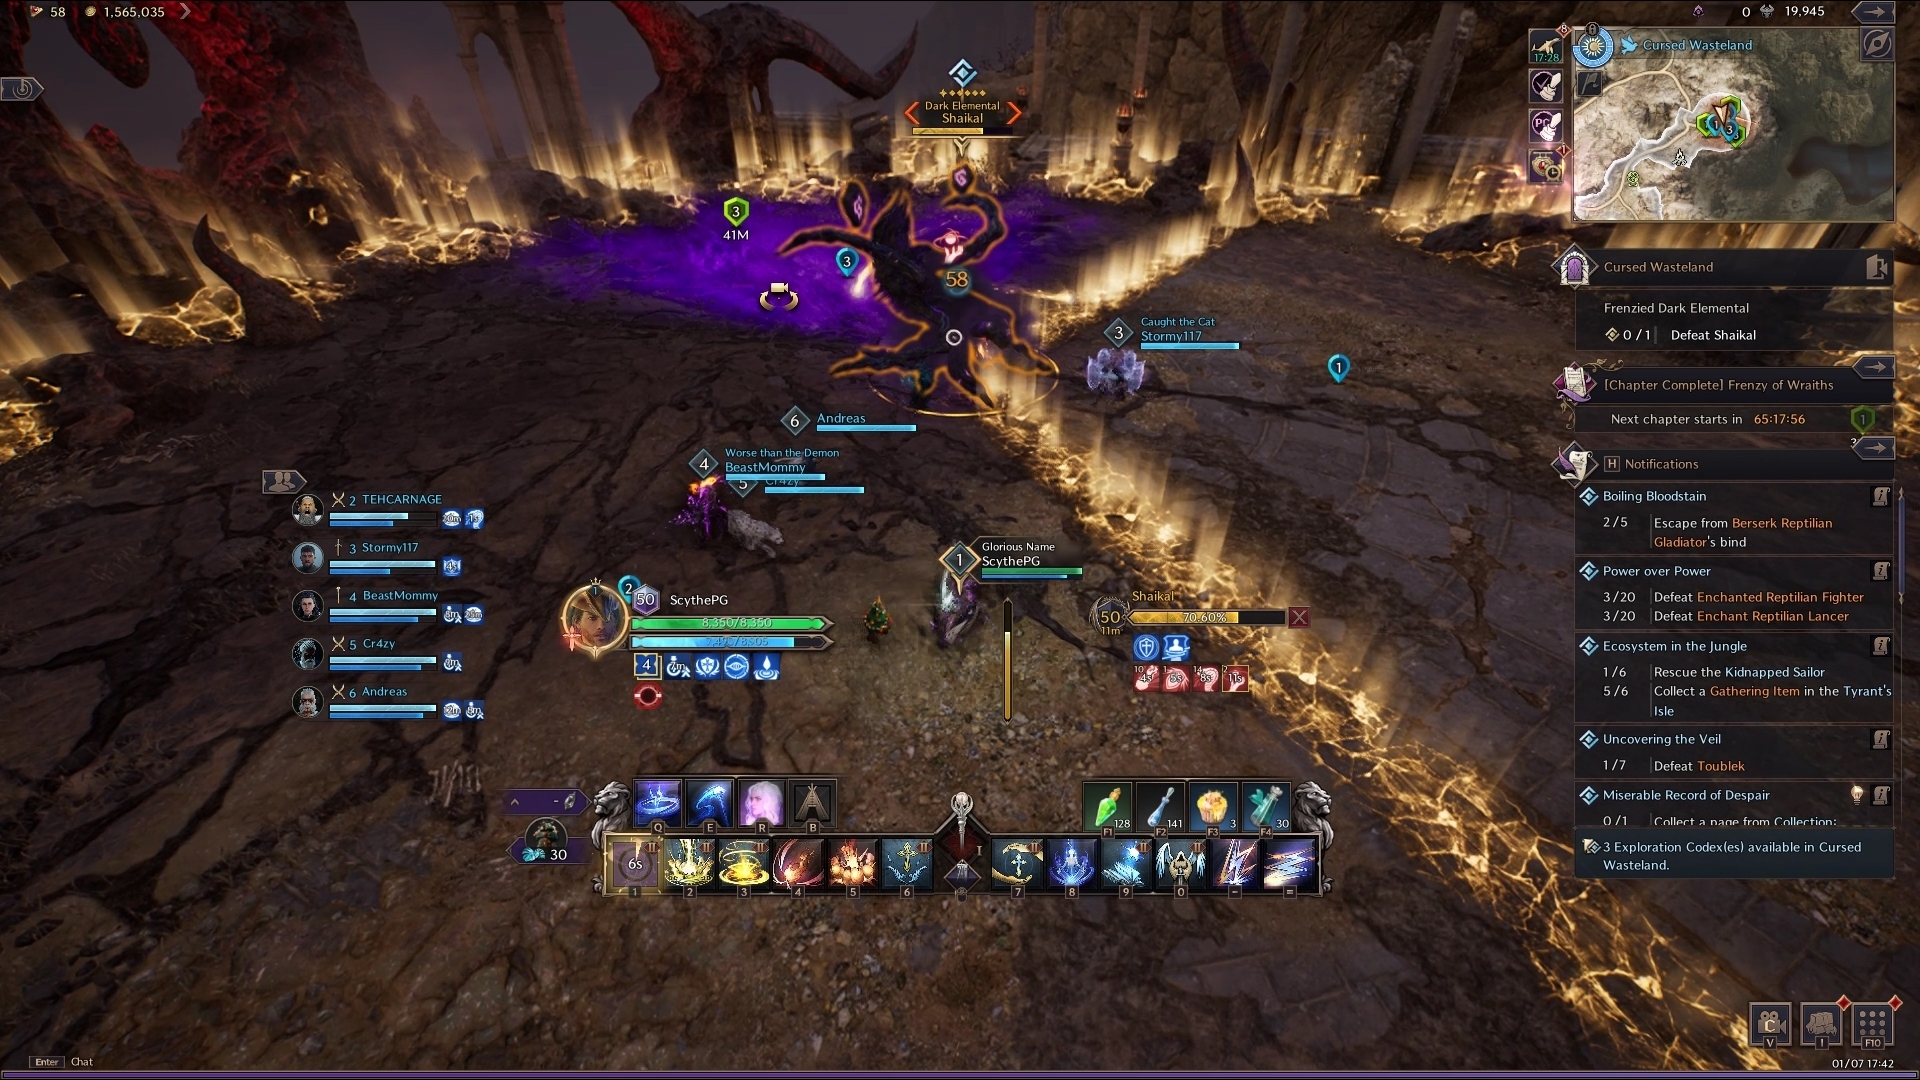
Final Boss: Shaikal
Before fighting the boss, make sure to use the campfire above and grab the final codex page of the Exploration Questline. The final codex page is on top of the ruined pillars near the cliff the bonfire is on.
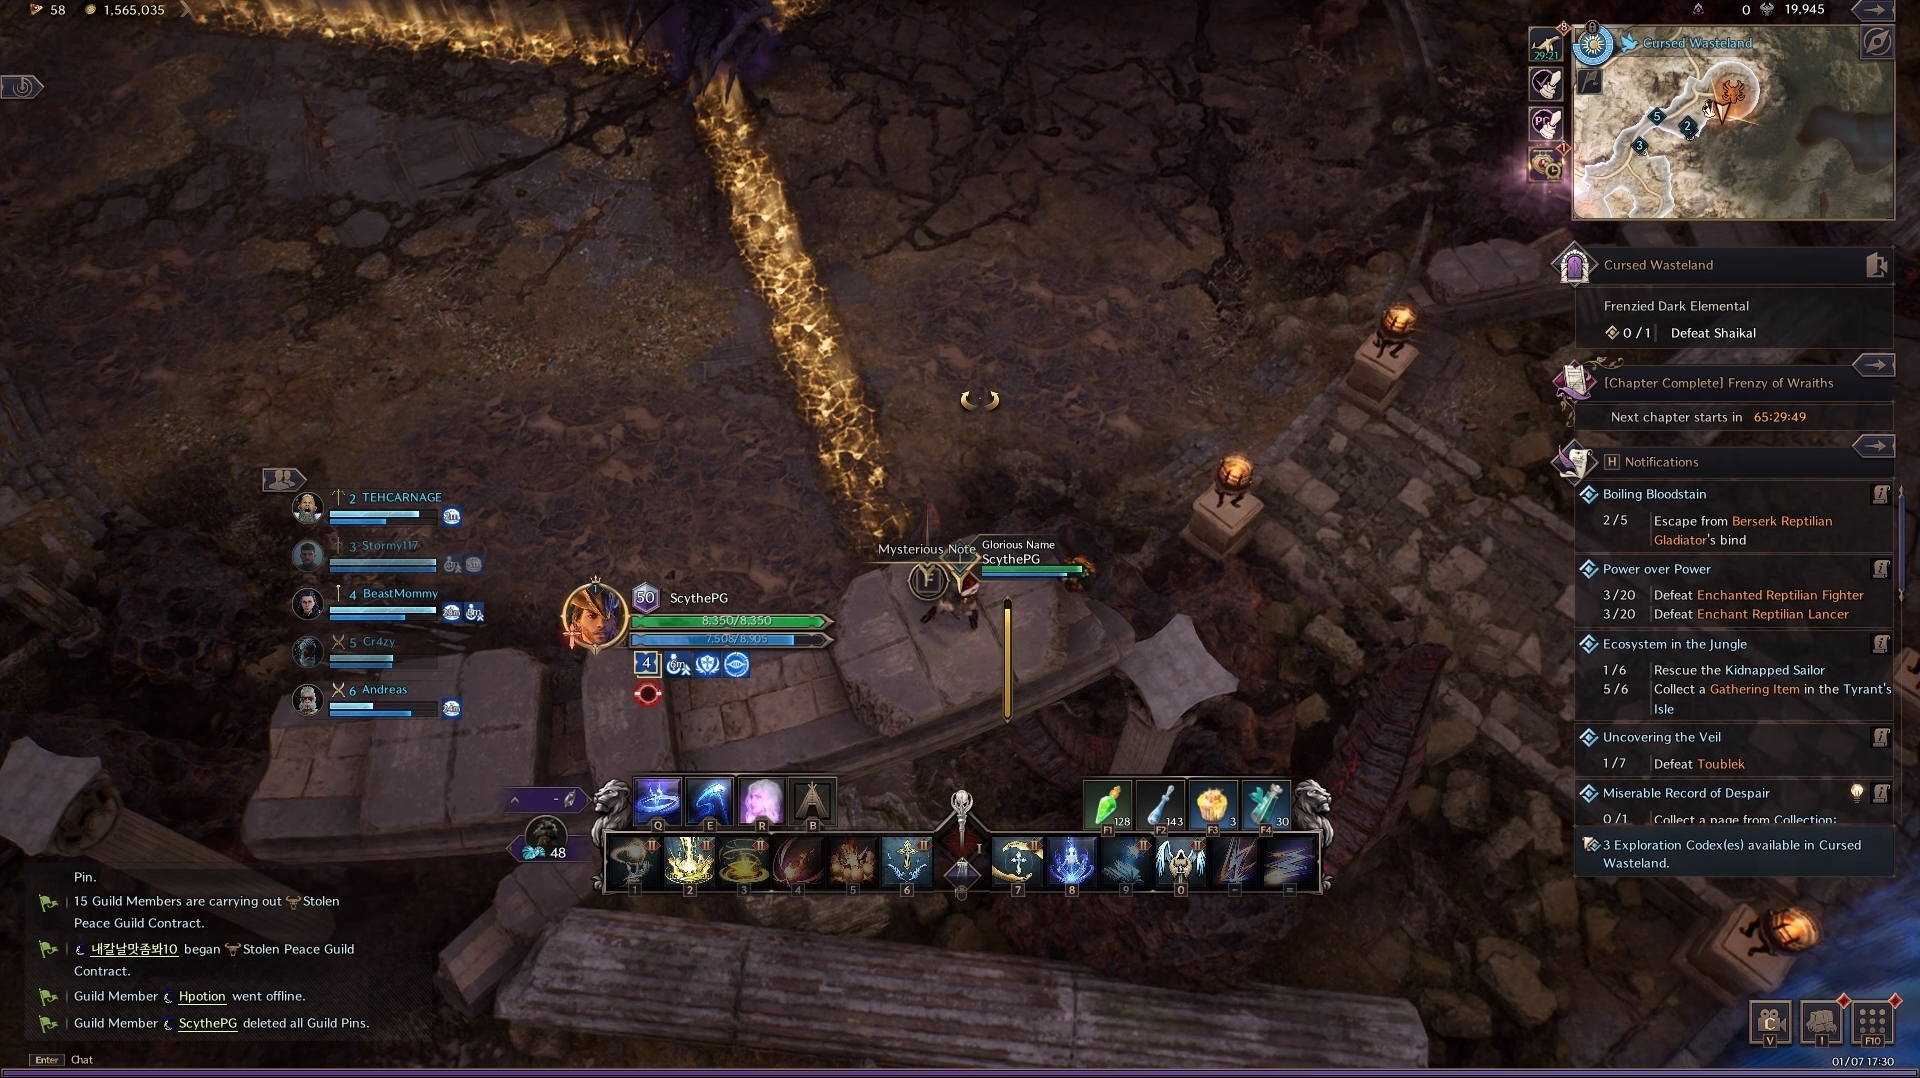
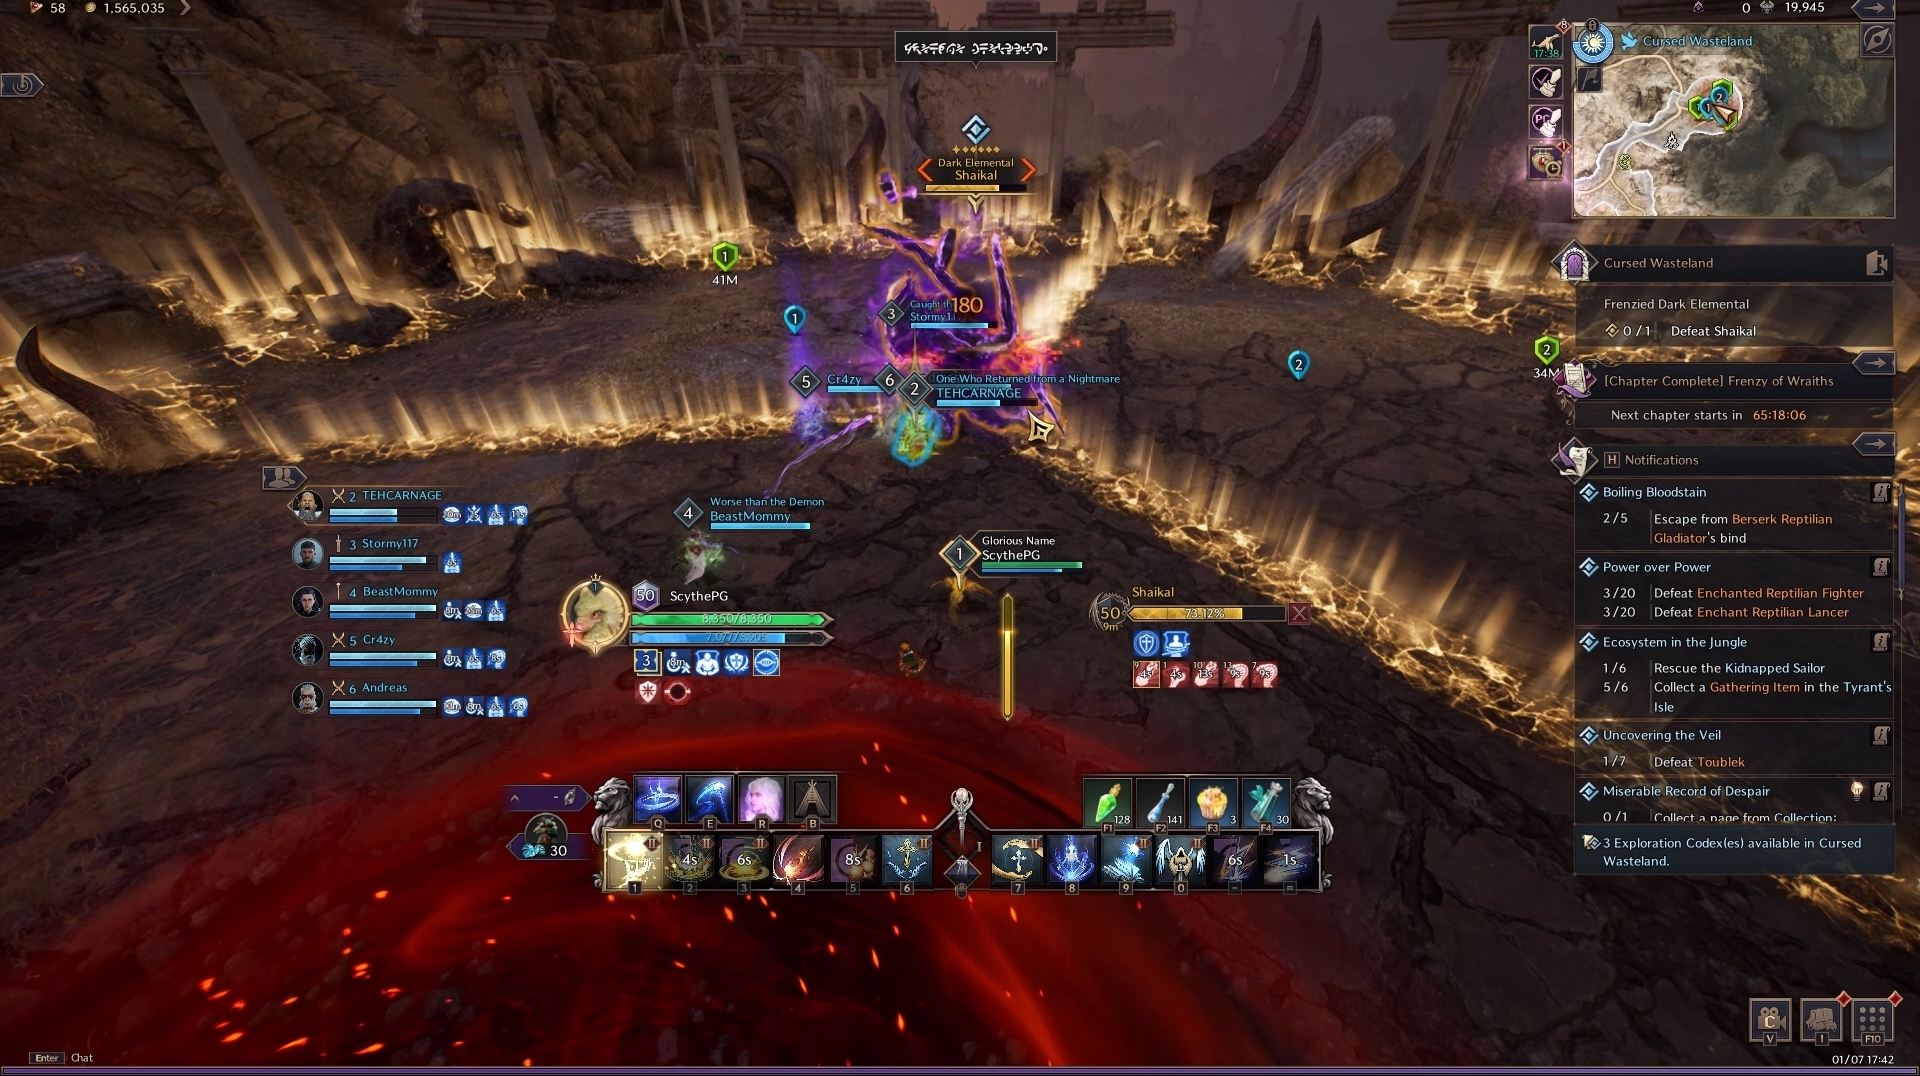
Now that the codex is collected – head down to the boss to begin the fight. This fight, as seen above is fought in an arena split into thirds. The long breaches sectioning off the arena can be disabled by interacting with the spikes at the end of them. Once the fight begins, Shaikal initiates a few generic attacks. Such as a blockable Fury Attack that does large AoE damage, circle AoE zones beneath players and a small cone attack. As a result of some of these frontal AoE cones, it is usually better to position your tank in a third that is separate from your team.
Shaikal selects one player to put a red orb de-buff on, this player has to run to the back of the arena third you’re in and wait until the orb disappears. Once the orb is gone, run away from the area immediately, a red vortex pool spawns where you took the red orb!
Large Cone Attack
Shortly after, the biggest mechanic of the fight occurs. Shaikal puts a purple orb on top of one player. The marked player must move as close as possible to the wall nearest to the tank third. At the same time, another player must interact with the wall furthest from the purple orb to disable the wall. Shaikal soon after prepares to unleash a massive persistent AoE cone attack that follows the purple orb player around the arena. As a result, the player gives enough space and time to run across to the new third the team is in. It is required to get enough distance to outrun the cone. It is also recommended to run closer to the boss, as this reduces the distance travelled.
The cone attack itself can reach pretty far into the next third so be careful. The rest of the fight is just a repeat of the above steps. As a result, make sure to keep moving back and forth between the thirds the tank is not in. On the last 25% of Shaikal’s HP, Shaikal will put two red orbs on two players. Finally, Shaikal uses the purple orb AoE cone TWICE back-to-back. However, there is a slight gap between the two so you have time to prepare! After this phase, the boss is down!
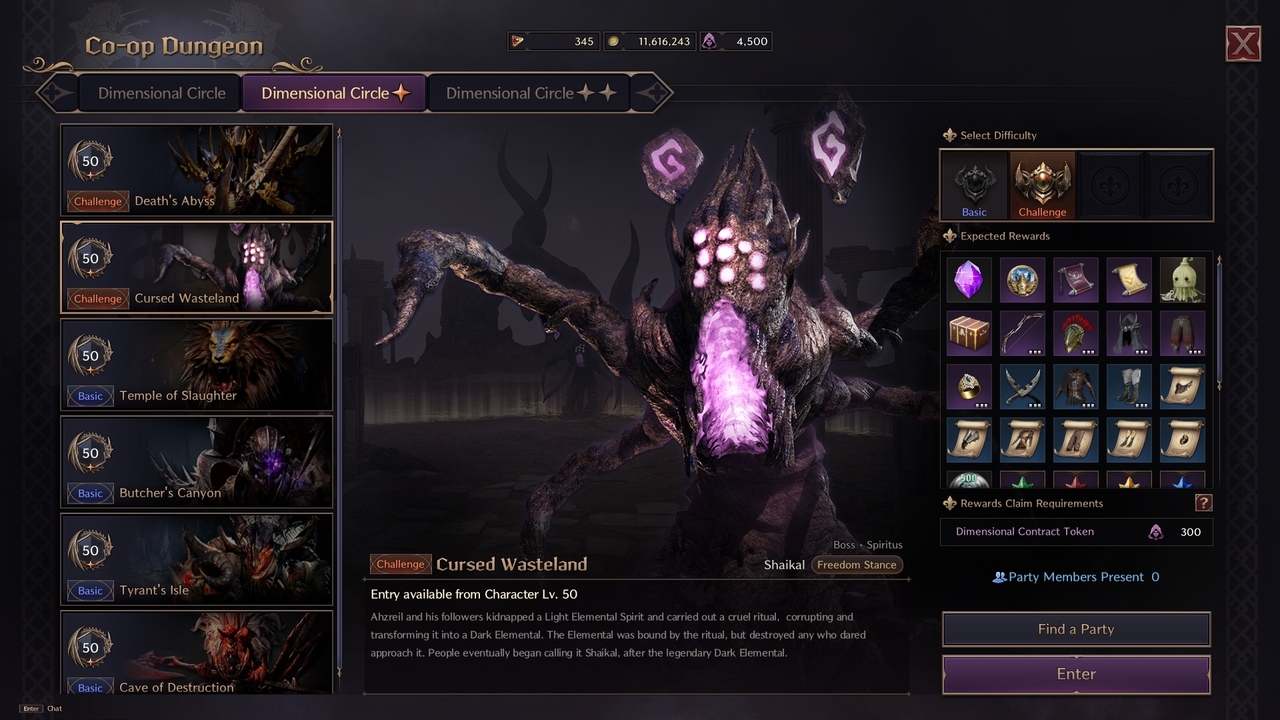
Challenge Mode
In Throne and Liberty’s Tier 1 Dungeons, you have access to two modes. The first mode is your “Basic” level of dungeon difficulty. However, an additional mode can be accessed – this is the Challenge mode difficulty.
Challenge mode in Tier 1 Dungeons act as a slight difficulty modifier that tasks you with completing a tougher dungeon, but with slightly better reward. For example, currently in the Challenge Mode dungeons, the only change to the Cursed Wasteland dungeon is an increase in mob health and an increase in damage taken. As a result of these minor changes, however, it means you have to be careful of your mechanical failures and the fight durations themselves.
At the end of each Challenge mode Tier 1 Dungeon, on top of the usual reward you’ll have a chance of looting from the chest, you’ll gain a certain amount of “Almighty Parchment”. Almighty Parchment in Throne and Liberty is used to create Omnipotence Skill Books. The Omnipotence Skill Books serve two purposes:
- Used to grow and upgrade your Resistance Skill (for example, the Staff’s Inferno Meteor)
- Usable in any Epic-grade Skill growth
As a result, eventually switching up to Challenge difficulty is 100% worth it to gain the parchment to max out your skills. It is also worth noting you also gain a small amount of progress towards earning a piece of Tier 2 gear over time, too.
Cursed Wasteland Dungeon Guide Conclusion
That concludes our Throne and Liberty Cursed Wasteland dungeon guide. For more information on Throne and Liberty, check out our official Home page!