
Introduction
Nightveil Hallow is the New World Halloween event. It’s marked by a mysterious season of change, when shades and ghouls gather in dark places. It is a time when the people adorn their houses with jack-o-lanterns and wear frightful masks.
This is done to ward off pumpkinites. Baalphazu, the Marquis of terror is a blasphemous creature that has unleashed a dreadful curse. The Maledicta Figurarum, the curse of shapes. The sorcery transforms ordinary pumpkins into creatures known as pumpkinites. They are Baalphazu’s hellish minions. It must be stopped before it turns the island into a living nightmare.
Essentially, you must defeat Baalphazu, a world boss, and collect the demon’s ichor and throw it into the Nightveil cauldron. Doing so will reward you for your efforts.
The New World Aeternum 2024 Nightveil Hallow Event begins on October 22nd and ends on November 5th, 2024.
How to Start the New World Halloween Event
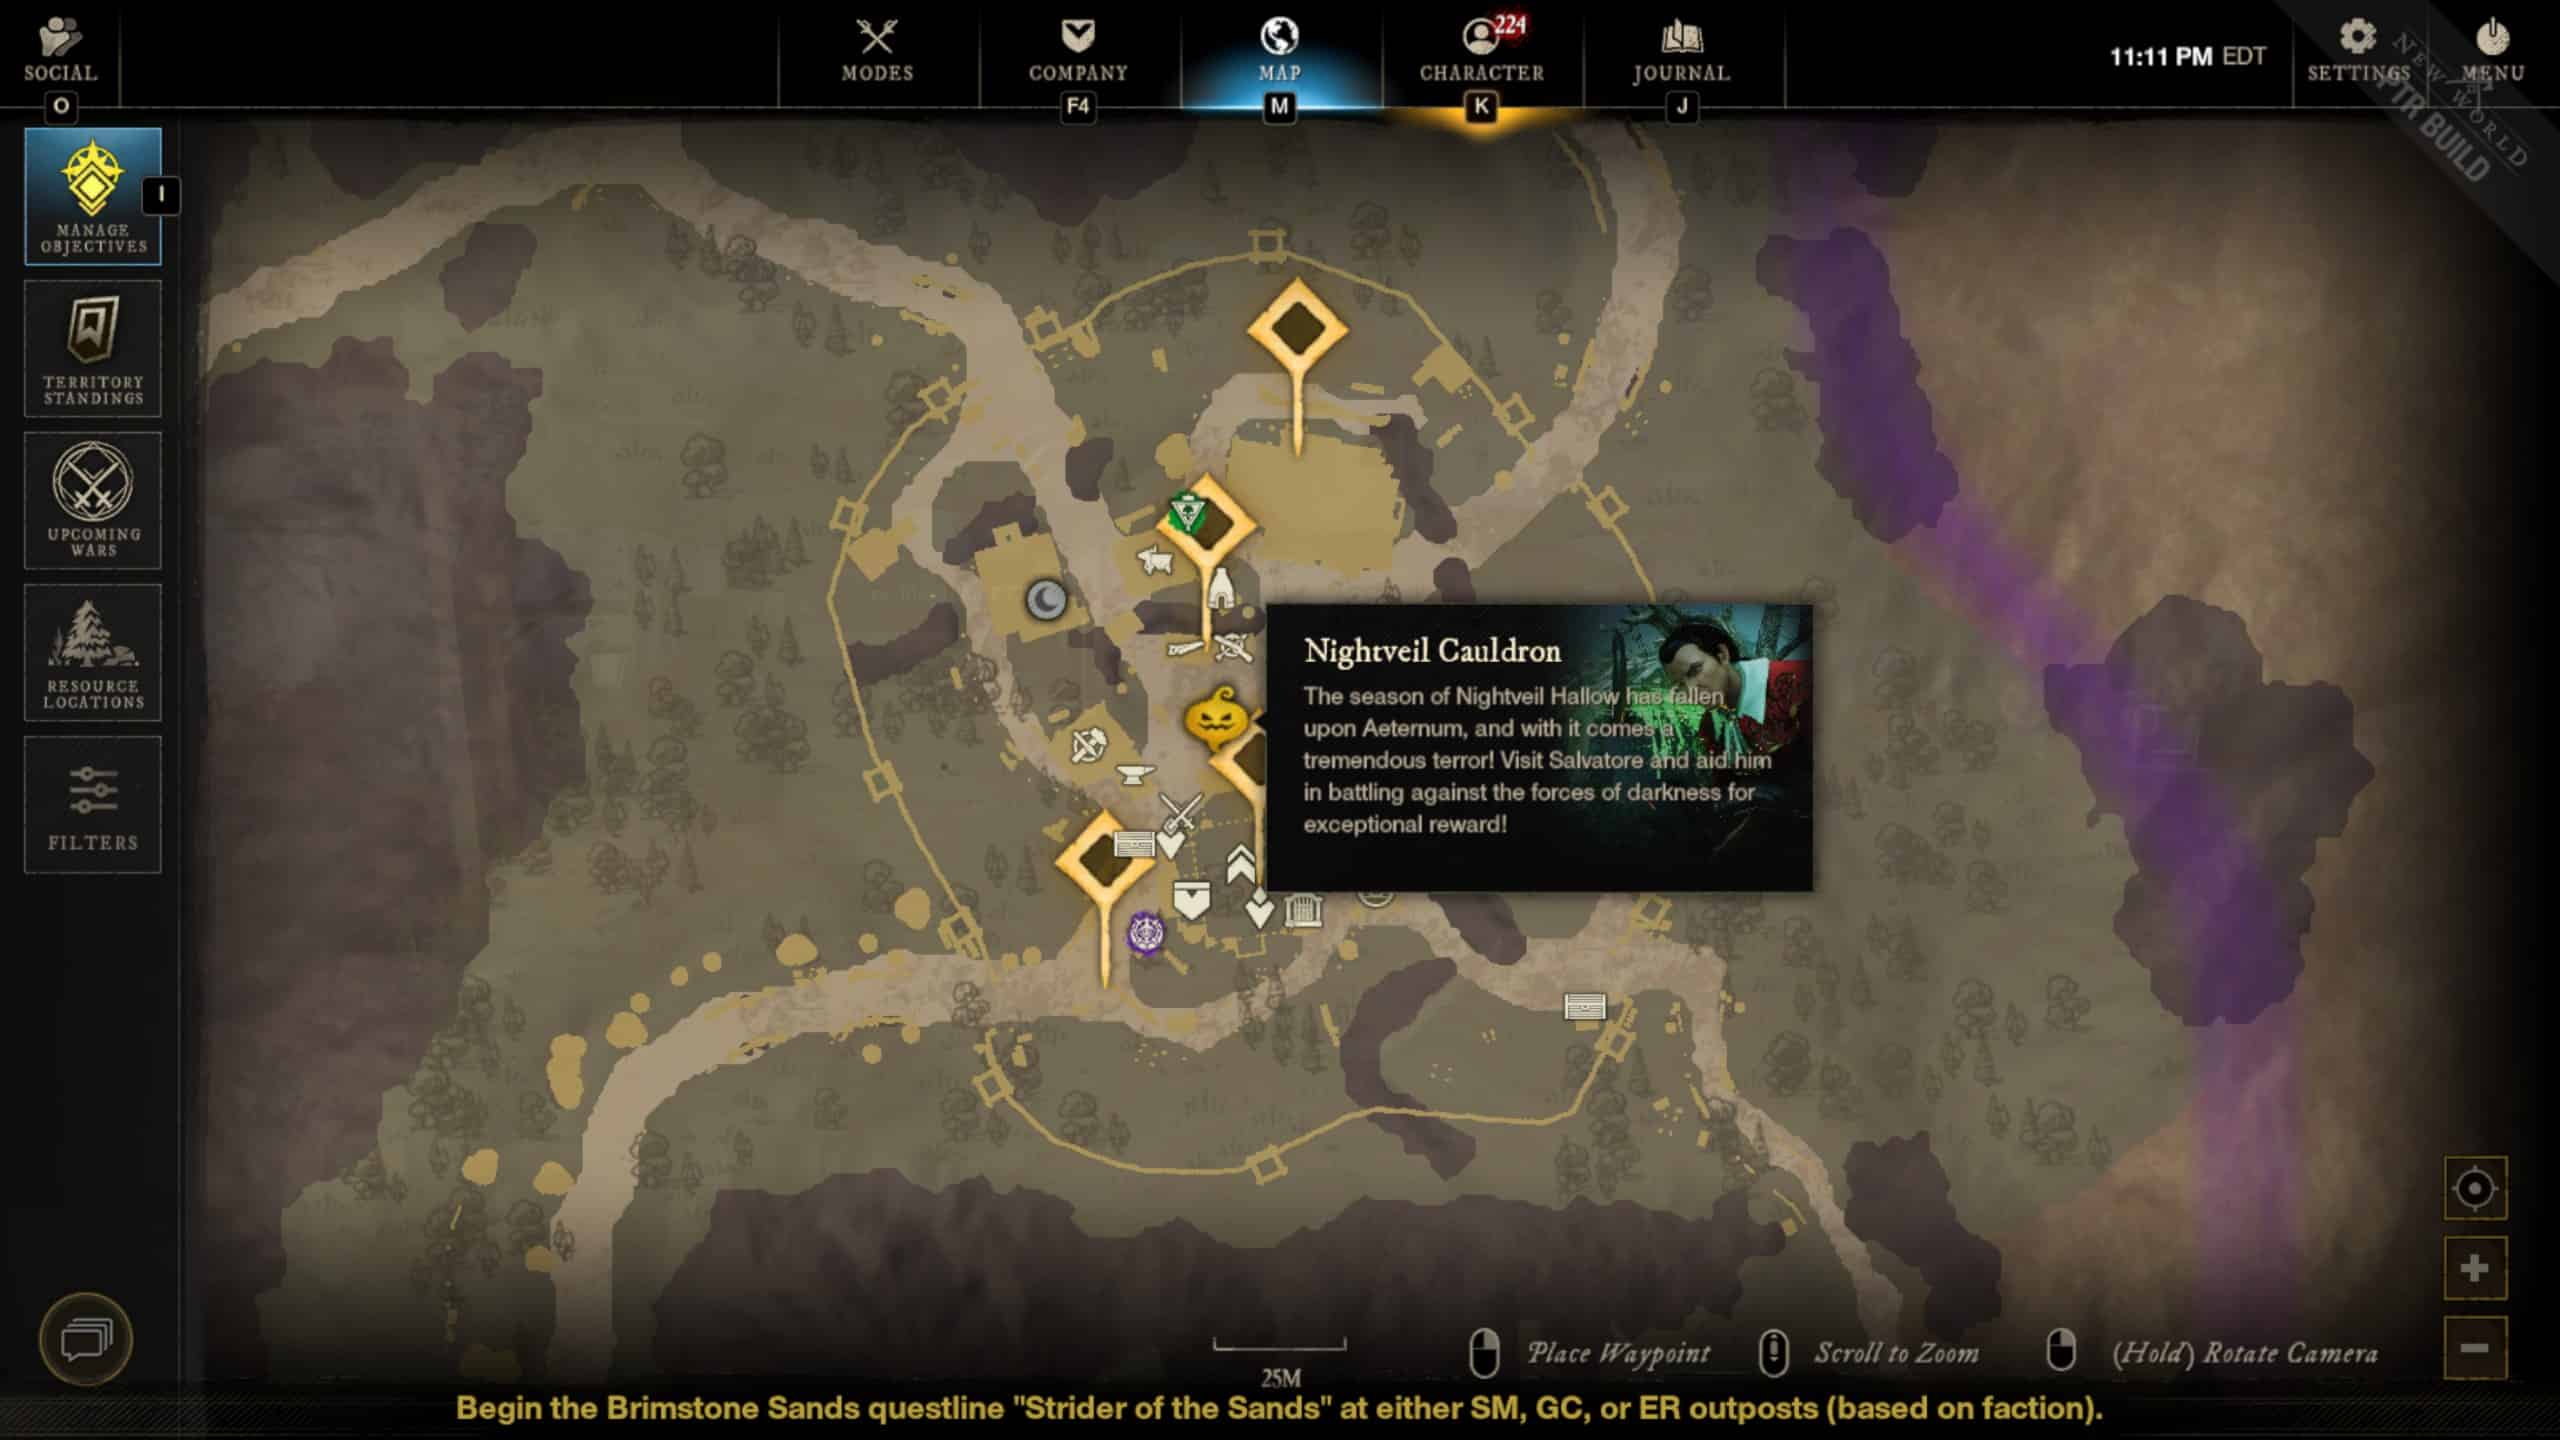
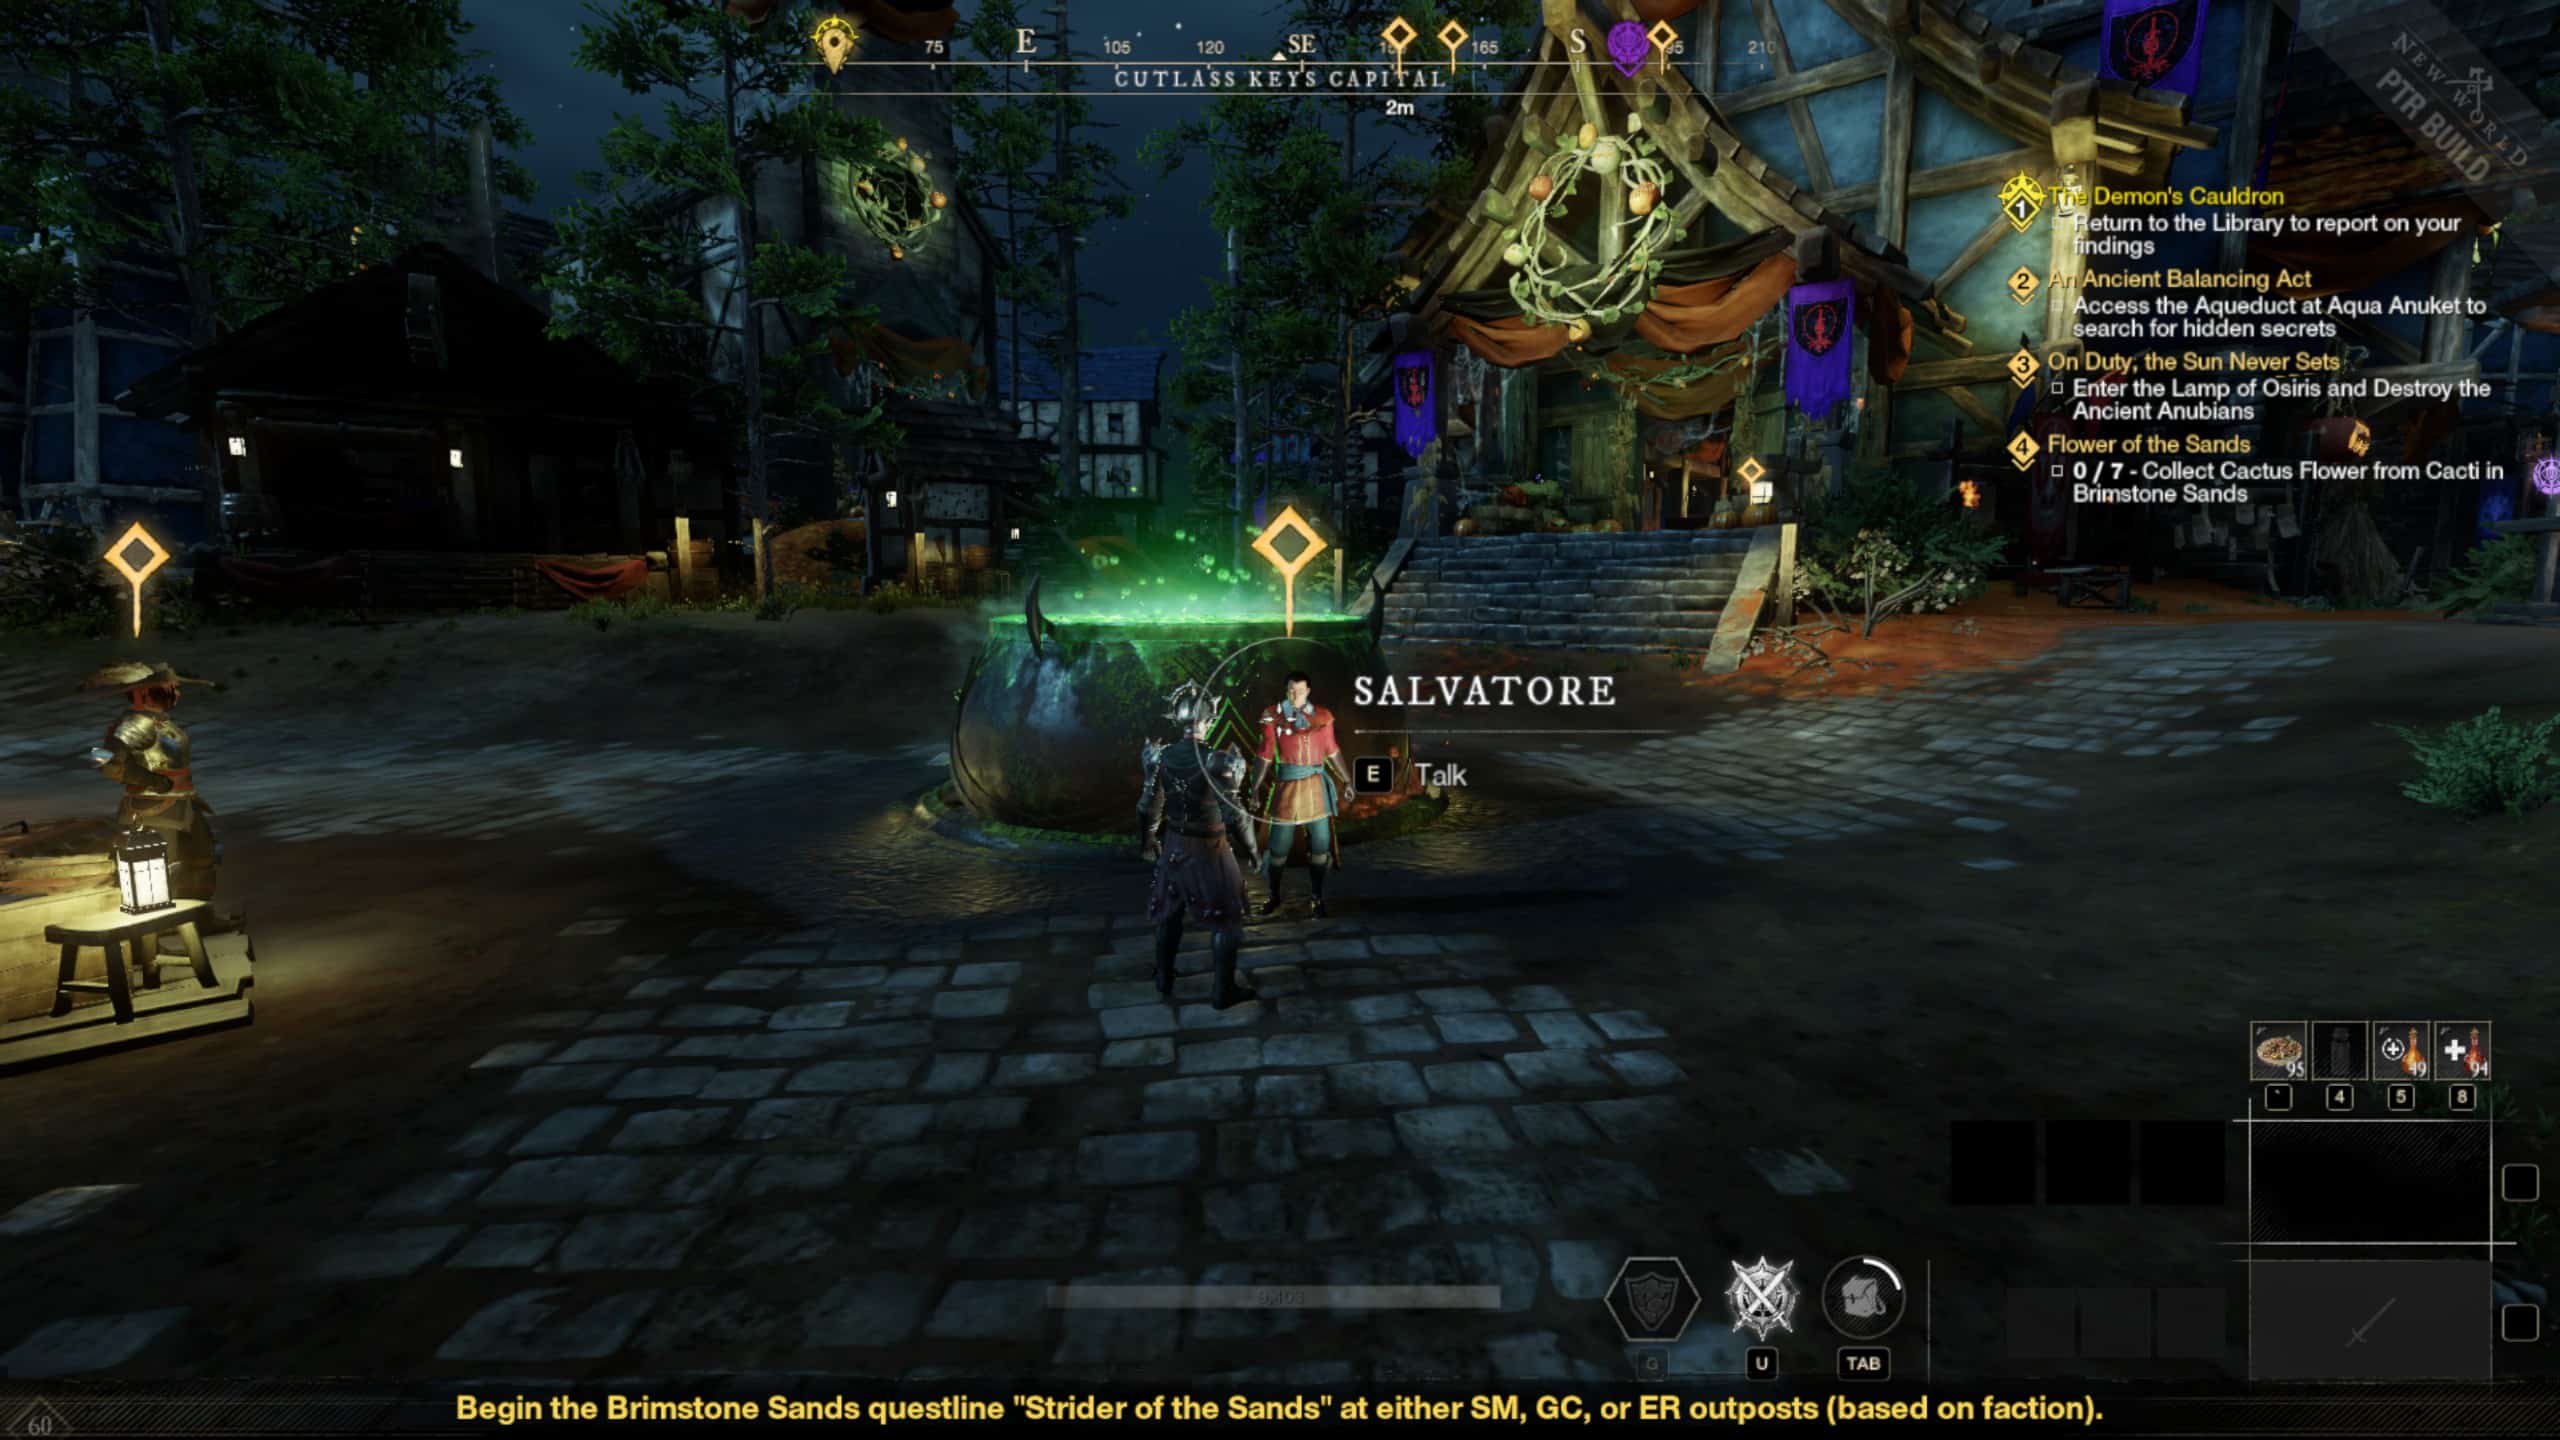
In order to begin the event you simply need to find your way to any settlement in Aeternum. Then, make your way to the Nightveil cauldron. It will be indicated on your map by a pumpkin symbol. Once there you will need to speak with the NPC next the to cauldron, Salvatore, in order to begin.
He will give a quest called Baalphazu’s Fall that will send you on a journey to defeat the world boss. Upon completion of the quest you will receive a nightveil hallow cache. Opening the cache will reward you with five nightveil tokens, 2 random Nightveil Hallow patterns, and access to the Nightveil Sentinel (last tier) section of the event shop.
Costumes & Trick or Treat
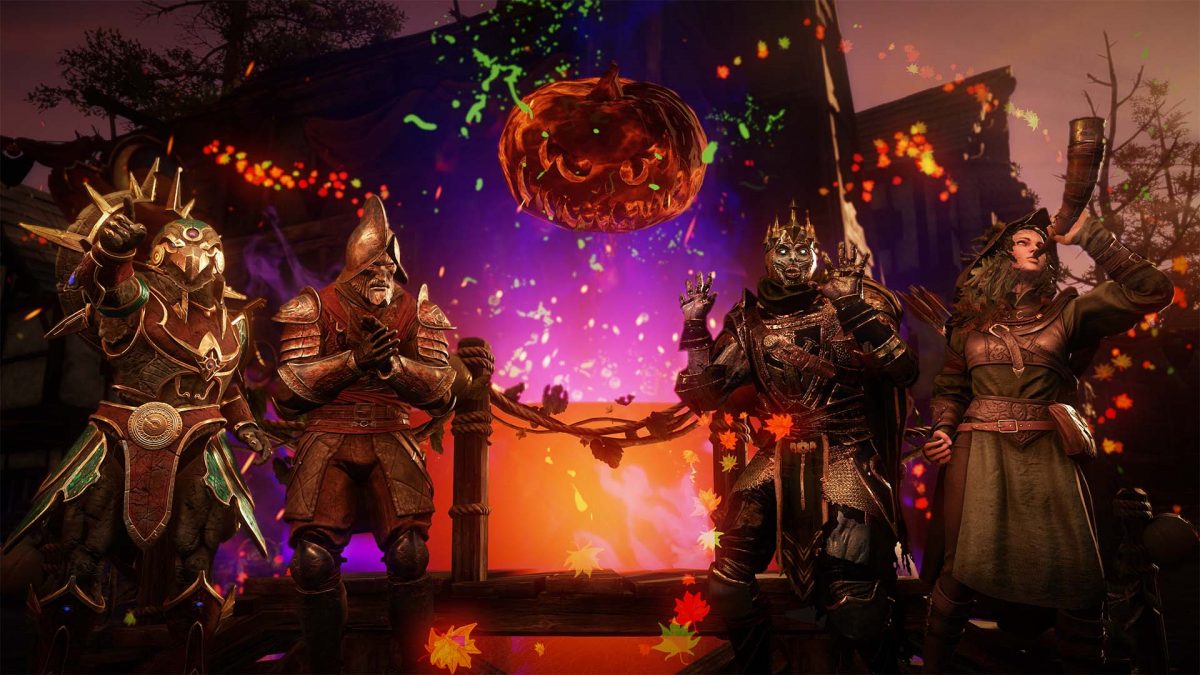
During the Nightveil event you will be able to transform into some of your favorite characters like Captain Thorpe to celebrate the spooky season. Costumes can be obtained for the duration of the event from Town centerpieces and Baalphazu. The full selection of costumes is as follows:
- Captain Thorpe
- Adiana
- Anubian Reaver
- Lost Monarch
Once you’re in costume, you can search each town for hidden treat baskets. These have a chance to contain Baalphazu armor pieces (10% chance), 2 Nightveil Tokens (3 times daily), and a new item – candy. This limited-time consumable comes in 4 flavors. Some of the candy may help you greatly with the event activities while others may have unexpected consequences.
Items marked with daily limits will reset at 5 AM local time. For example, if a player grabs their third set of Nightveil Tokens from Treat Baskets at 4:58 AM, they’ll be able to earn another at 5:01 AM.
Baalphazu Locations
The world boss, Baalphazu is located in 6 zones as follows:
- Ebonscale Reach: Crimson Shallows, South Dynasty Wall
- Brightwood: Wolfbough
- Great Cleave: Frozen Claims, Slumbering Echoes
- Weaver’s Fen: Richmire
- Edengrove: Genesis of Malice, Rafflesia
- Mourningdale: Inland Greens
Baalphazu Mechanics
Baalphazu is a large world boss that has over 23 million health. It’s recommended for large groups of 10 or more to be involved in the encounter.
The boss has quite a lot of damage mitigation, 45% physical and 40% elemental. This makes your standard attacks fairly weak against him. However, the boss does have a stamina bar and once it’s broken your standard attacks will deal significantly more damage.
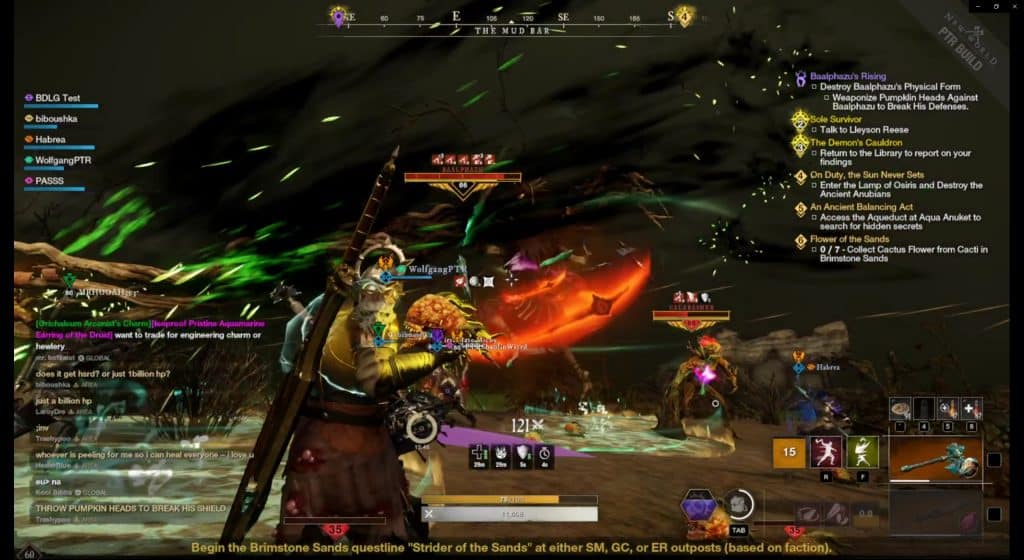
To break the stamina bar you will want to kill the small pumpklin creatures. They will leave a pumpkin head on the ground. You need to pick up the pumpkin head and throw it at the boss. This will deal damage and stamina damage to the boss. Once the stamina bar is broken and the boss is laying still you will want to have the entire group attacking him. During this window is when you will want to pump out as much DPS as possible.
Additional Ads and Boss Abilities
There’s are some ads that the boss will spawn in throughout the encounter that as well that you need to be aware of.
Gourdspewer: When killed a healing circle will be placed on the ground. You can stand in the circle to remove any de-buff applied to you from the boss and receive 5% of your max health every 2 seconds.
Calabasher: When killed a healing circle will be placed on the ground. You can stand in the circle to remove any de-buff applied to you from the boss and receive 10% of your max health every 2 seconds.
Baalphazu also has a few more mechanics to be aware of:
Vine Reach: He will stretch out his vine arms and deal damage. You can block or dodge this attack. This is a pretty standard attack that’s performed throughout the fight.
Demonic Waves: Green ring waves will spawn from the outer area of the arena and make their way into the boss. Getting hit by a ring will deal significant damage. These can be dodged or blocked.
Vaccum: The boss will pull the group into himself. The arena will light up green all over the ground. This is the animation tell for the ability.
Boss Rewards
Whenever you defeat Baalphazu you have a chance to earn the Baalphazu armor pieces. These can be earned up to 5 times each day. You can also earn up to 3 costumes each day, and are rewarded with an ichor for the cauldron.

Increasing Your Rank
Unlike the other events we have seen come to Aeternum, the New World Halloween event only has 2 ranks to achieve in order to access the entire store. The Fledgling rank is rank one and the Nightveil Sentinel is rank 2. In order to gain access to the second rank you will need to kill the world boss, Baalphazu, obtain his ichor, and put it into he cauldron to gain reputation. Once you have the second rank unlocked you can then begin purchasing items from rank 1 and 2.
How to Get Nightveil Tokens, Patterns, & Coin
In order to obtain nightveil tokens you must find and defeat the world boss Baalphazu. Upon defeating the boss you will be rewarded with Baalphauz’s Ichor. You will need to take that ichor into any settlement and toss it into the event cauldron.
Upon doing so will reward you with a nightveil token and a nightveil cauldron cache. Opening the cache will reward you with either 7, 10, or 13 tokens. You can also receive a bag of cauldron’s coins that will contain a anywhere from 1 coin to 200 coins depending on your level. You can only receive the bag of coin 3 times per day.
| Level Range | Coin Range |
|---|---|
| 1 – 9 | 1 – 5 |
| 10 – 19 | 5 – 15 |
| 20 – 29 | 10 – 30 |
| 30 – 39 | 20 – 50 |
| 40 – 49 | 30 -75 |
| 50 – 59 | 40 – 150 |
| 60+ | 50 – 200 |
Opening the cache may also reward you with a weapon pattern. The weapon patterns can also be purchased from the Halloween event NPC, Salvatore. A diamond gypsum is also rewarded in exchange for the ichor.
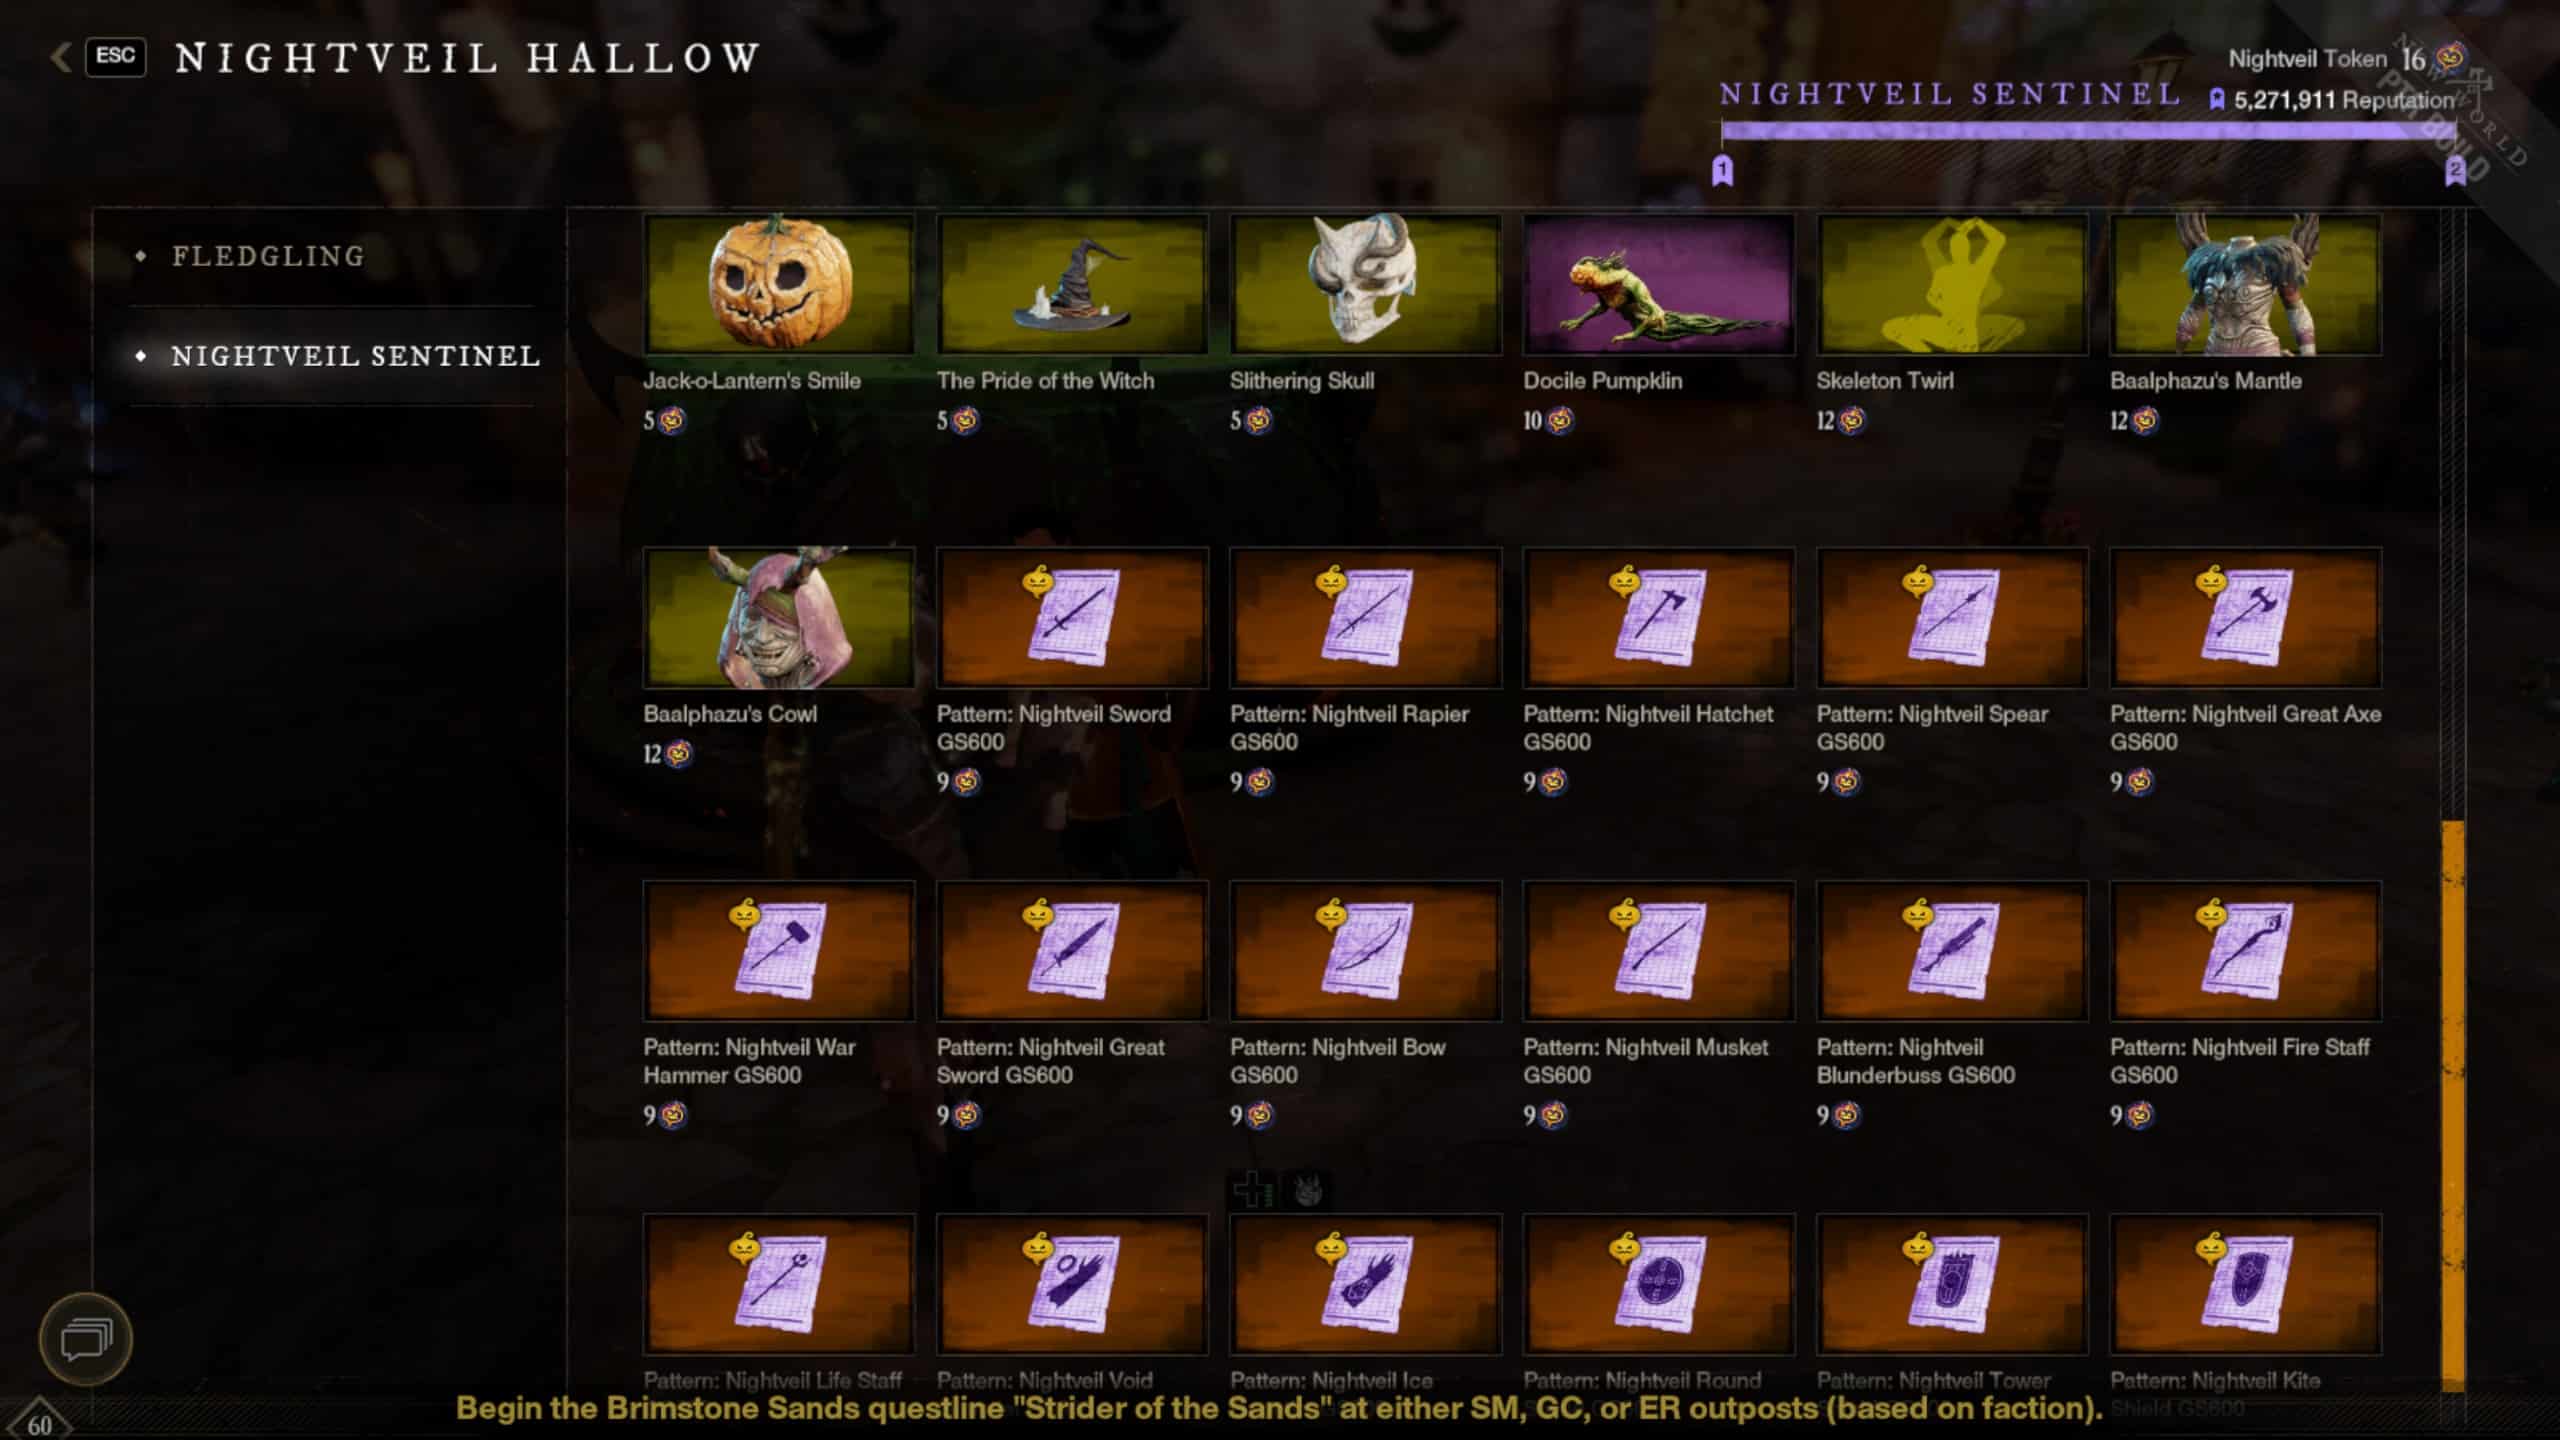
Store items in the New World Halloween Event
Once you have accumulated enough Nightveil Tokens you can use those tokens to purchase items from Salvatore. The items consist of weapon and shield patterns in the Fledgling rank, and skins, emotes, house decorations, and 700 gear score weapon and shield patterns in the Nightveil Sentinel rank.
You can also obtain several different cosmetic items from the event shop as well. These include:
| Item | Type | Year Introduced |
|---|---|---|
| Skeleton Twirl | Emote | 2022 |
| Docile Pumpklin | Housing Item | 2022 |
| Baalphazu’s Mantle Armor | Armor Skin | 2022 |
| Jack-o-Lantern’s Smile | Armor Skin | 2022 |
| Baalphazu’s Cowl Head Piece | Armor Skin | 2022 |
| The Pride of the Witch Hat | Armor Skin | 2022 |
| Slithering Skull Head Piece | Armor Skin | 2022 |
| Basket of Treats | Housing Item | 2023 |
| Chiropetera’s Cowl | Armor Skin | 2023 |
| Druid’s Headdress | Armor Skin | 2023 |
| Necromancer’s Crown | Armor Skin | 2023 |
| Crone Visage | Armor Skin | 2023 |
| Throne of the Hollow | Housing Item | 2023 |
| Baalphazu’s Offering | Housing Item | 2023 |
| Summoning Circle | Housing Item | 2023 |
| Tremble in Fear | Emote | 2023 |
| Possessed Walk | Emote | 2023 |
| Hexed Canopy | Tent Skin | 2023 |
New World Halloween Event Weapon Patterns
The gold patterns that can be obtained from the event shop are locked at gear score 700. The epic weapon and armor patterns come locked with 1 perk. The Locked perk #1 below. The gold patterns come locked with 2 perks. Each weapon pattern also comes locked with a specific attribute relevant to that weapon. For example the flail is locked with focus, the void gauntlet is locked with intelligence, the musket is locked with dexterity, etc.
| Item | Locked Perk #1 | Locked Perk #2 |
|---|---|---|
| All Weapons (unless below) | Flame Attunement | Life Stealing |
| Life Staff | Blessed | Life Stealing |
| Round Shield | Flame Conditioning | Vicious |
| Kite Shield | Flame Conditioning | Life Stealing |
| Tower Shield | Flame Conditioning | Sure Footing |
| Armor | Health | Enchanted Ward |
For more New World Aeternum guides be sure to check our comprehensive guide library!