
Introduction
Dread Legion can be found in the Mines in the Bal Duum. The recommended power rating for this boss is 2,313 with a recommended group size of 3.
A dreadful manifestation of pure, unadulterated Gloom lurks within the cursed mine of Bal Duum. Whatever the threat, it has proved powerful enough to block the flow of elemental energy pathed from the Heart of the Woods.
This Wayfinder boss guide will walk you through everything you need to know about this encounter.

Dread Legion Drops
- Dread Legion Echo
- Epitaph Essence
- Cerebral Defense
- Brain Matter
- Black Gloomstone
- Red Gloomstone
- Vestige of Kyros’s Sorcery
- Vestige of Senja’s Storm
- Codex of the Shadow’s Whisper
- Last Breath
- Spider’s Fang
- Optic Cortex
- Blue Gloomstone
- Grey Gloomstone
- Recipe: Greater Stomper Bloodbrew 3
- Recipe: Greater Windhowler’s Tear 3
- Dread Legion Essence
- Gloomshard
- XP
Dread Legion Walkthrough
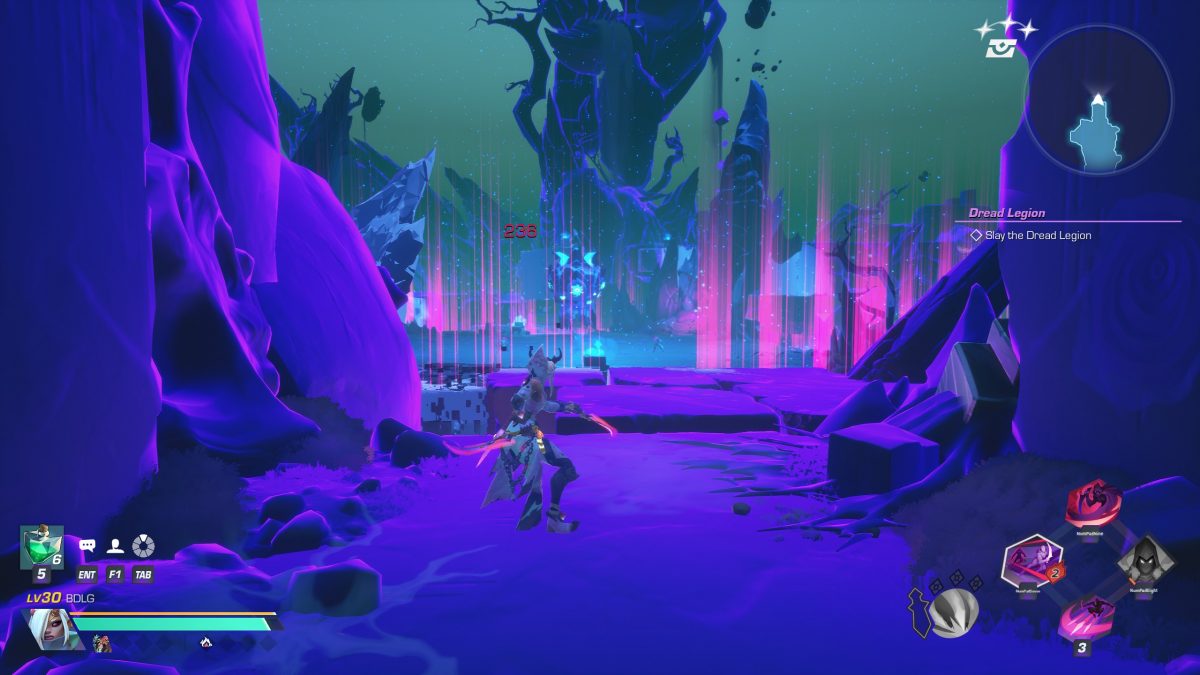
When you first enter into the Dread Legion encounter you will have to run through some poison clods being shot from the side of the walls. These will damage you, so be mindful not to run into them so you don’t take unnecessary damage.
Once you’re past the poison you will be introduced to a tutorial for the main mechanic that you’ll see throughout the remainder of the fight. You will encounter a Seer (flying creature) and a minion. In order to progress to the boss you will need to kill the Seer. When he dies he will drop a glowing orb. Pick up the orb and then attack the minion. This will place the orb on the minion. If you get close to the minion he will give you the orb back, so keep your distance.
Once you give the orb to the minion he will chase you around with an AoE circle growing around him. If you’re caught in that AoE circle you will be stunned. So, make sure you stay out of the circle.
Once this is successfully performed the gate will open and you can progress to the boss. However, there is a jump puzzle you must complete first. You will need to quickly get across the floating platforms because once the gate opens the gloom will begin to close around on you. Make sure you time the jumps correctly in order to land on the platforms before they disappear and jump into the arena.
Once in the arena you will be safe from the gloom and can begin the fight.
Phase 1
After you’re successfully in the arena the boss will spawn in several minions and several Seers. You must kill all of the minions in order to damage the boss. In order to do this you will need to kill the Seer’s and place the orbs on the minions. While you are doing so the minions and the Seers will be chasing you and will deal damage to you if you get within melee range.
The boss will also be targeting you sending out a laser attack in a straight line across the arena. The area of effect outline will appear on the ground and then soon after the laser will shoot out. Make sure you are not caught in the laser. This will deal a good amount of damage to anyone caught.
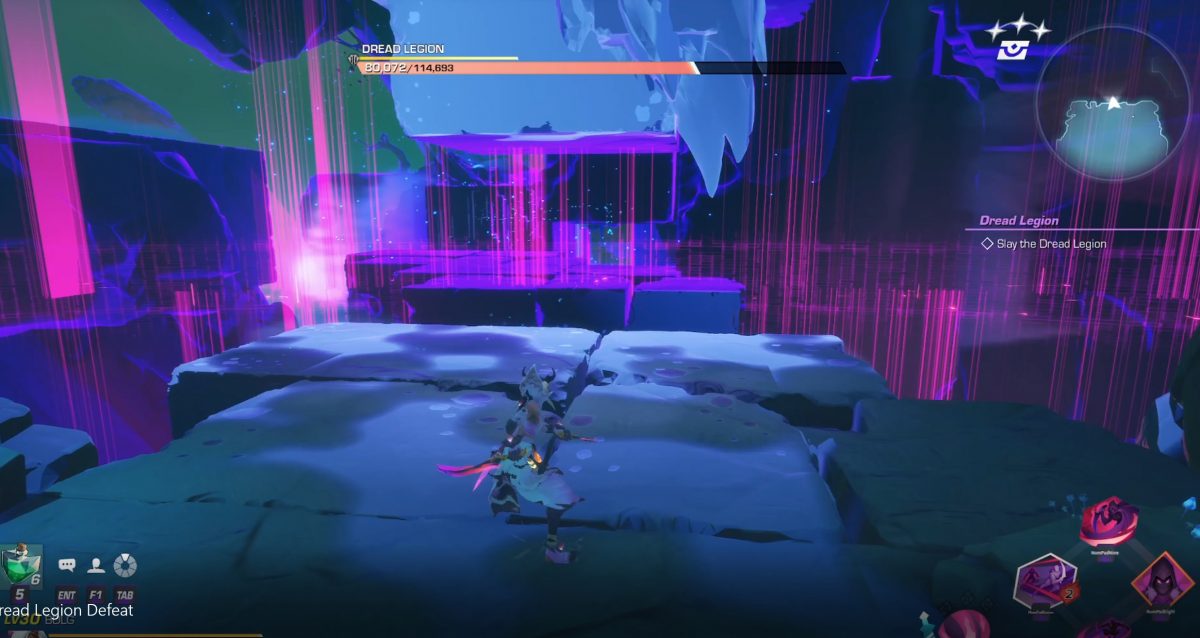
During this phase you will need to kite around the enemies, avoid the laser, kill the seers, place the bombs on the minions, and ultimately kill all of the minions. Once all of the minions are dead, the boss will drop to the ground. When he’s on the ground you want to deal as much damage to him as possible.
You will need to get the boss down to roughly 70% health before the next phase will begin. So, if you do not reach that marker you will have to repeat the steps above until you reach that health threshold. Once you do the boss will float into the air and spin. Make sure you’re away from the boss to avoid taking damage. After the spin he will then move to a second platform for the second phase of the fight.

Jump Puzzle
Between phases 1 and 2 you will need to perform a jump puzzle to get to the second arena. The jump puzzle is fairly simple, but will need to be performed quickly. make your way to the opposite side of the arena from where you entered and you will see the next jump puzzle.
Be aware that the pink lines are the gloom. The gloom will be moving to the second platform after you finish the first phase. Therefore, you want to stay within the safe area. Do not enter the pink lines.
You will want to time the jump puzzle correctly so that you don’t take damage. However, the platforms also disappear so you have to time jumping on them as well. You will need to wait for the platforms to appear, jump on them, and jump up the wall in front of you. From there you will make it to the next phase. Be aware that if you do this too quickly you may end up in the gloom and take damage before phase 2 beings.
Phase 2
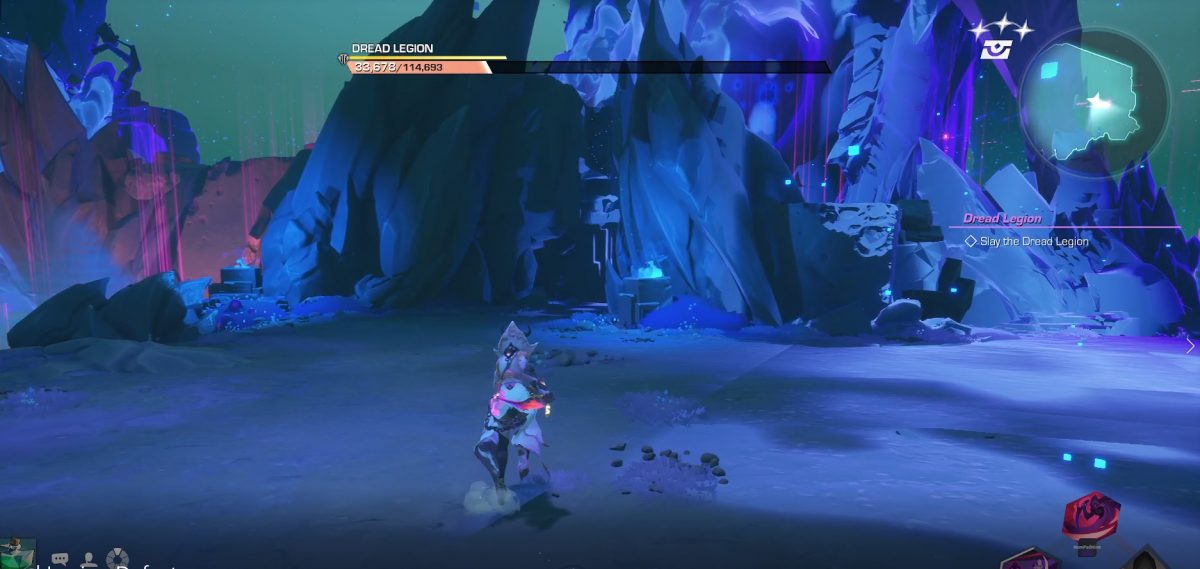
This phase is very similar to phase one. However, now the arena is smaller and the boss will send out lasers in 4 different directions. So, the fight will get much more hectic. Make sure you’re in between the lasers when they happen.
You will still need to place the orbs on the minions in order to kill them. So you will need to kite them around in between the lasers. Once they are dead you can then DPS the boss. You will need to get the boss down to roughly 25% health in order to move to the final phase. Just like in phase 1, once he reaches the health threshold he will fly into the air and spin. Make sure you’re not inside of the AoE range to avoid taking damage.
Jump Puzzle
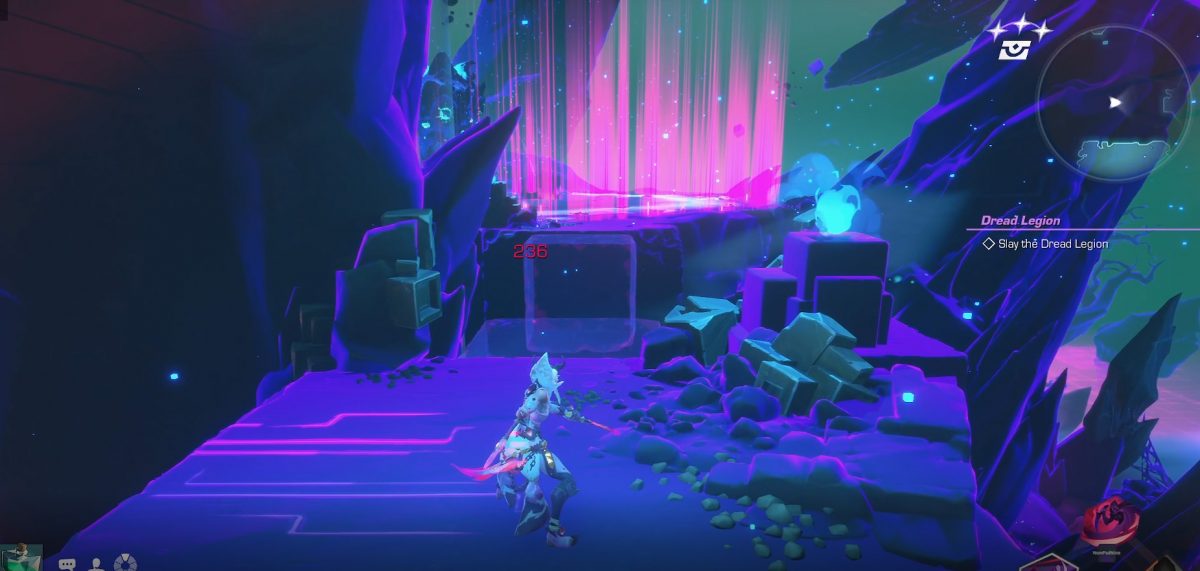
In order to get to the final platform you will need to perform another jump puzzle. This one is a little trickier than the first and second. There is gap in the wall in the arena and that’s where you’ll need to head first. You can see it by the glowing blue flame. There will be a wall you will need to jump over to progress to the jump puzzle.
Bear in the mind the gloom will still be a factor as you continue to the next arena via this jump puzzle.
Once over the wall you will follow the path to the right and it will curve around to the left to the jump puzzle. Here you will be outside of the gloom and will be taking damage so you need to jump as quickly as possible. There will be 3 platforms that appear and disappear. You will have to time your jumps correctly and make it over the wall to progress to the next platform.
Here you will find 2 platforms that are appearing and disappearing. However, there is a gap in between. So you will need to jump on the first planform and over the gap onto the third platform when it reappears. need phase 3 of the fight.
Phase 3
This is the final phase of the fight. The arena here shrink yet again. Now the boss will fire lasers out in all directions. There will be gaps between them, but this makes the area much harder to navigate. You will need to perform the orb mechanic while avoiding the lasers.
Once you have all killed all of the minions you can DPS the boss and ultimately win the fight.
This phase can be very hectic. It’s recommended that you kill the Seer’s and perform the orbs in between the lasers. Remember that you will have a decent amount of time after you place the orb on the minion before it explodes. If timed correctly this will give you plenty of time to stand in between the lasers and then dash out before the minion explodes.
Just rinse and repeat this process until the Dread Legion is dead.